I’m making a dowel jig to attach two pieces of wood with dowels. This type of joinery is invisible and also works for pieces that later need to be disassembled.
Design
I came across this jig when I was searching for different joinery methods. I’ve always wanted to try doweling and this jig looked so simple to make that I gave it a try. The design is from David Picciuto from the Make Something YouTube channel. I have his video linked below:
Build
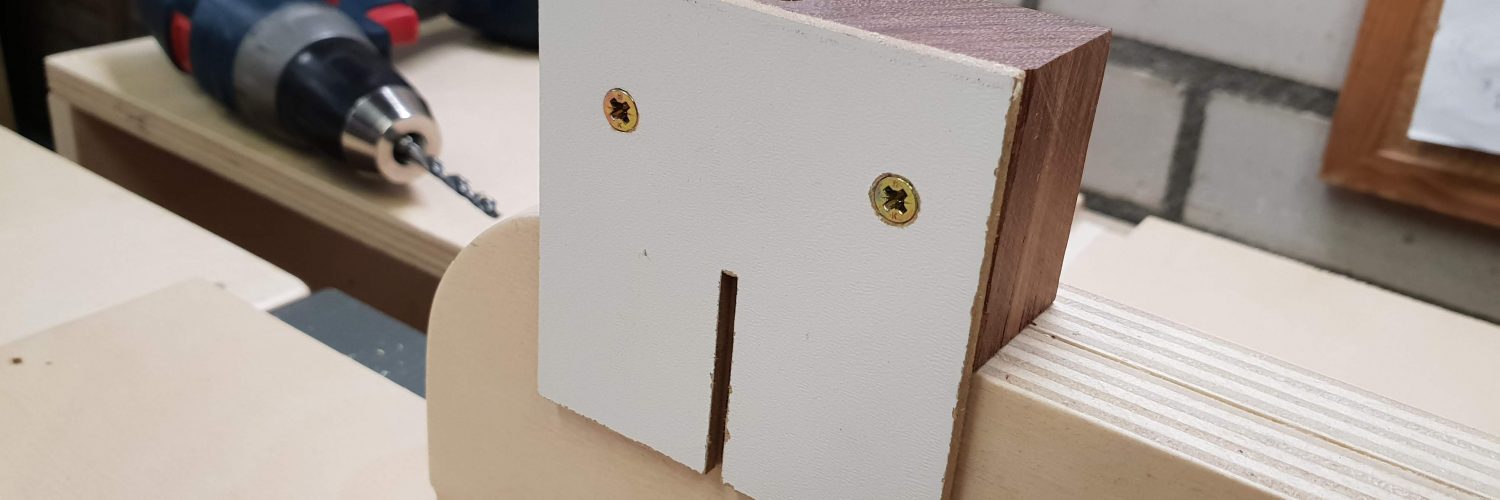
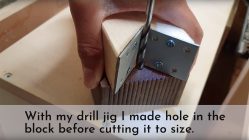
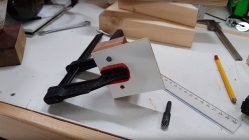
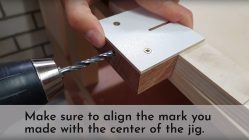
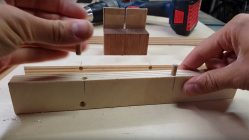
For building this jig I followed the steps from David’s video. Which consist out of a few simple steps. First get some hardwood and drill it to the dimensions required. Then drill a perpendicular hole in that block. To do this I used a jig I made earlier Drill jig for perpendicular holes. Once you have that hole it’s a matter of attaching a piece of material to hold the block against the piece you are drilling. It’s very helpful if the material is transparant but I didn’t have that so I used some wood and cut a slot in it. This is to align the jig with a pencil mark. If you do have some plastic you can simply mark the center of the hole on the plastic and it’s good to go!
Result
The result for me was pretty good. It works and it’s easy to use. However, I made a mistake by drilling the hole very close the edge. This is nice for really thin pieces of wood but in general it’s better to have the holes in the centre. I should have thought that through before I made it.
Modifications
I drilled a new hole and swapped to top piece to other side so the hole is position a little lower. This works much better for thicker pieces. Good tip for you is to think about the thickness of the pieces you will be using this jig for.
Links
Instagram 1 | 2
Make Something YouTube Channel
Hope this post has inspired you to make something!
And don’t forget to follow your excitement






Add comment