

I’m giving our hallway an updated look with a brand new DIY coat hanger and storage from solid Oak.
Design
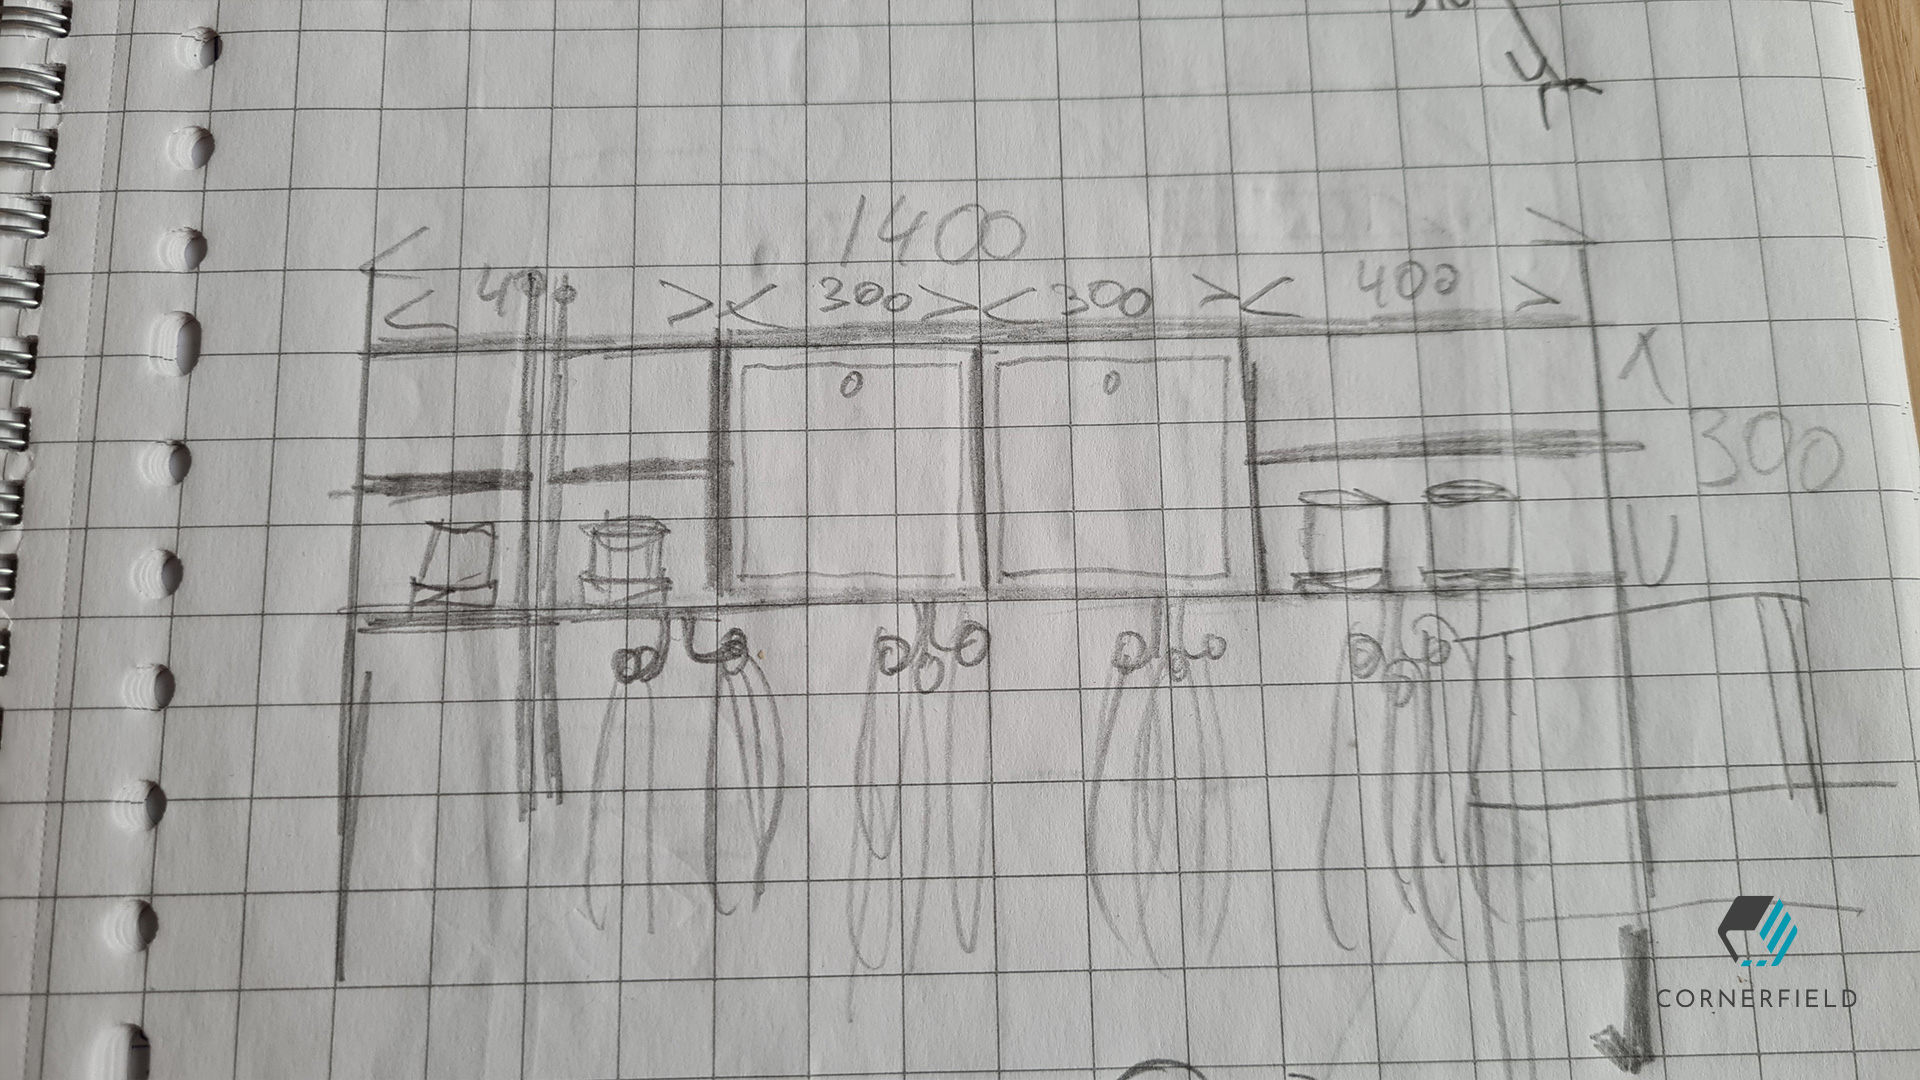
When we moved into our house I threw together a coat hanger from an old pallet just so we wouldn’t have to put our coats on the floor. That was almost 7 years ago and it’s time for something better! After talking about it with my wife we decided on making something from solid Oak with a very minimalistic look. Our hallway is very small so we wanted it to be as clean as possible. The color we add to the design should come from the baskets so it’s easy to change later on. A simple sketch was my basis. Normally I make a 3D model but this was such a simple project, I decided the drawing would be enough. After we found the baskets we wanted, the hooks and some straps to pull the baskets out of the storage, I could get to work.
Build
Material
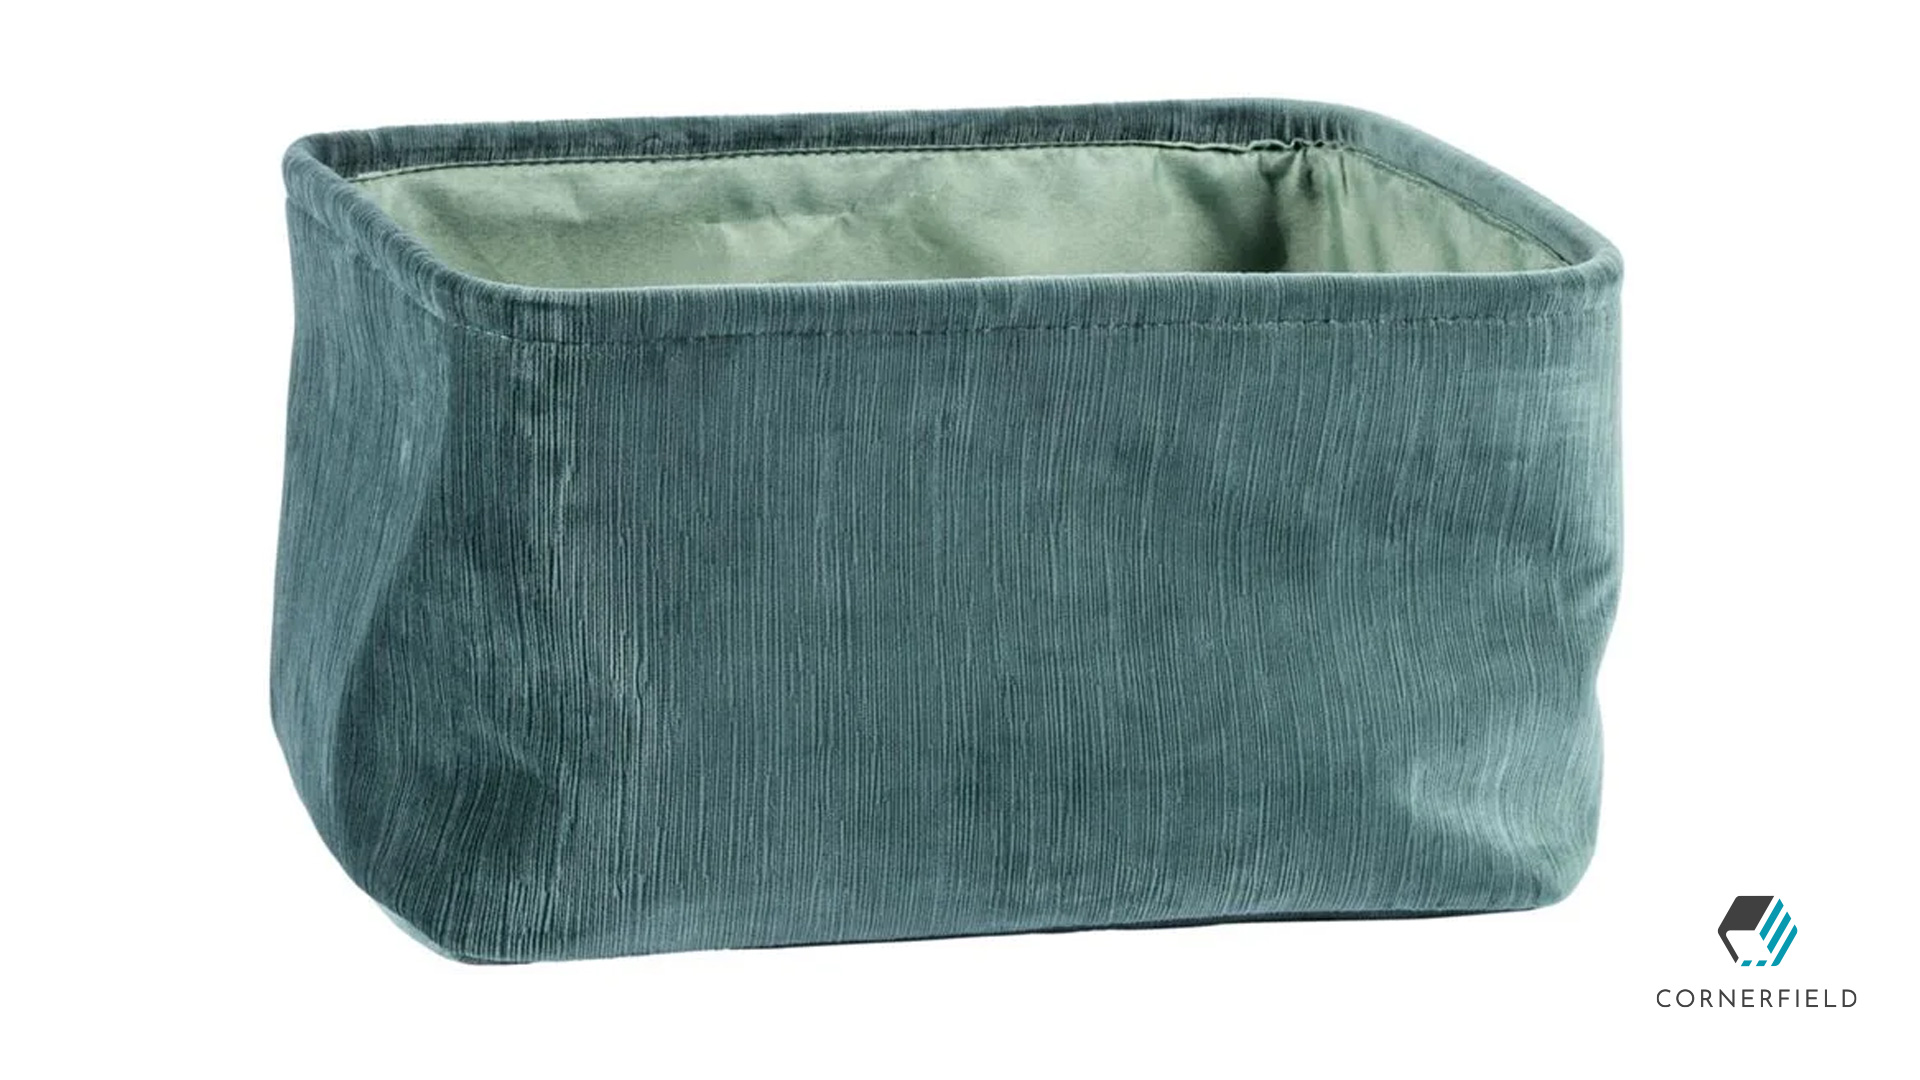
Making a list of materials was easy, since it’s very short. I got some boards of Oak, 2 baskets, 2 straps and 5 hooks. I’ve linked the exact items I used for this project below in the links section if you are interested. Besides those materials I also used a few screws and wood glue.

Preparation
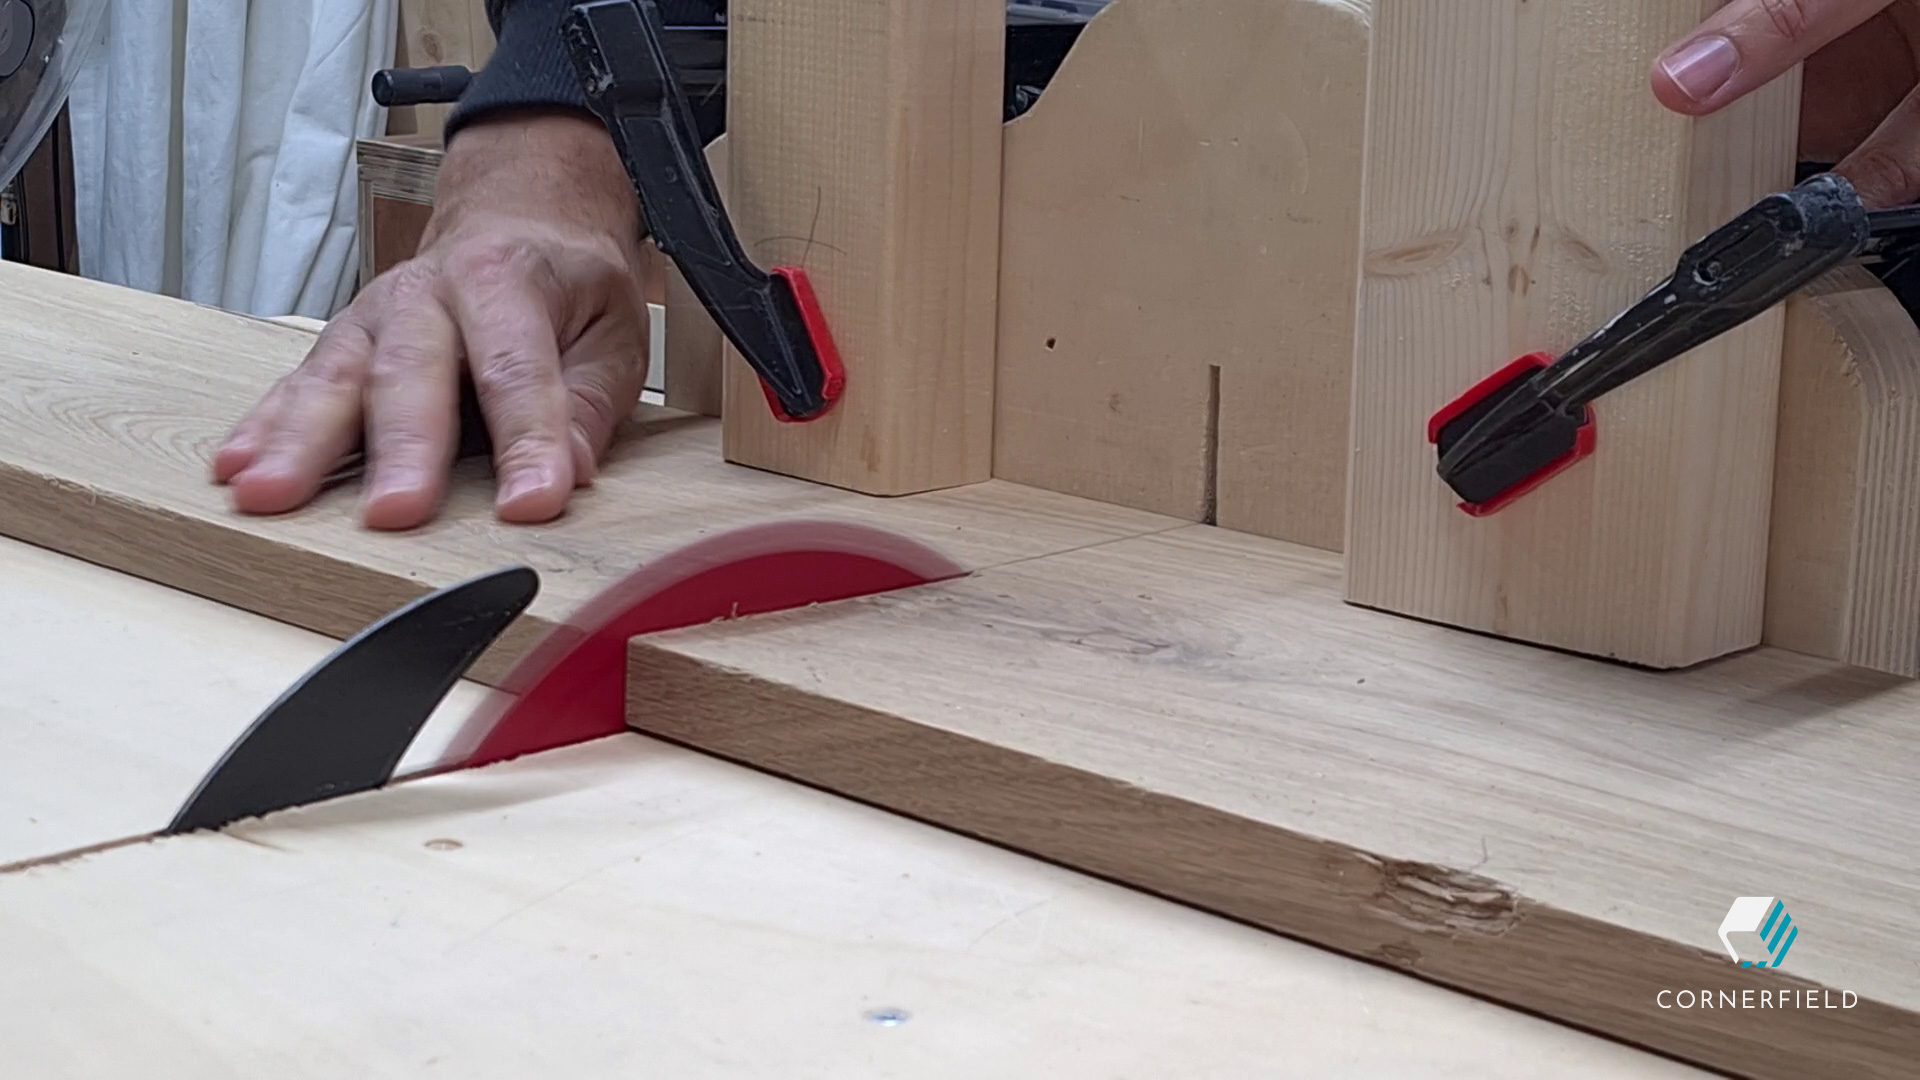
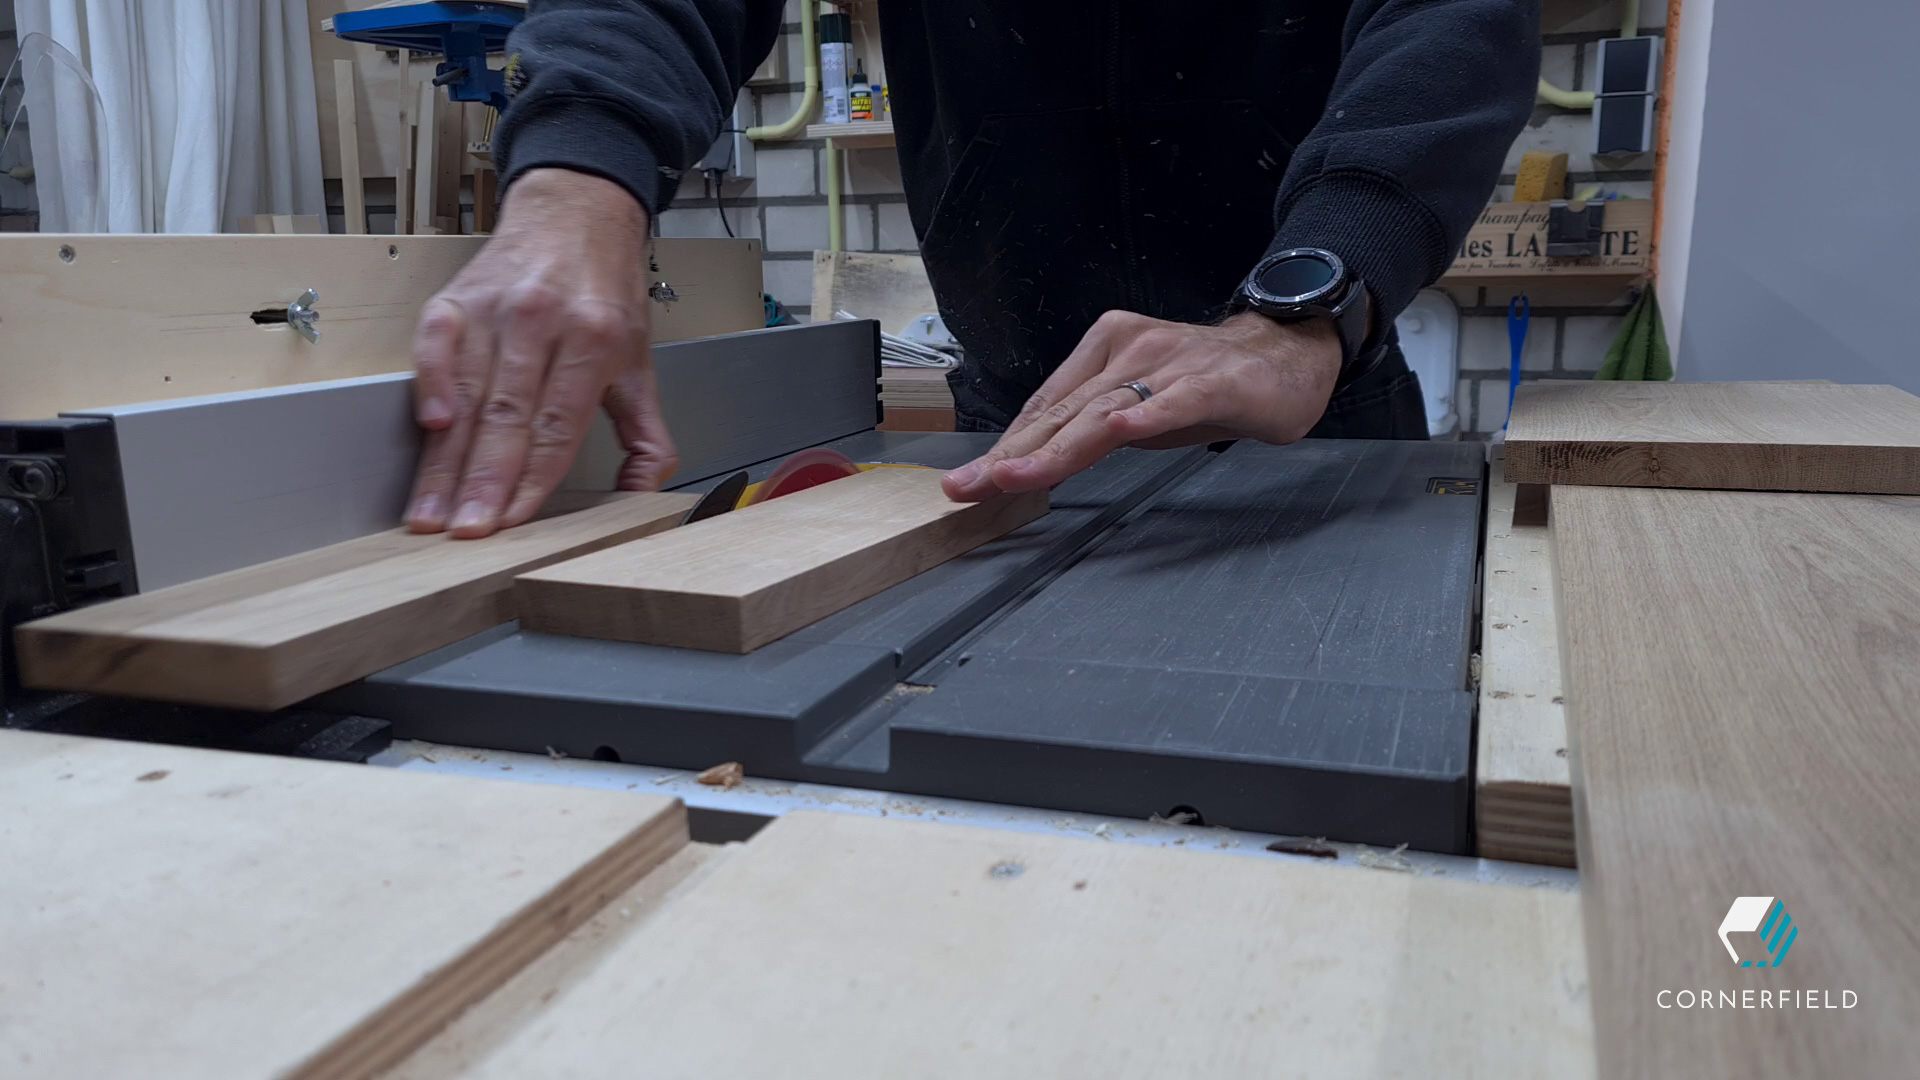
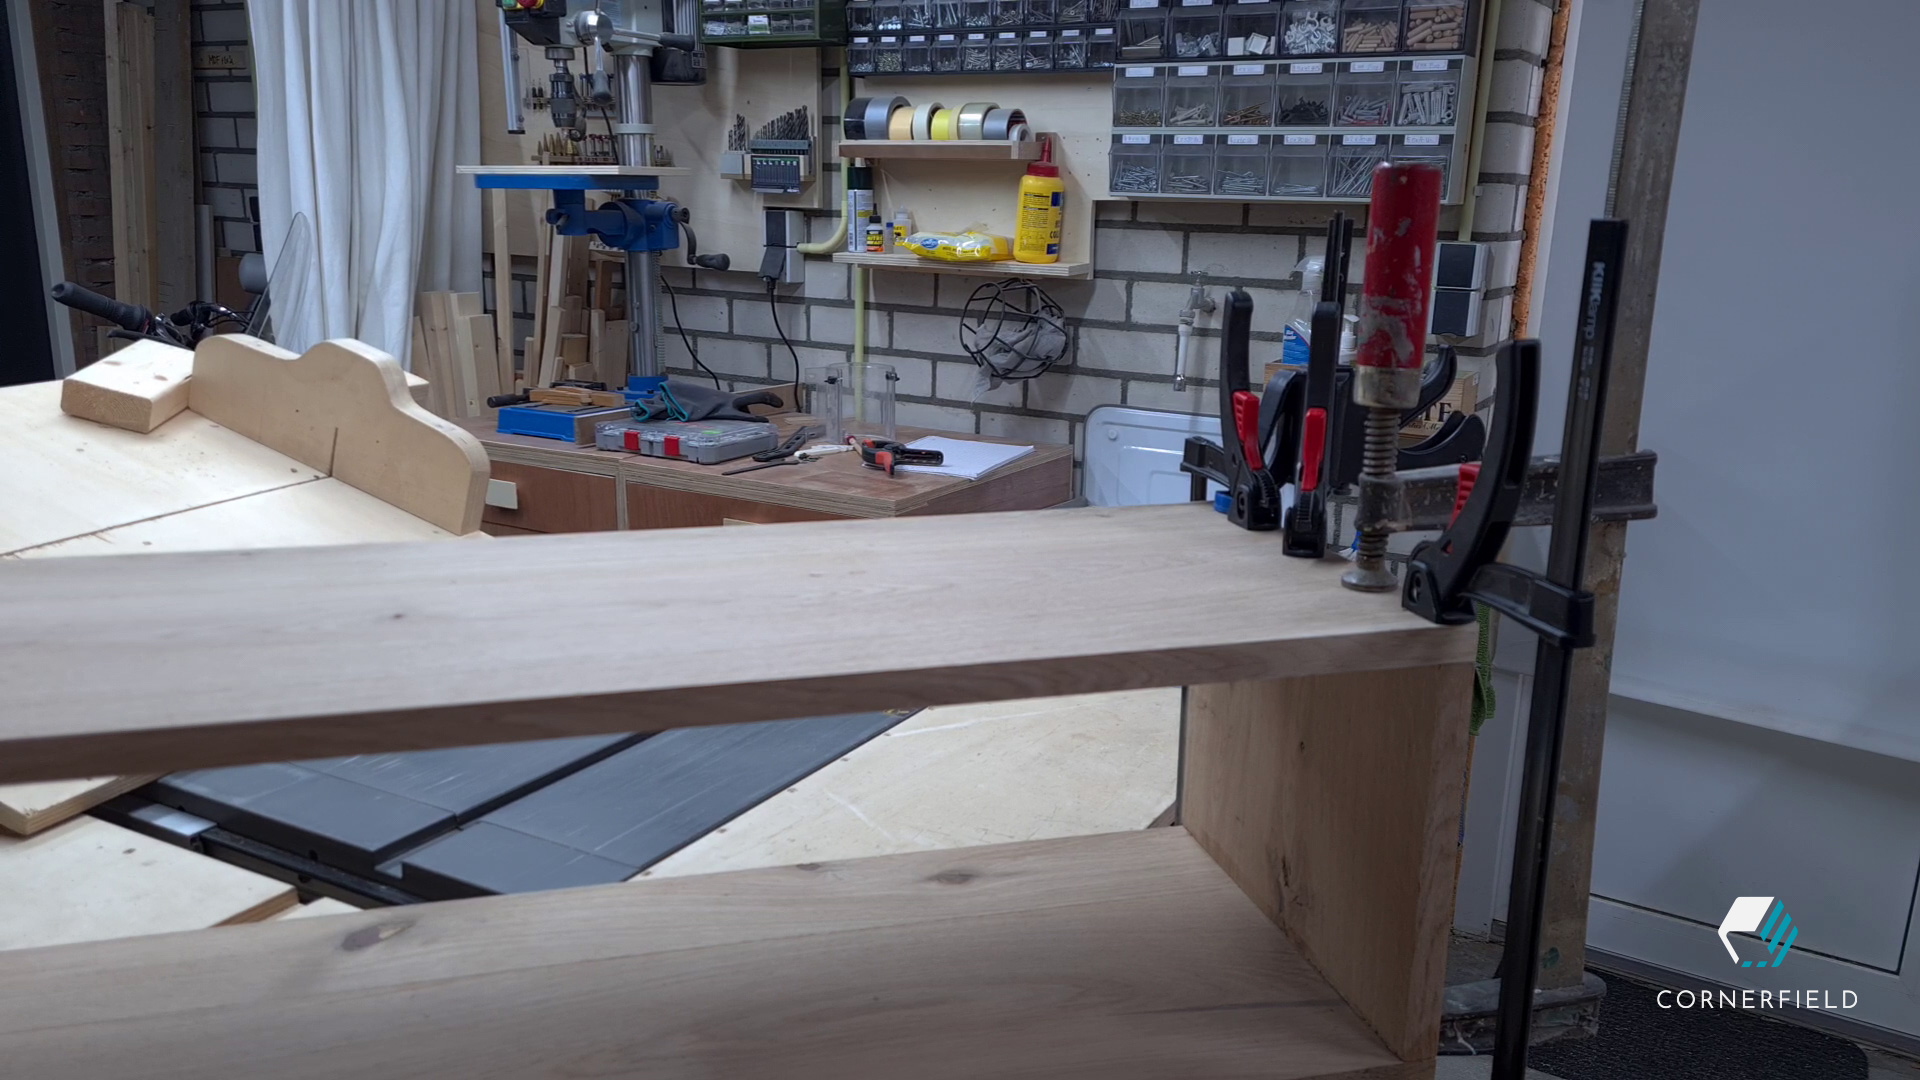
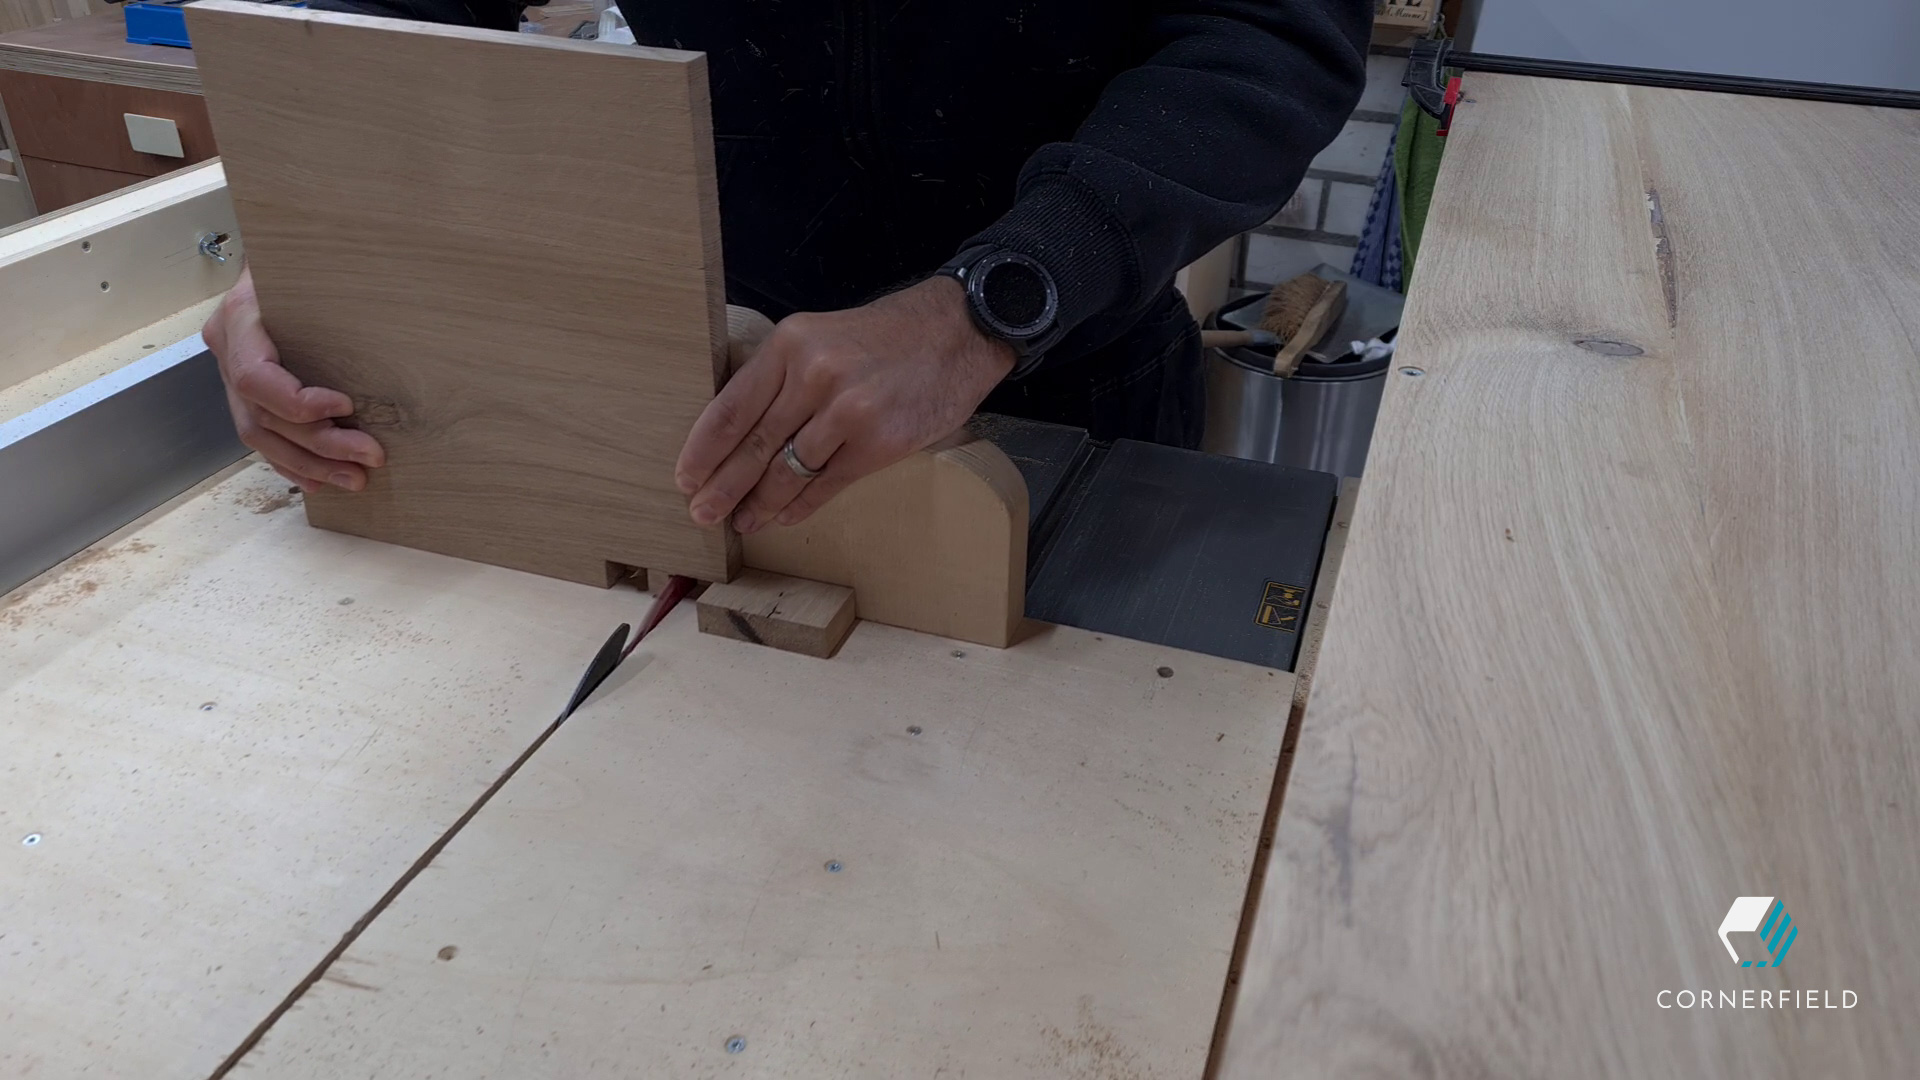
First up is the cabinet. My first step is cutting my material to rough size. I used my table saw and cross-cut sled for that. To make sure my board stayed on the sled while cutting I clamped a few scraps to my fence. This is always a good idea when your piece is heavy on one side and wants to fall down once it’s cut. Since the boards I had where about 20cm wide and I wanted the cabinet to be 30cm wide, I had to glue a piece onto every board. I figured that ripping a piece in half would give just about what I needed for widening two boards minus a few millimeter. So that’s what I did. With all that cut to rough size, I cut start gluing the pieces together.
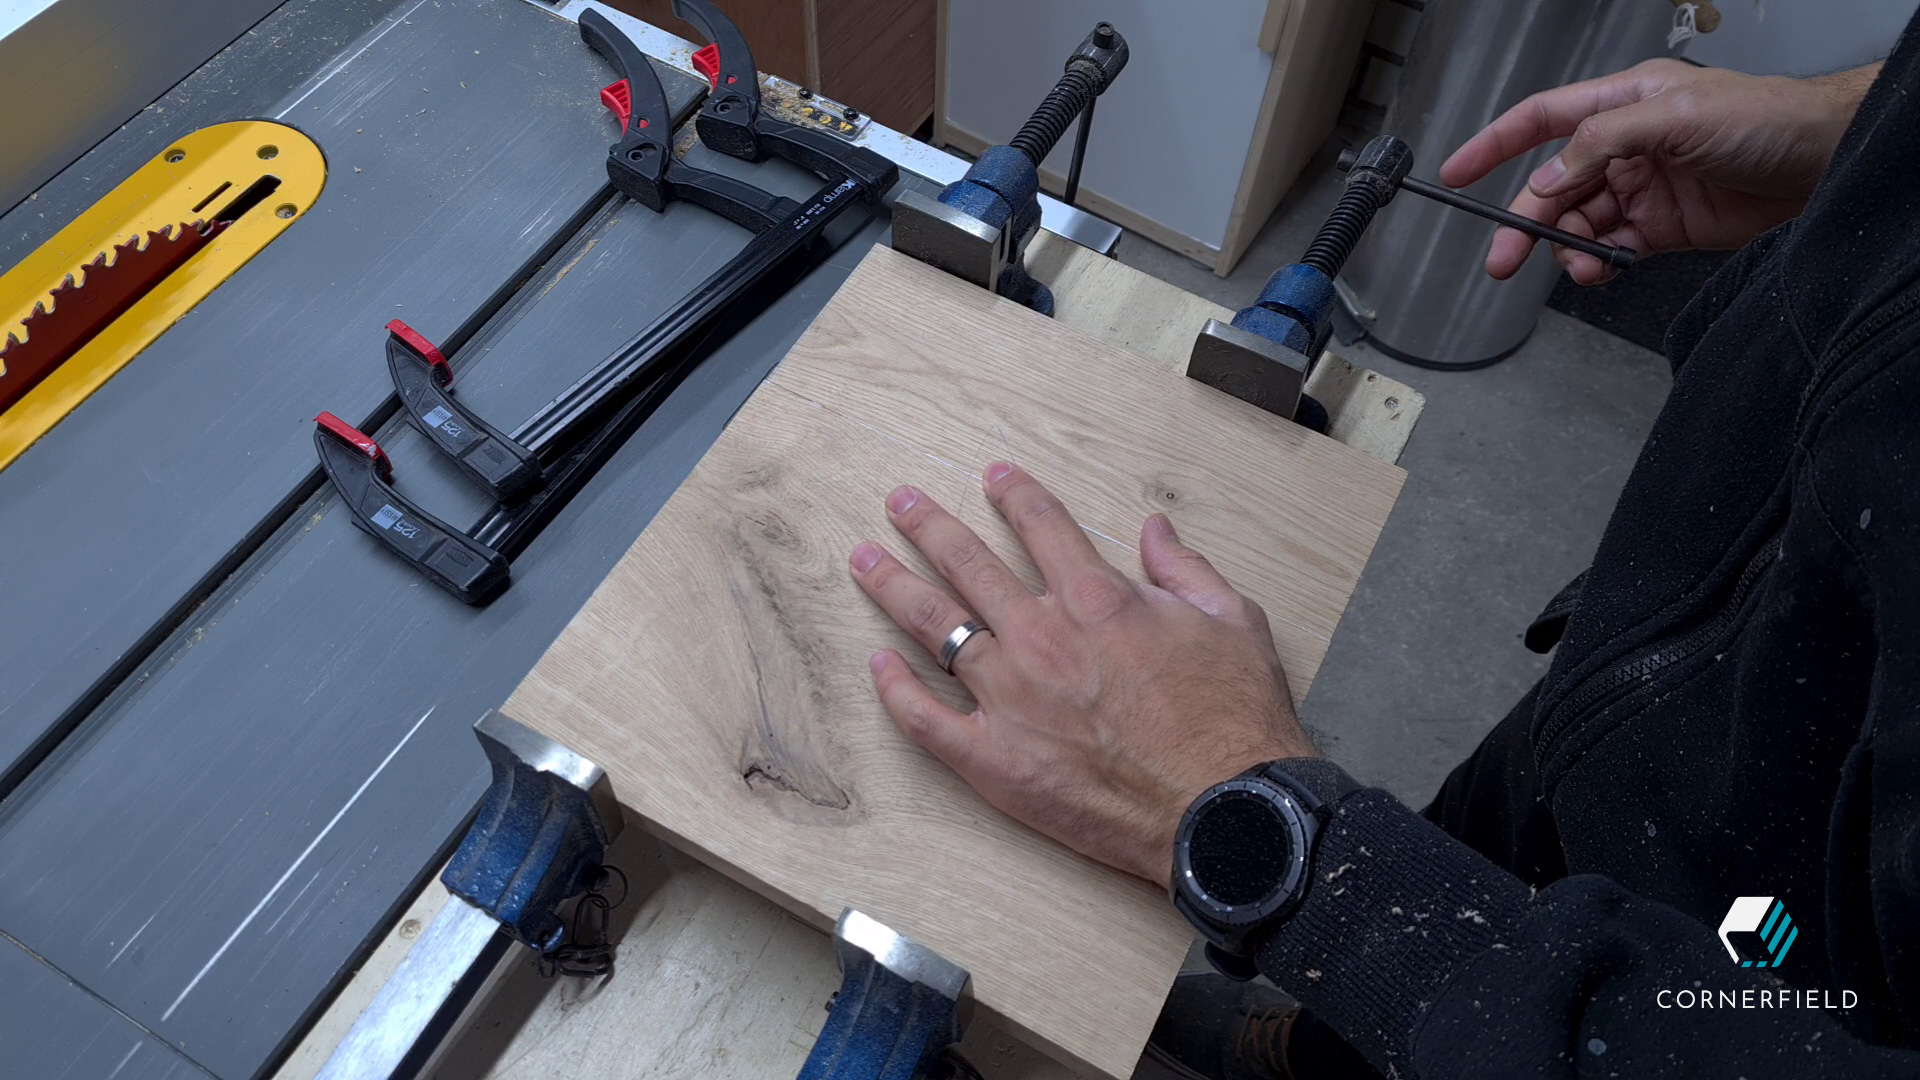
Gluing the pieces together is simple enough as long as you take the time to properly align and clamp the pieces. Use slow curing glue if that helps you. Don’t use dowels or domino’s to get this done. It will only add possibilities for error and it does nothing for the strength of the glue-up. The pieces are small enough that it’s easy enough with some patience and a few clamps. Once that pieces were dry I could start assembly.
Cabinet assembly
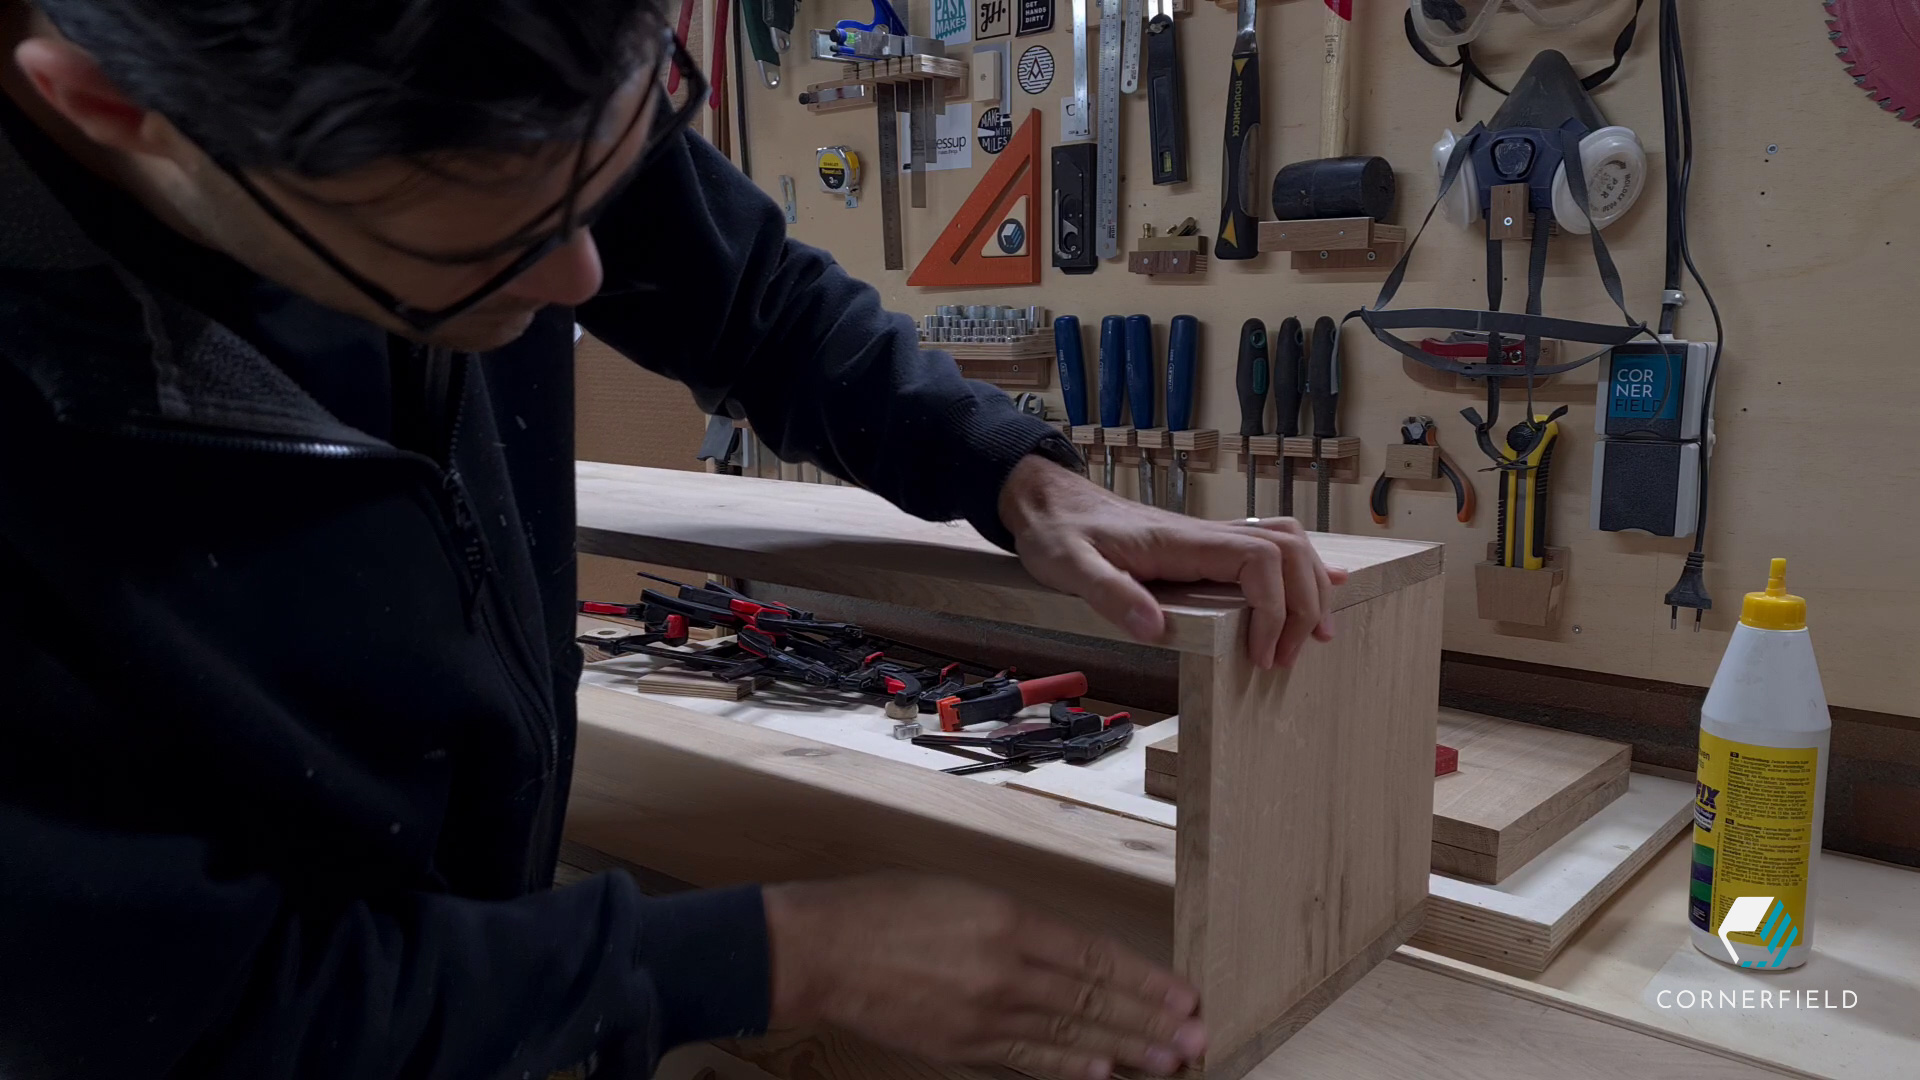
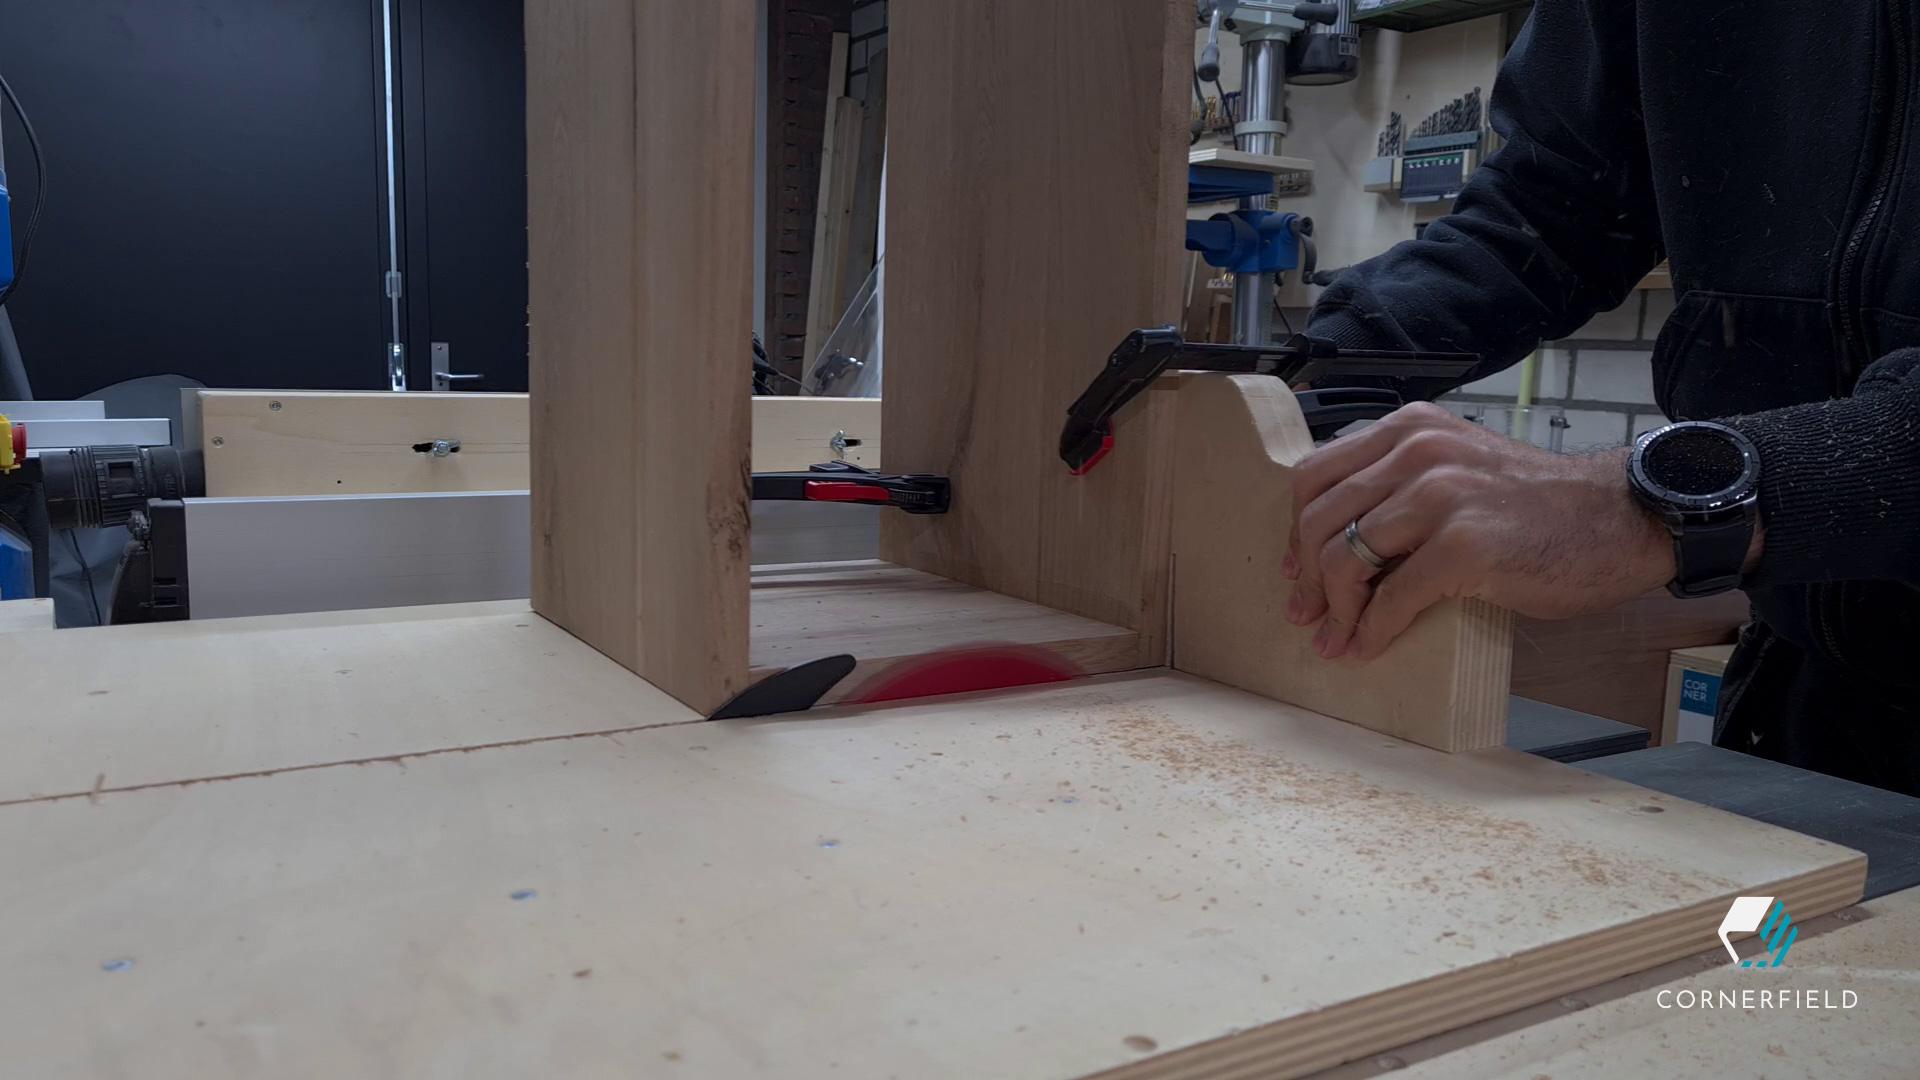
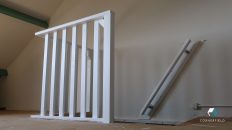
The first thing on the list of assembly are the sides of the cabinet. I start by making sure both sides are the same height and the ends are perfectly square. Once that is done I clamp two angled pieces to the bottom of the cabinet, apply glue to where the sides will go and clamp the side to both the angled pieces and the bottom. Once that is dry I repeat this process for the other side.


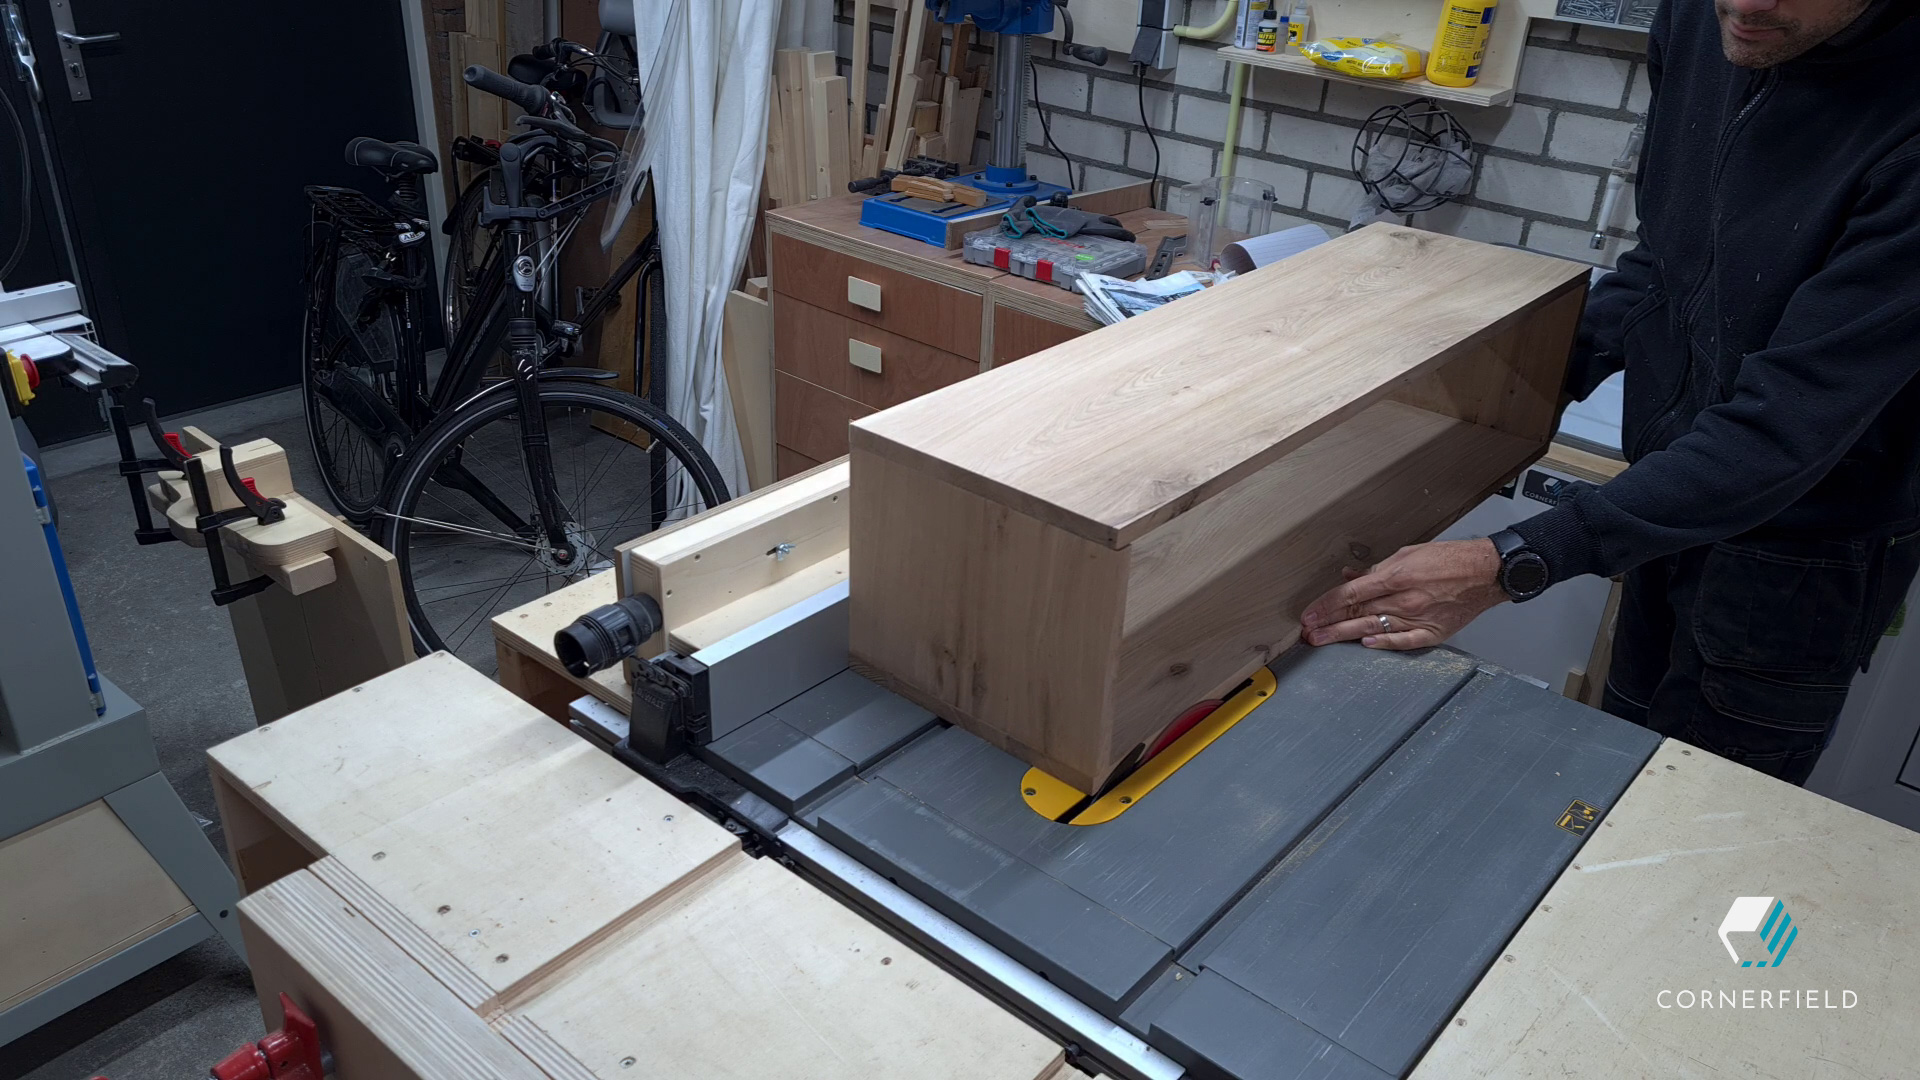
With the sides glued into place I can sneak up on the final length for the top and glue that into place as well. Since my top had a slight bow I made sure I used enough clamps and left it to dry long enough. Once this was dry as well, I could remove the clamps and check the result so far. It turned out a pieces where a little longer than I would like them to be so I cut those flush on my table saw. For the short sides I used my cross-cut sled.
Mounting strip
The next piece is a strip that goes on the inside of the cabinet. This strip will be used to attach the cabinet to the wall. It also helps to keep my top flat (considering the bow). I like this to be a very tight fit so I sneak up on the final dimensions until it barely goes in. Once I’m happy I glued it in and added a few screws from the top for good measure. Plus I didn’t want to wait for the glue to dry again…
Dividers
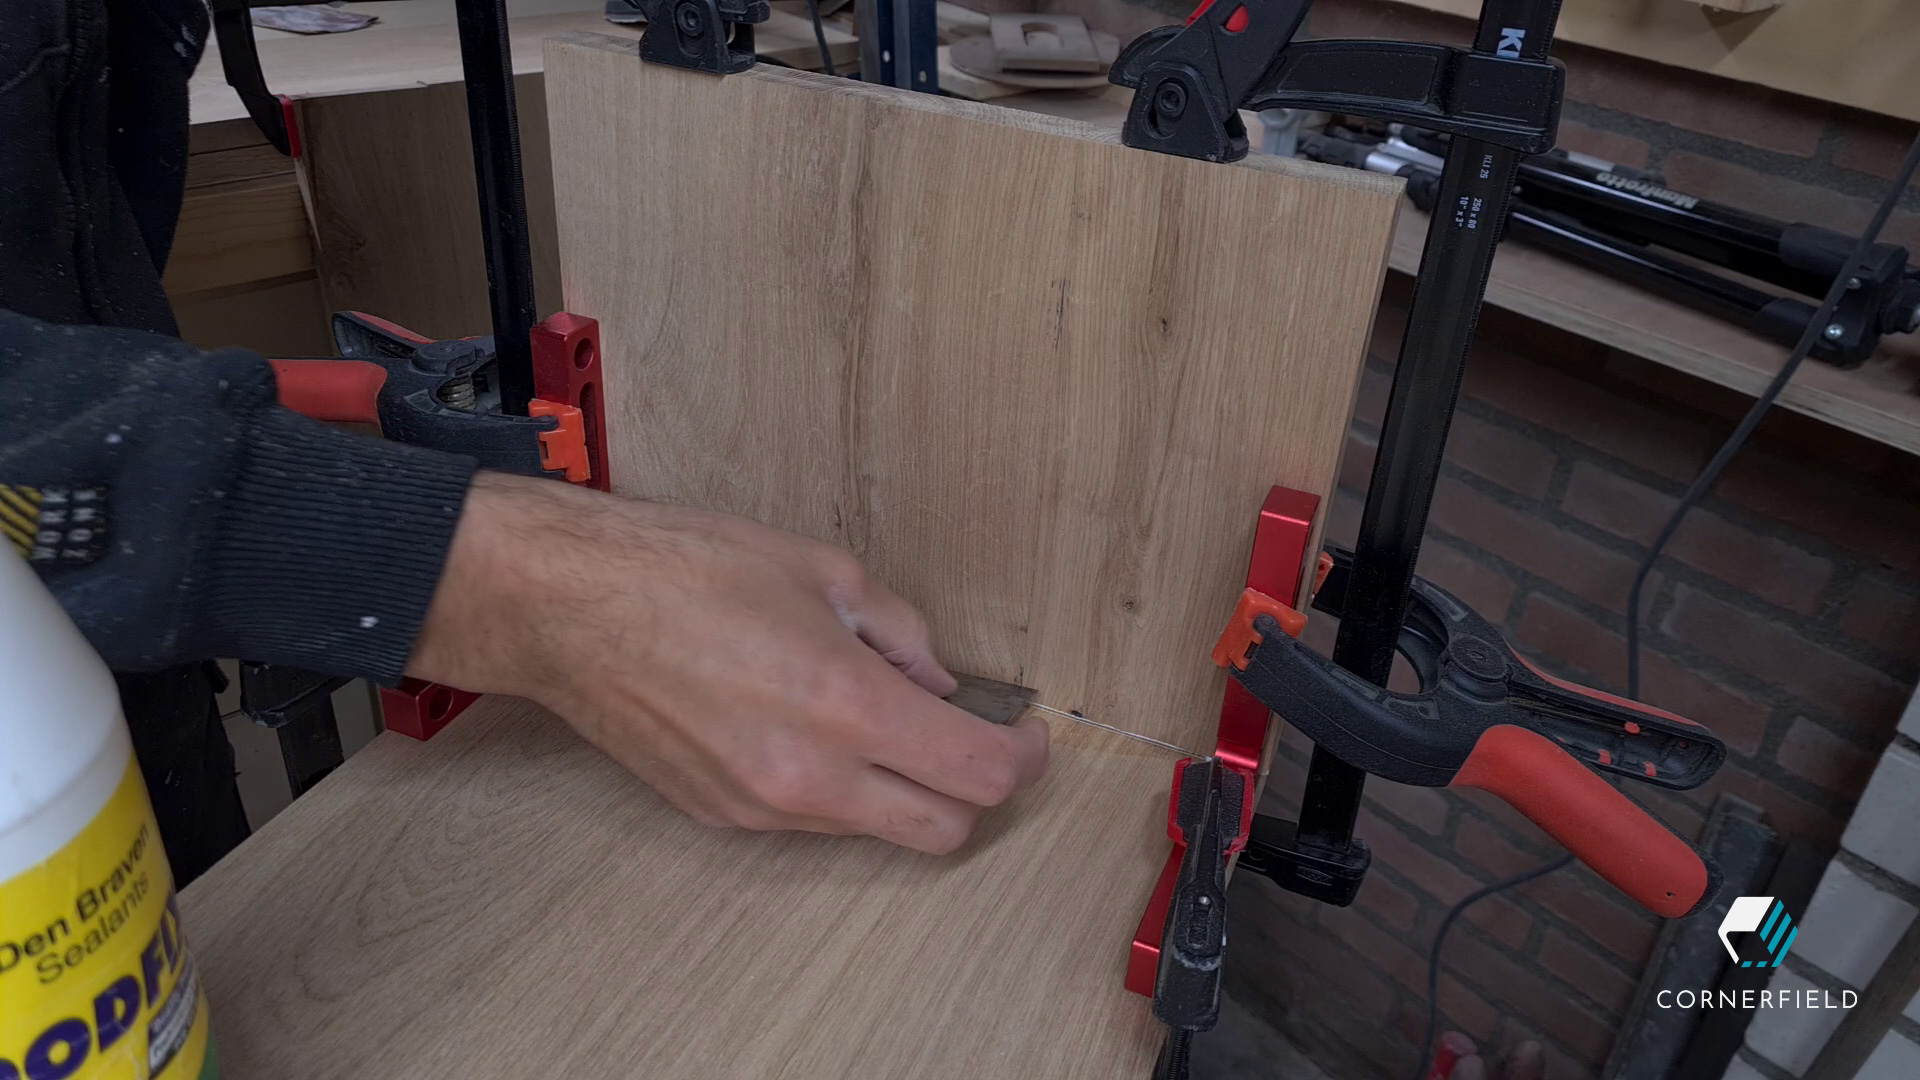
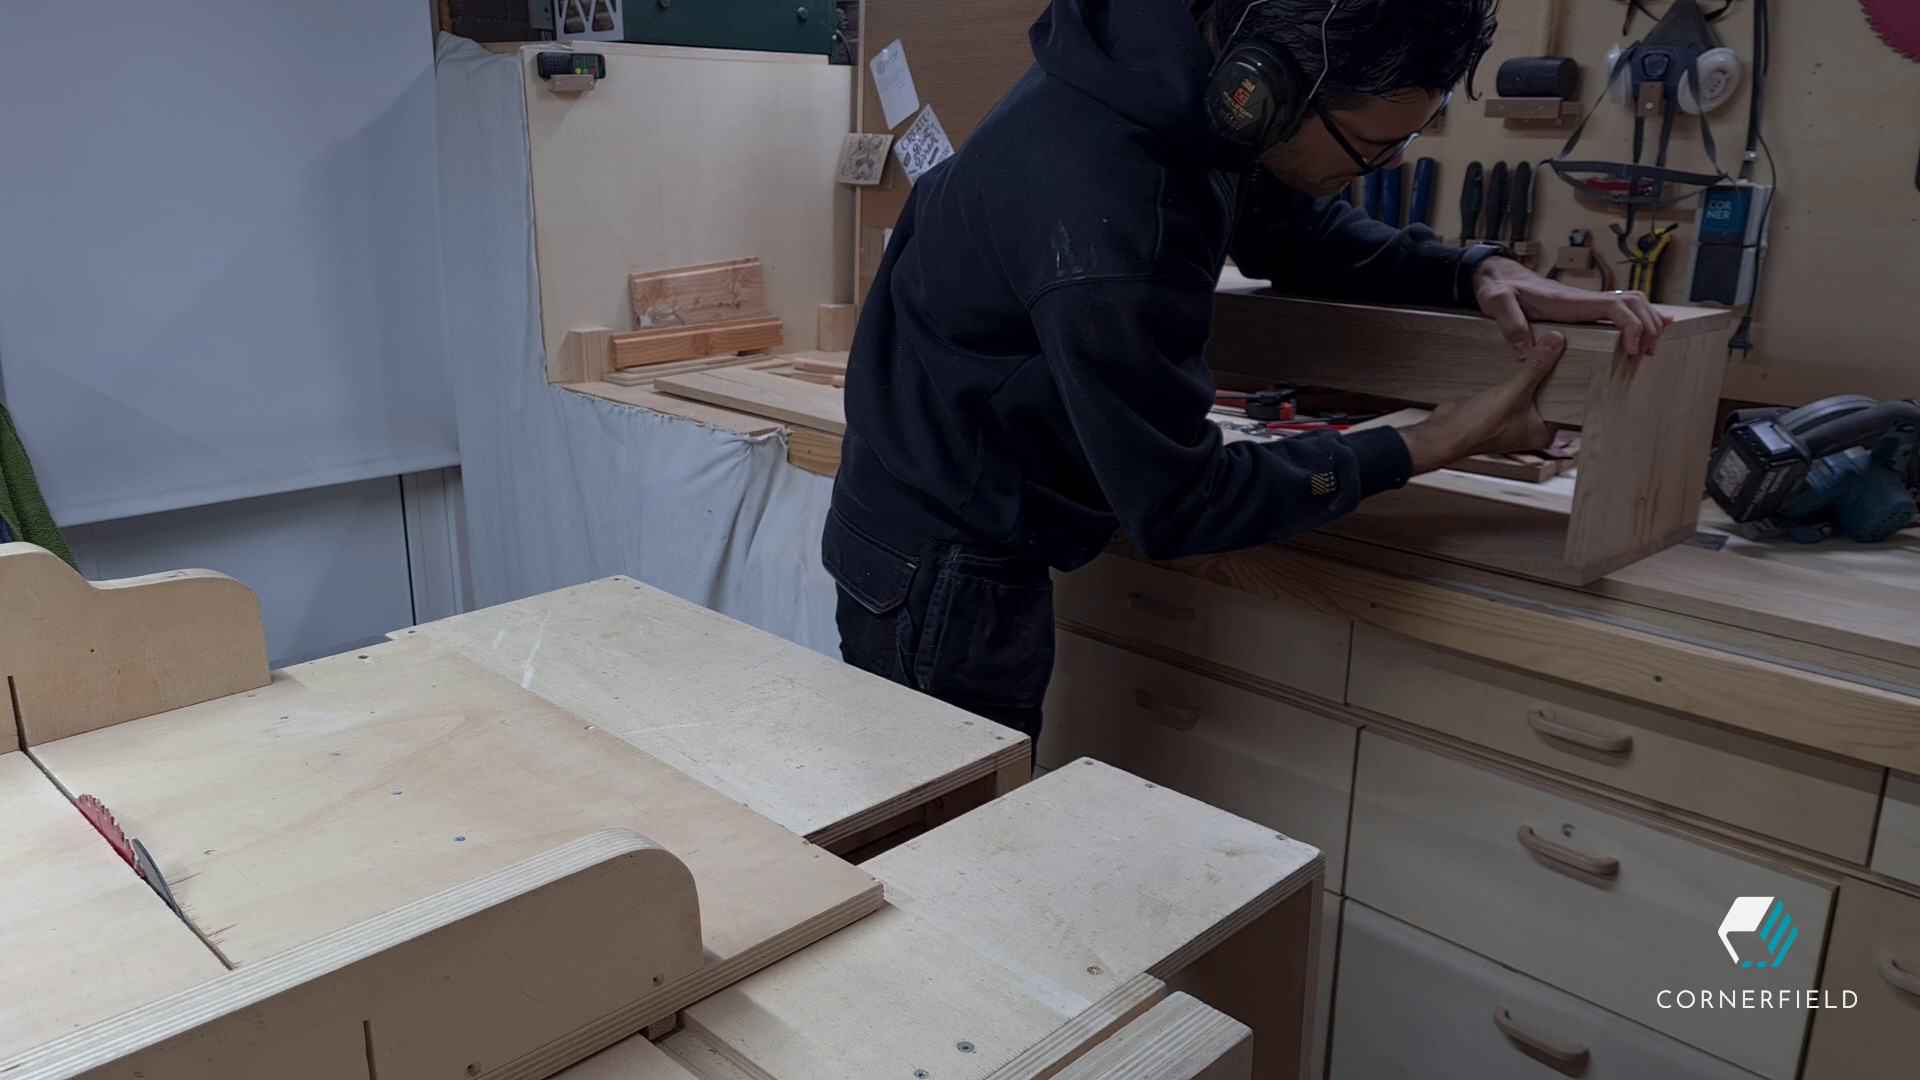
My last two pieces are dividers that go on the left side. The vertical piece needs a slot cut into it so it goes past the strip that I just attached to the back. First I mark the dimensions of the cut-out on my board and use that to set the height of my table saw blade. With that done I use my cross-cut sled again to remove the material. Making sure that I support the edge before cutting away all of it to prevent the board from dropping down into the blade.

With the help of a few scraps as spacers I glue in the dividers and once the glue is dry, the cabinet is ready to be installed. Moving on the the most important piece. The coat hanger.
Coat hanger assembly
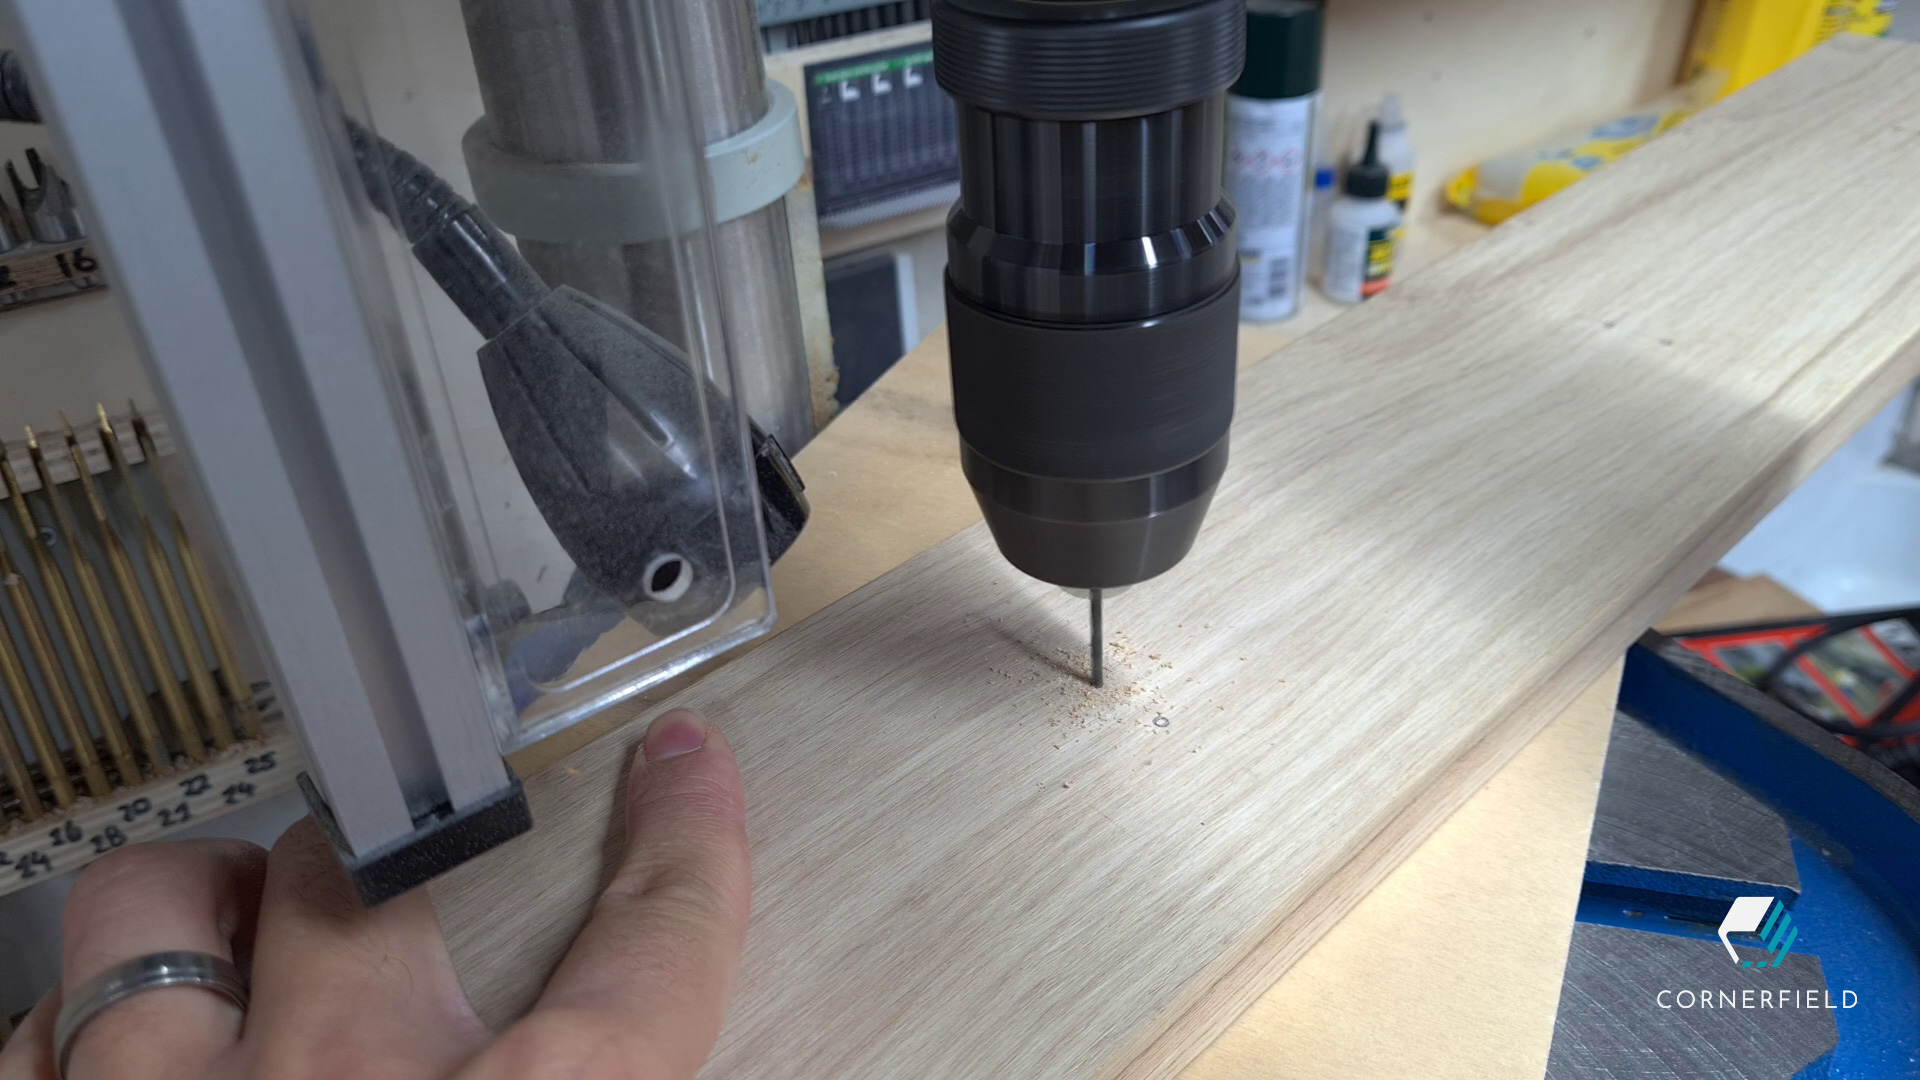
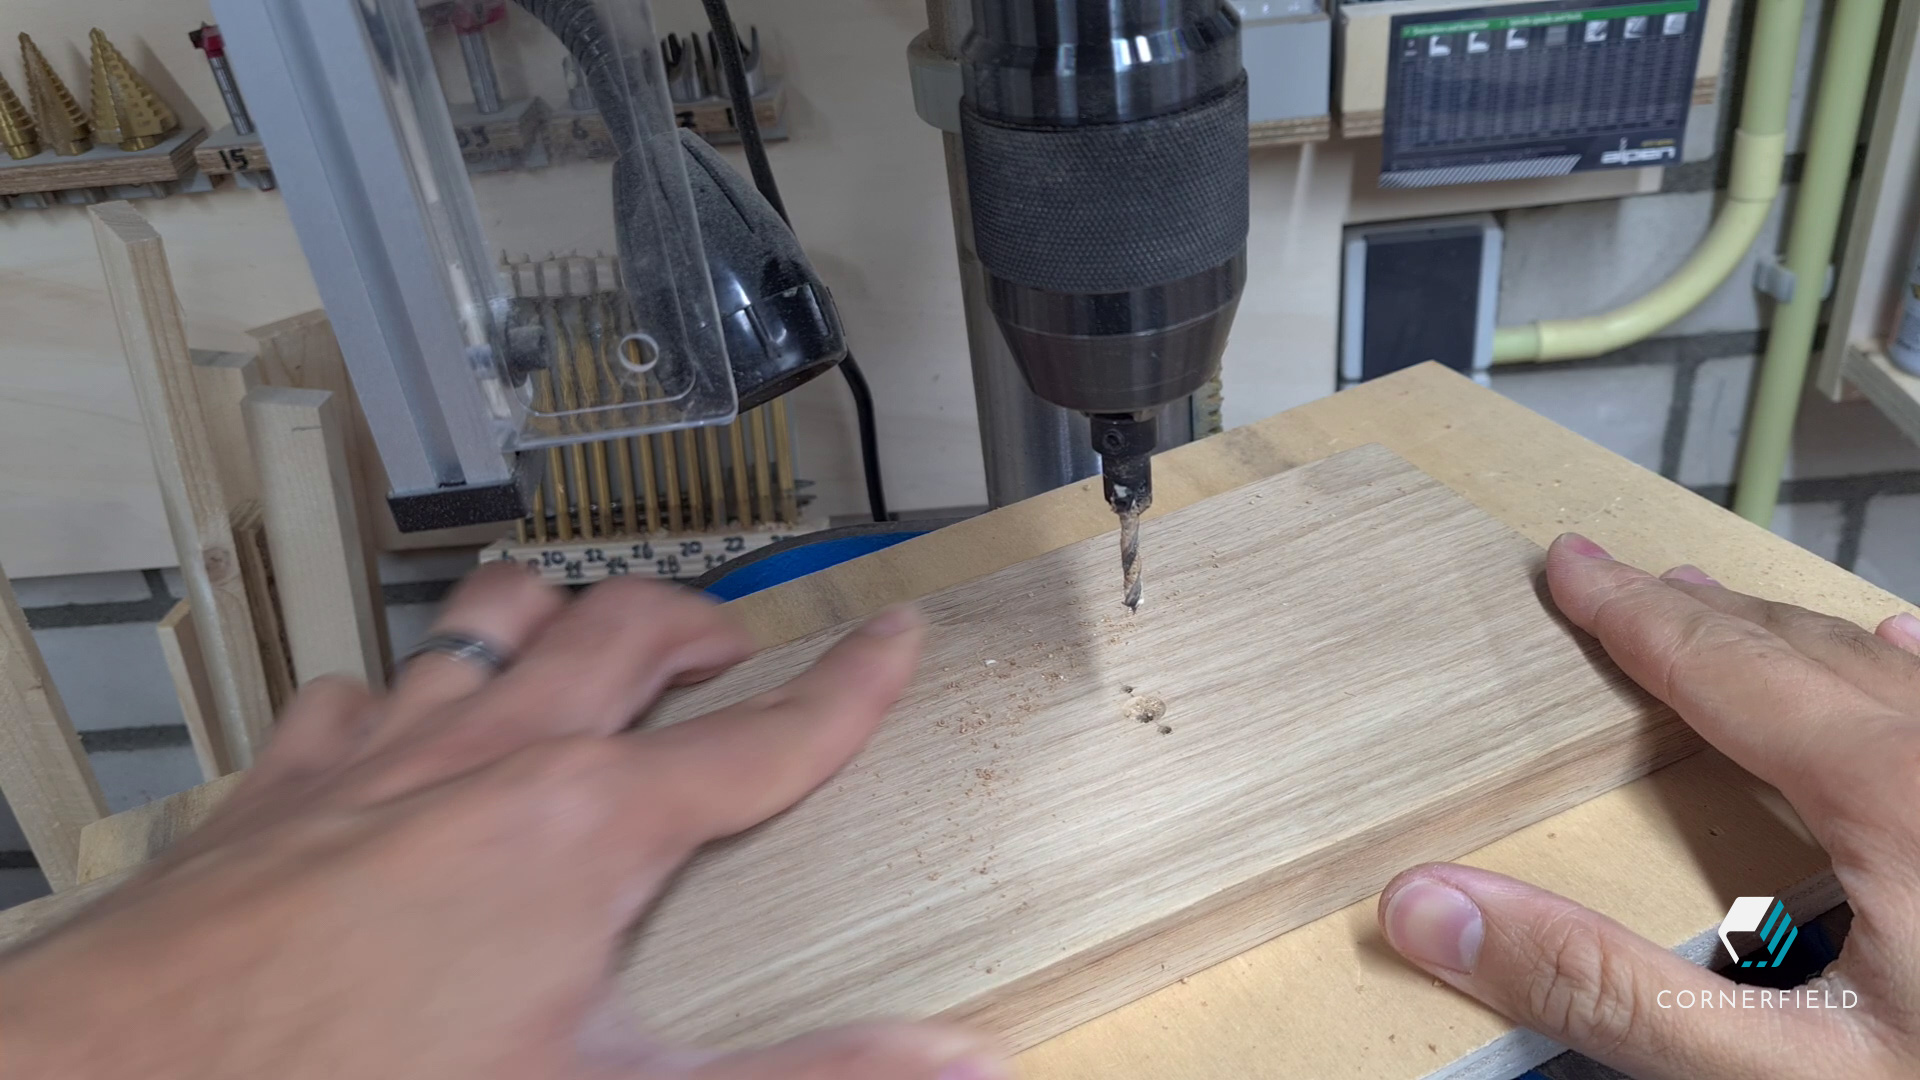
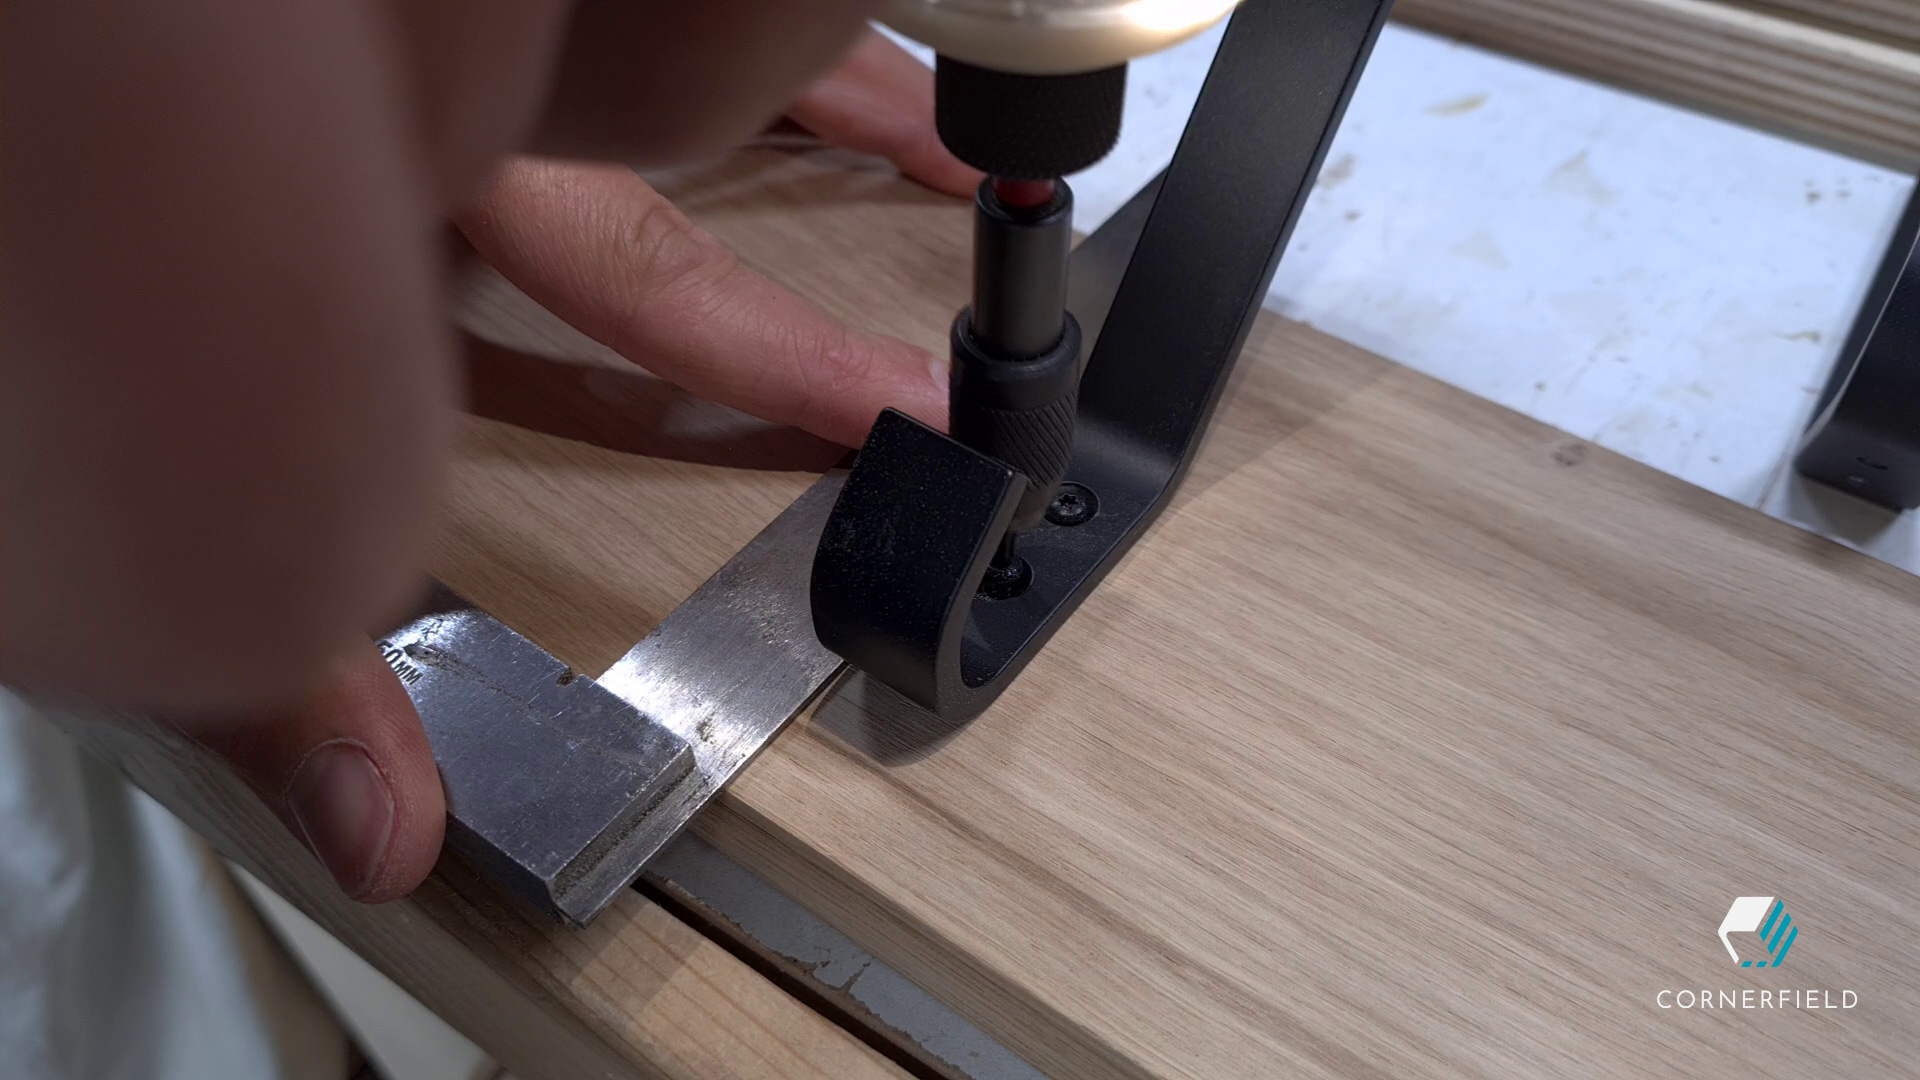
This piece is the most simple as you probably have guessed. It is a board that is cut to the same width as the cabinet and about 20% taller than the height of the hooks (for aesthetics). Once that is cut, take the hooks and lay them out. I spaced mine out more or less equally. The space on the two outer ones is a little smaller than the space between the ones in the middle. With the layout done be sure to mark the holes with the hooks laying square on the board. I drilled the holes for the hooks on my drill-press.
Invisible mounting
Besides the holes for the hooks, I added a hole in between the screws of the outer hooks. These holes will be used to mount it to the wall so I have no visible screws. If you want to do this yourself be sure your hooks are wide enough and you drill the hole exactly in line with the screw holes. All that is left now is putting on the hooks and mounting it to the wall.
Result
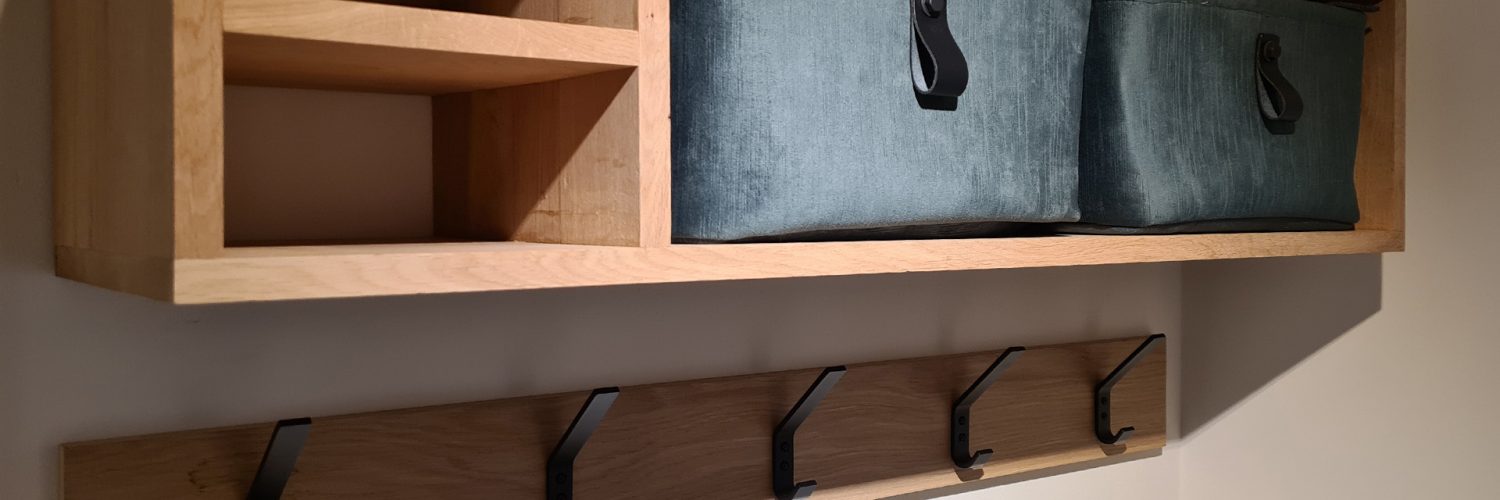
This new coat hanger and the storage is a far cry from what we had. A major improvement to say the least. I love how clean it looks and how functional it is. Perhaps it’s nothing fancy but it serves my needs perfectly and that is what I always strive for when making anything myself.

Links
Since I didn’t bother to make one for this build there is no 3D model to download but I did link the things I used.
Materials I used and where to buy them:
– Basket
– Hooks
– Strap
I hope this post has inspired you to make something!
Don’t forget to follow your excitement  .
.
– Rico
Add comment