

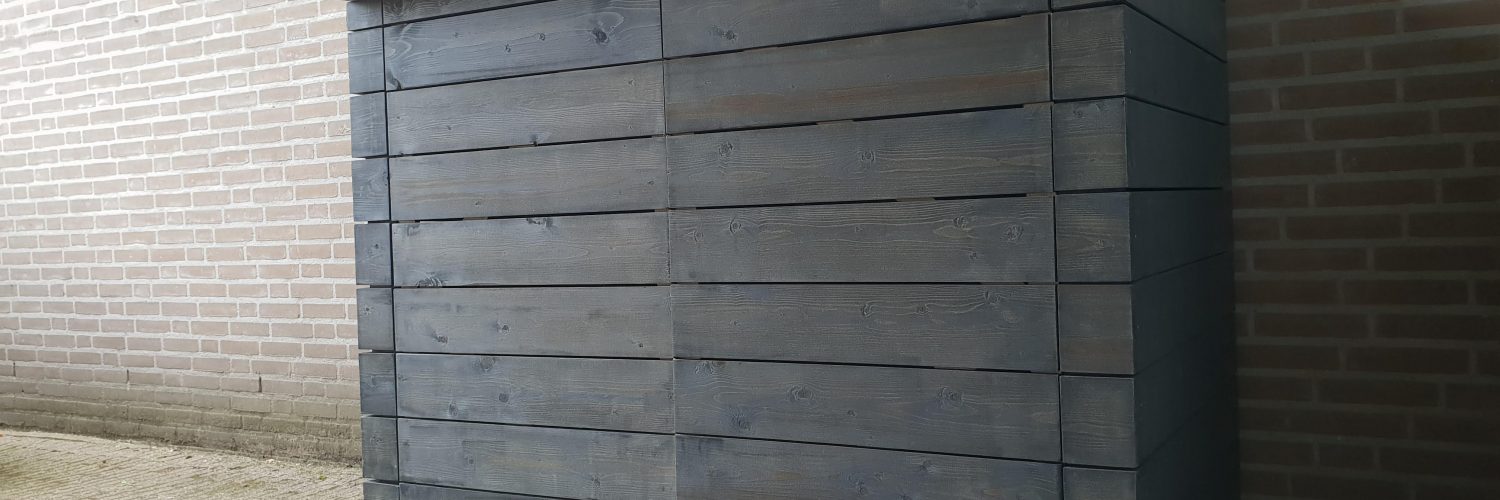
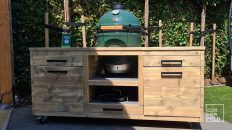
Placing garbage containers out of sight, that was the request. The shed had to look clean and be easy to use. Quite a challenge as it turns out…
Design
Before I started working on a design I looked at other builds with a similar purpose. I found a few that I liked and I mixed those together in what ended up being the final design. There is nothing fancy about this design, it should be as clean and simple as possible.
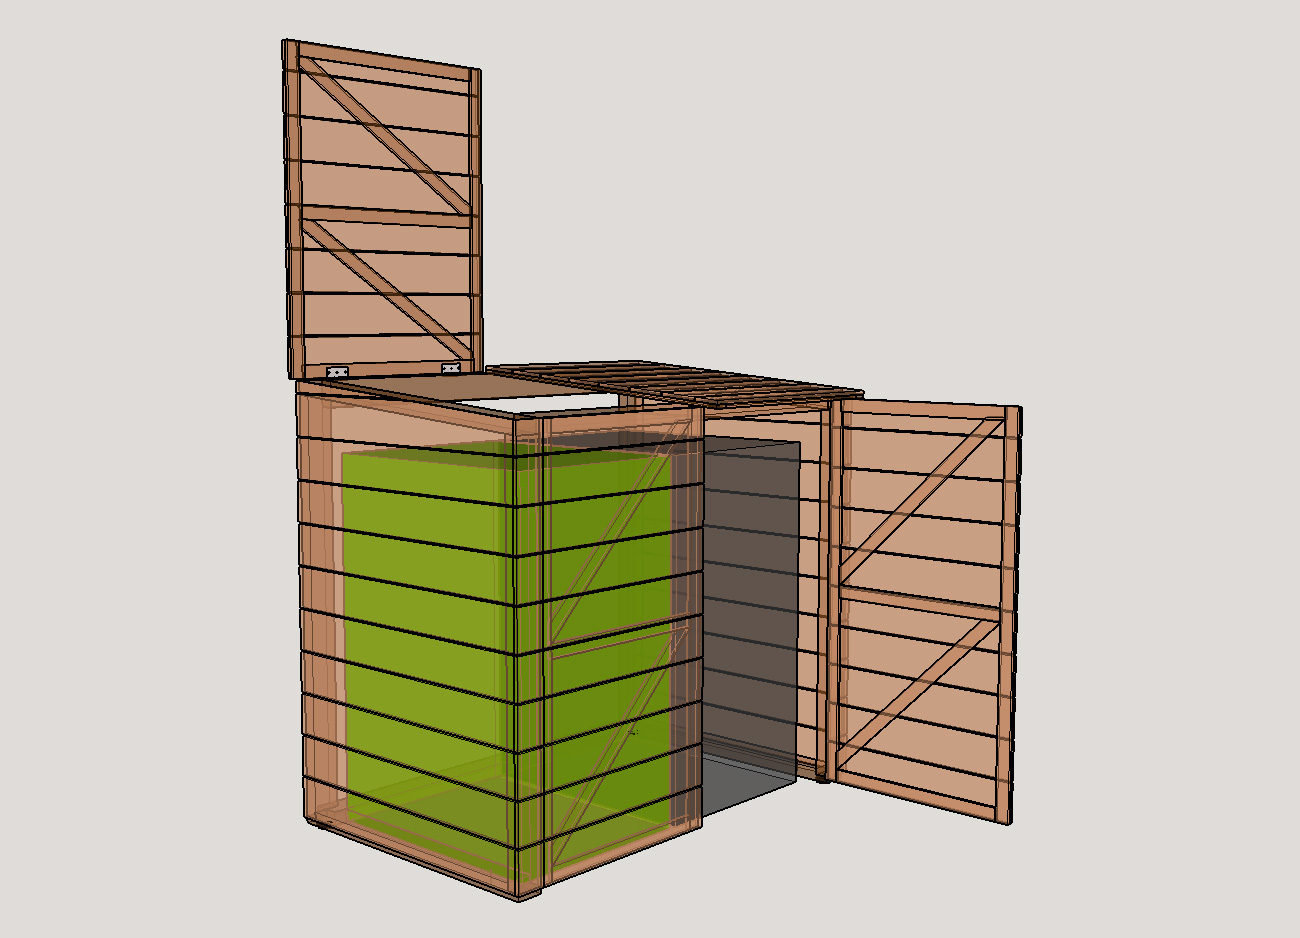
This visual is actually the second iteration. If you watched the video you will have noticed that the shed had a floor. This turned out to be a bad idea for the function. For the structural integrity, it worked great but you couldn’t put in full containers so I changed the design.
Build
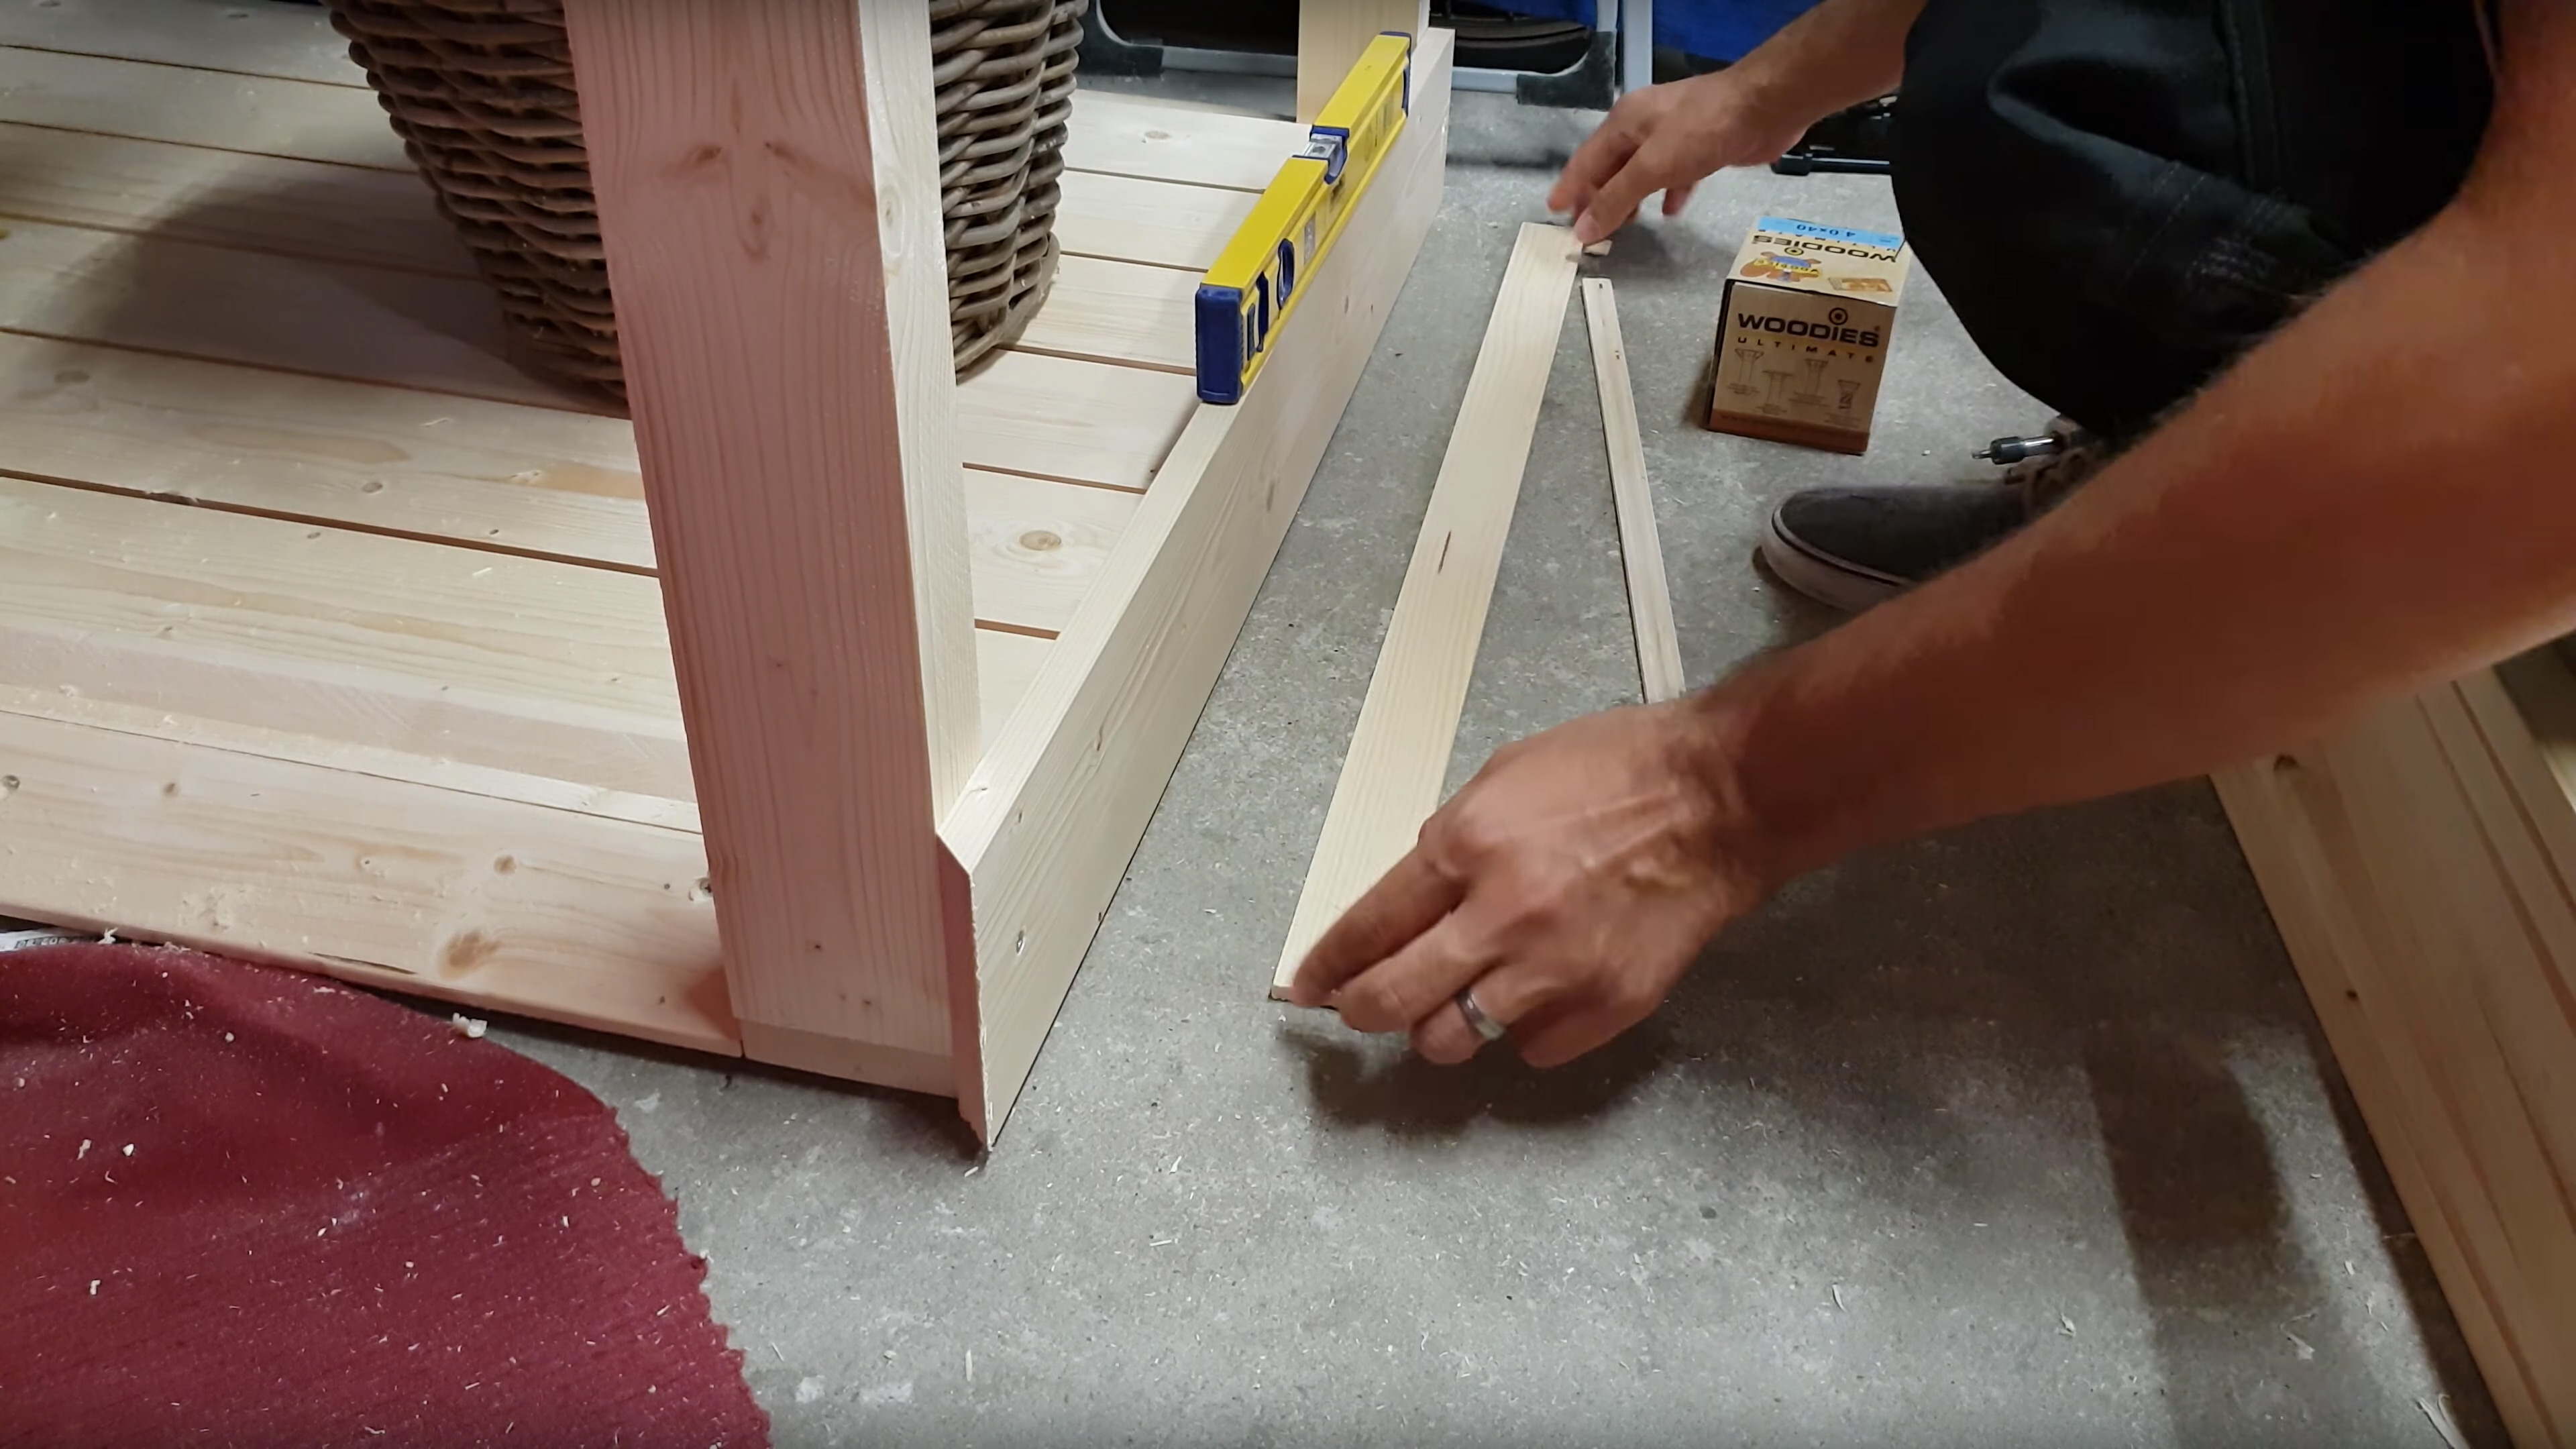
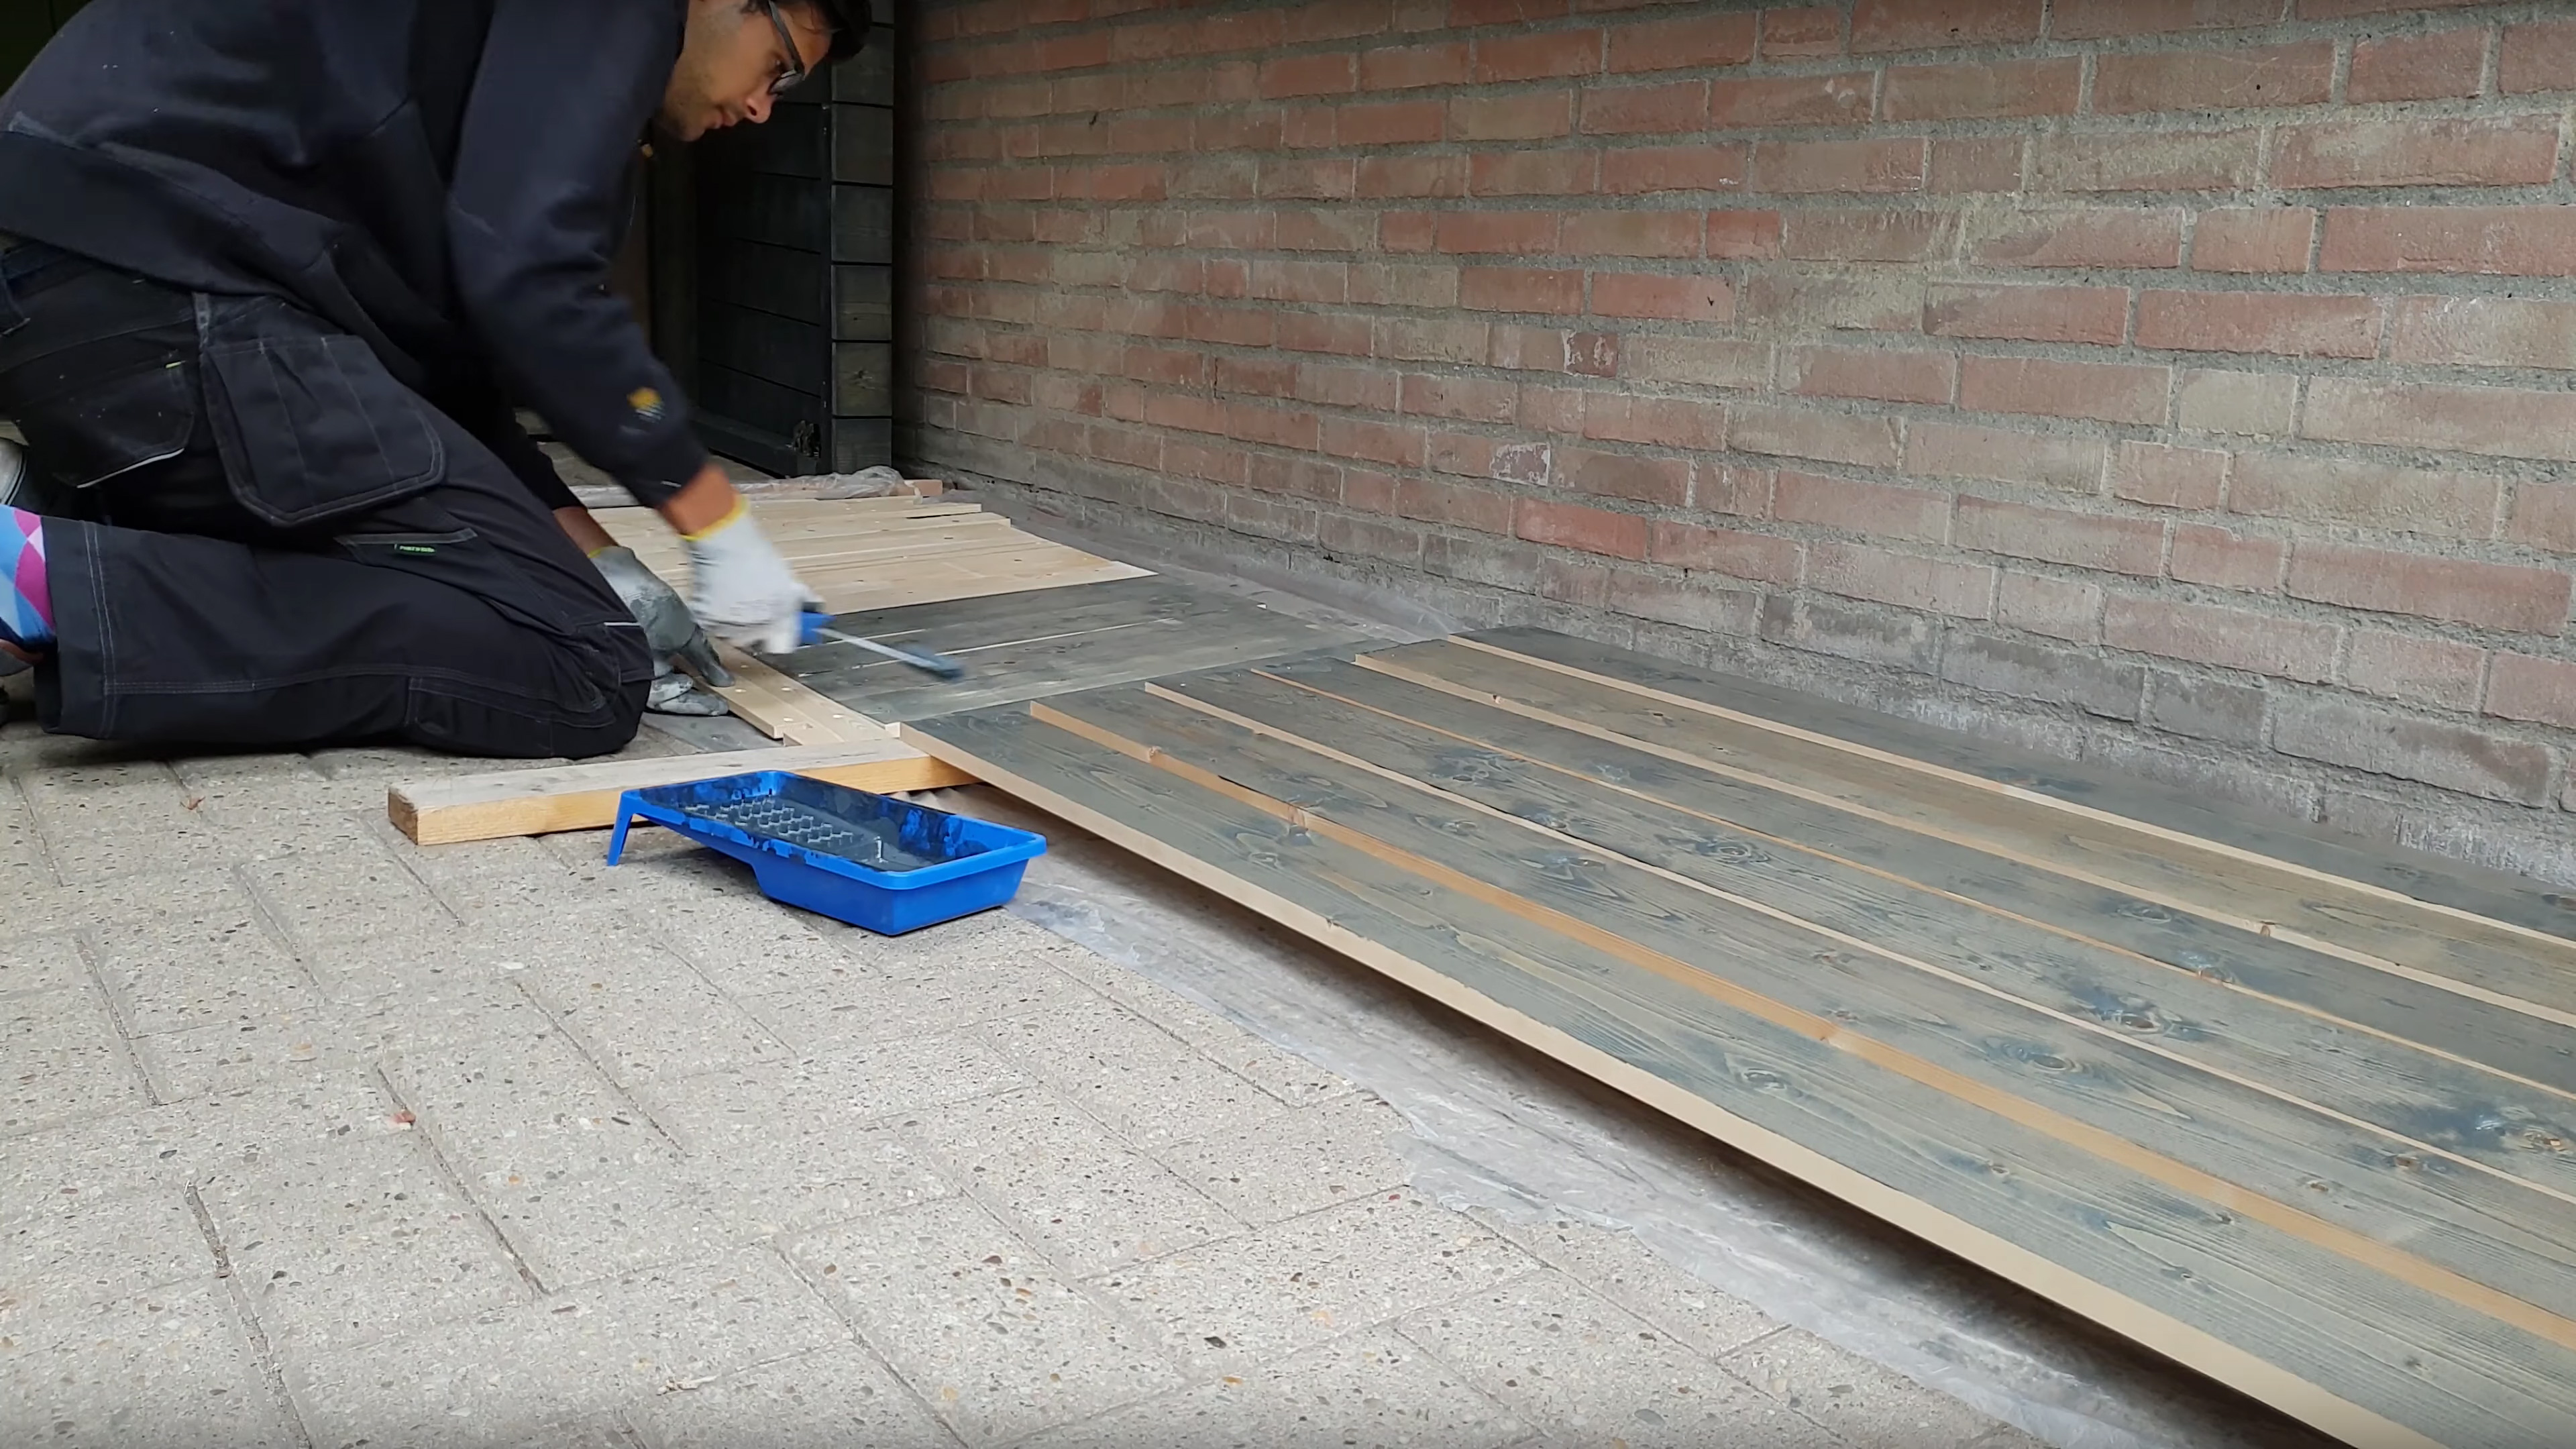
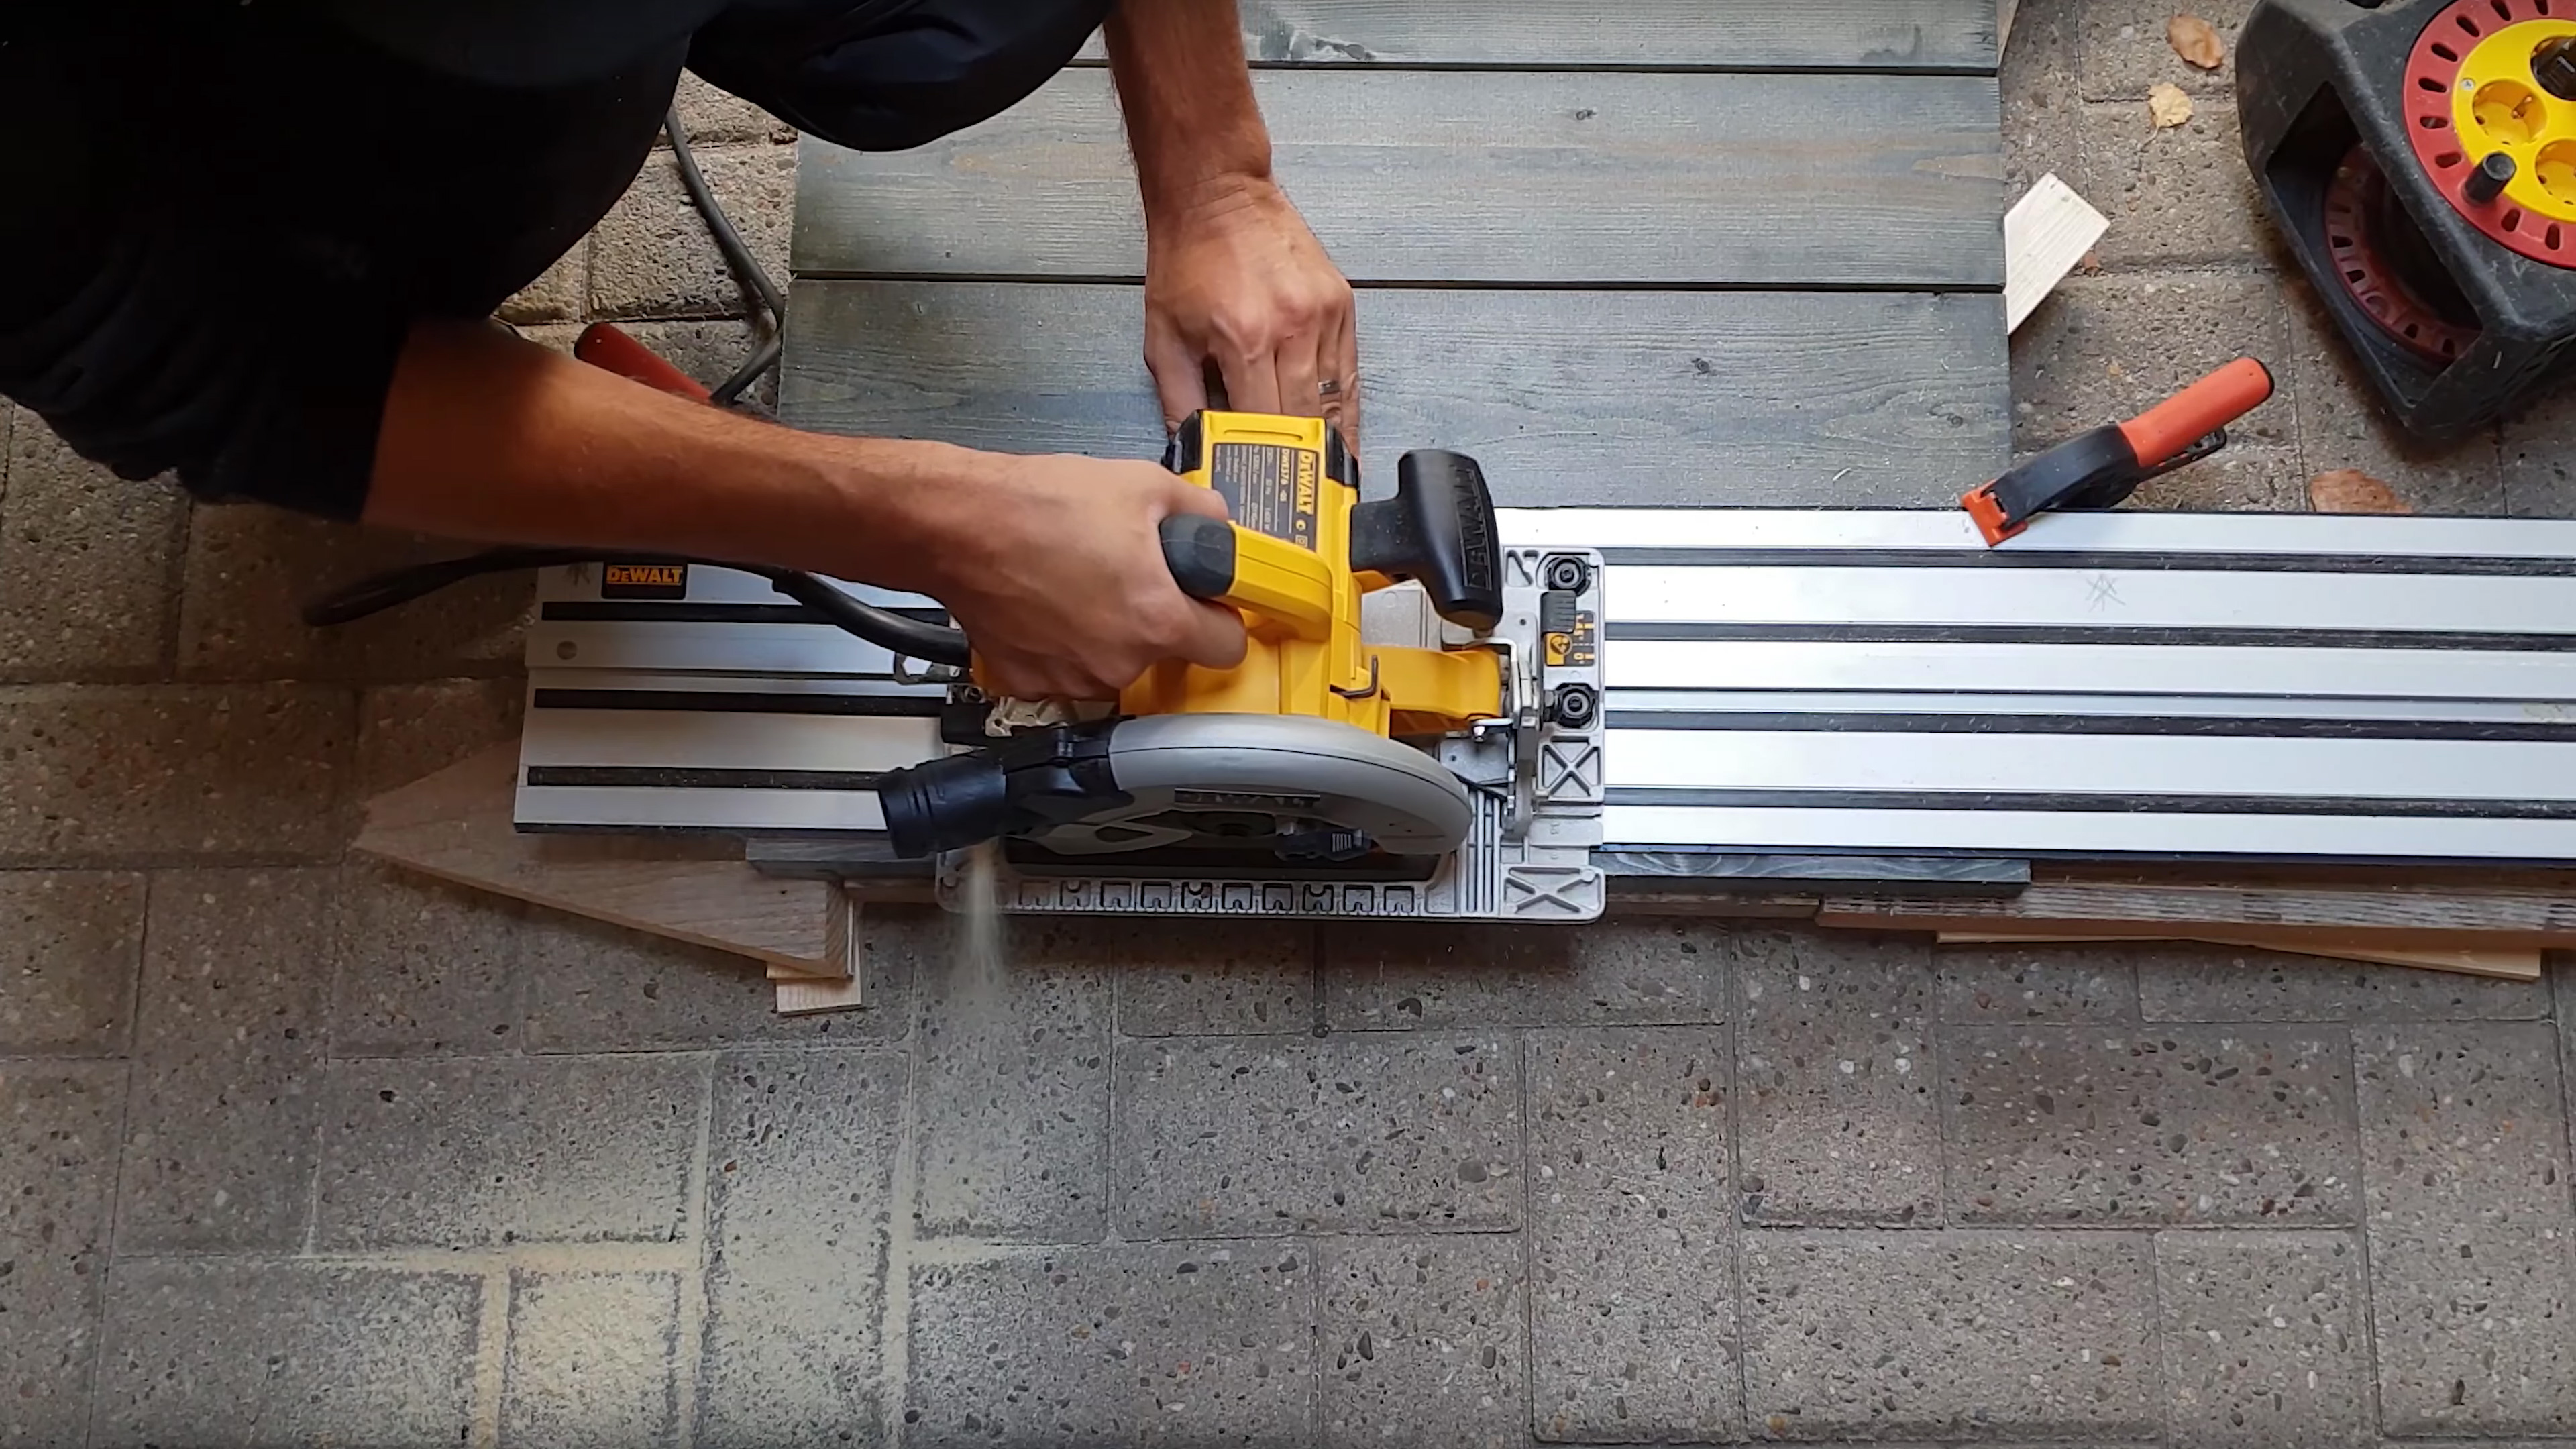
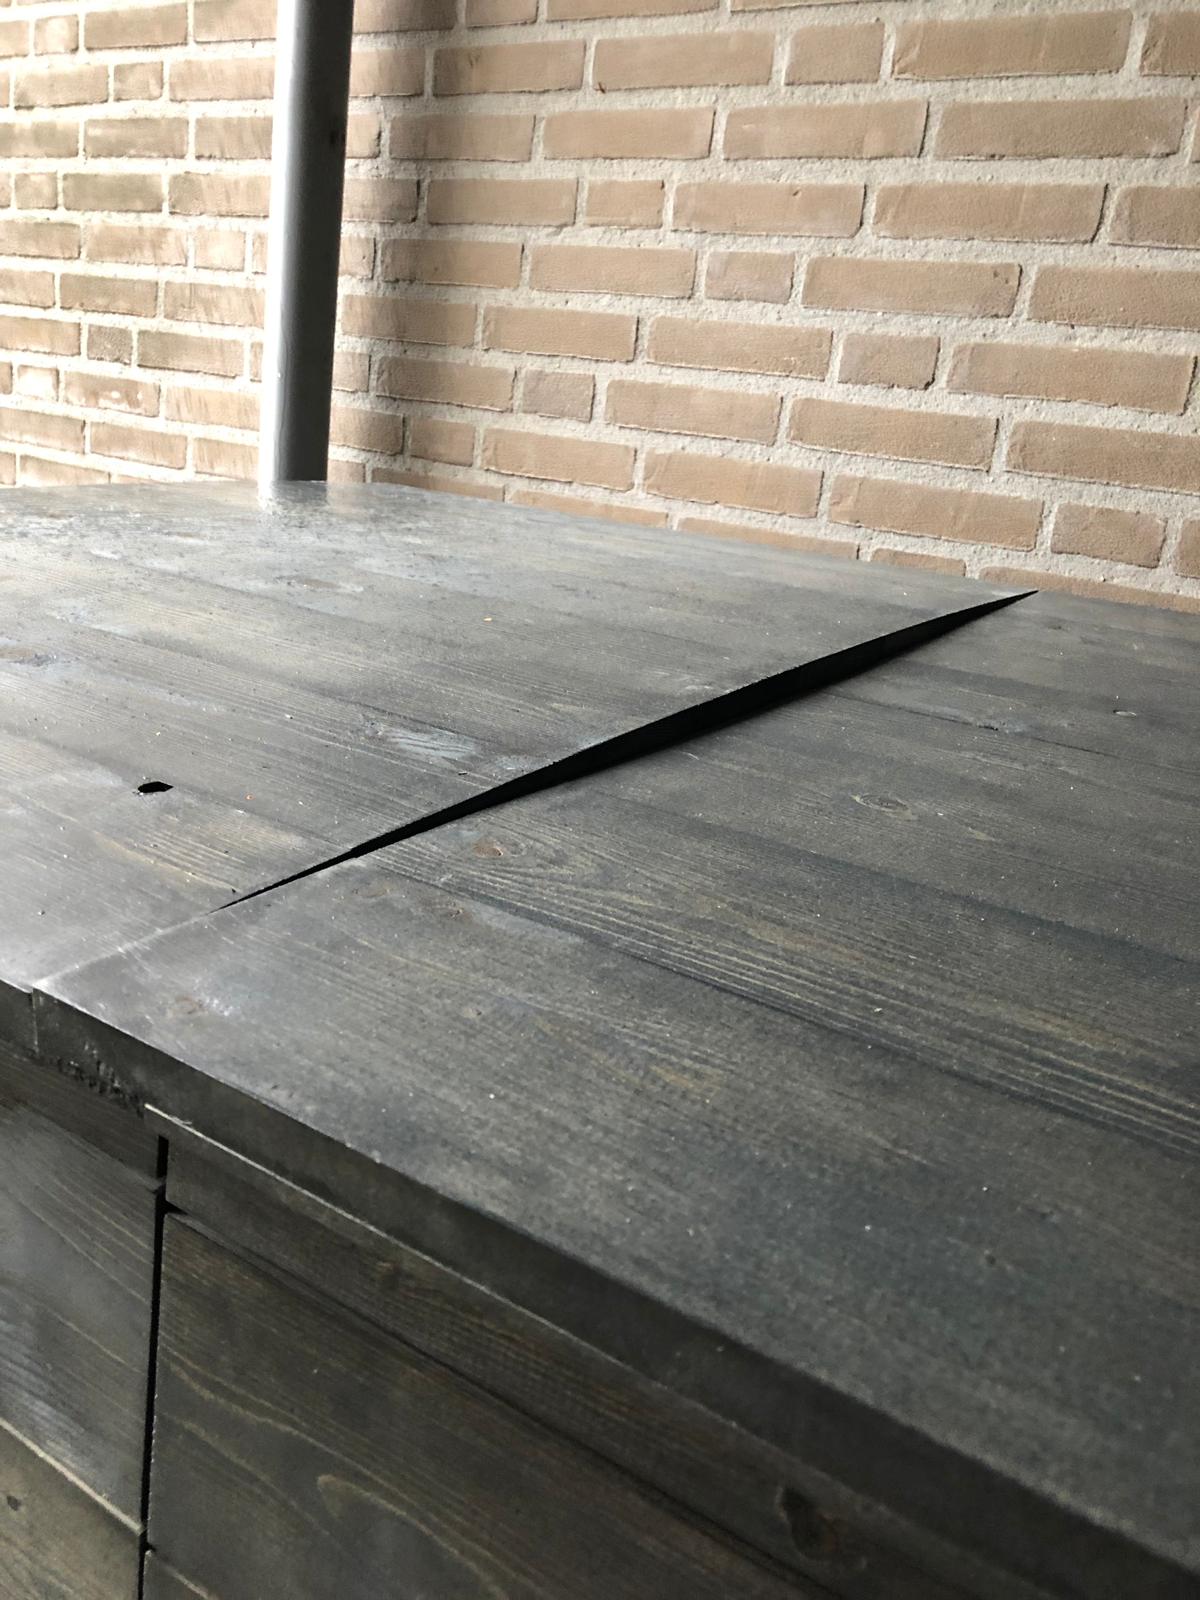
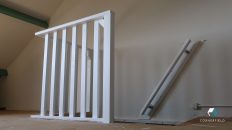
If I was to build a second one I would start with the frames for the sides. Once you have those complete, the skeleton of the whole structure can be made by connecting the two sides with the three stretchers. Underneath the bottom, I attached some adjustable feet to level it out. With the structure standing, I would recommend finishing the sides (and back) with planks before attaching the lids and doors. The boards for the back are not in the model but are definitely worth the extra effort. All the planks are spaced the same so it looks like one continuous board all the way around; keep that in mind when attaching them.
Doors & hinges
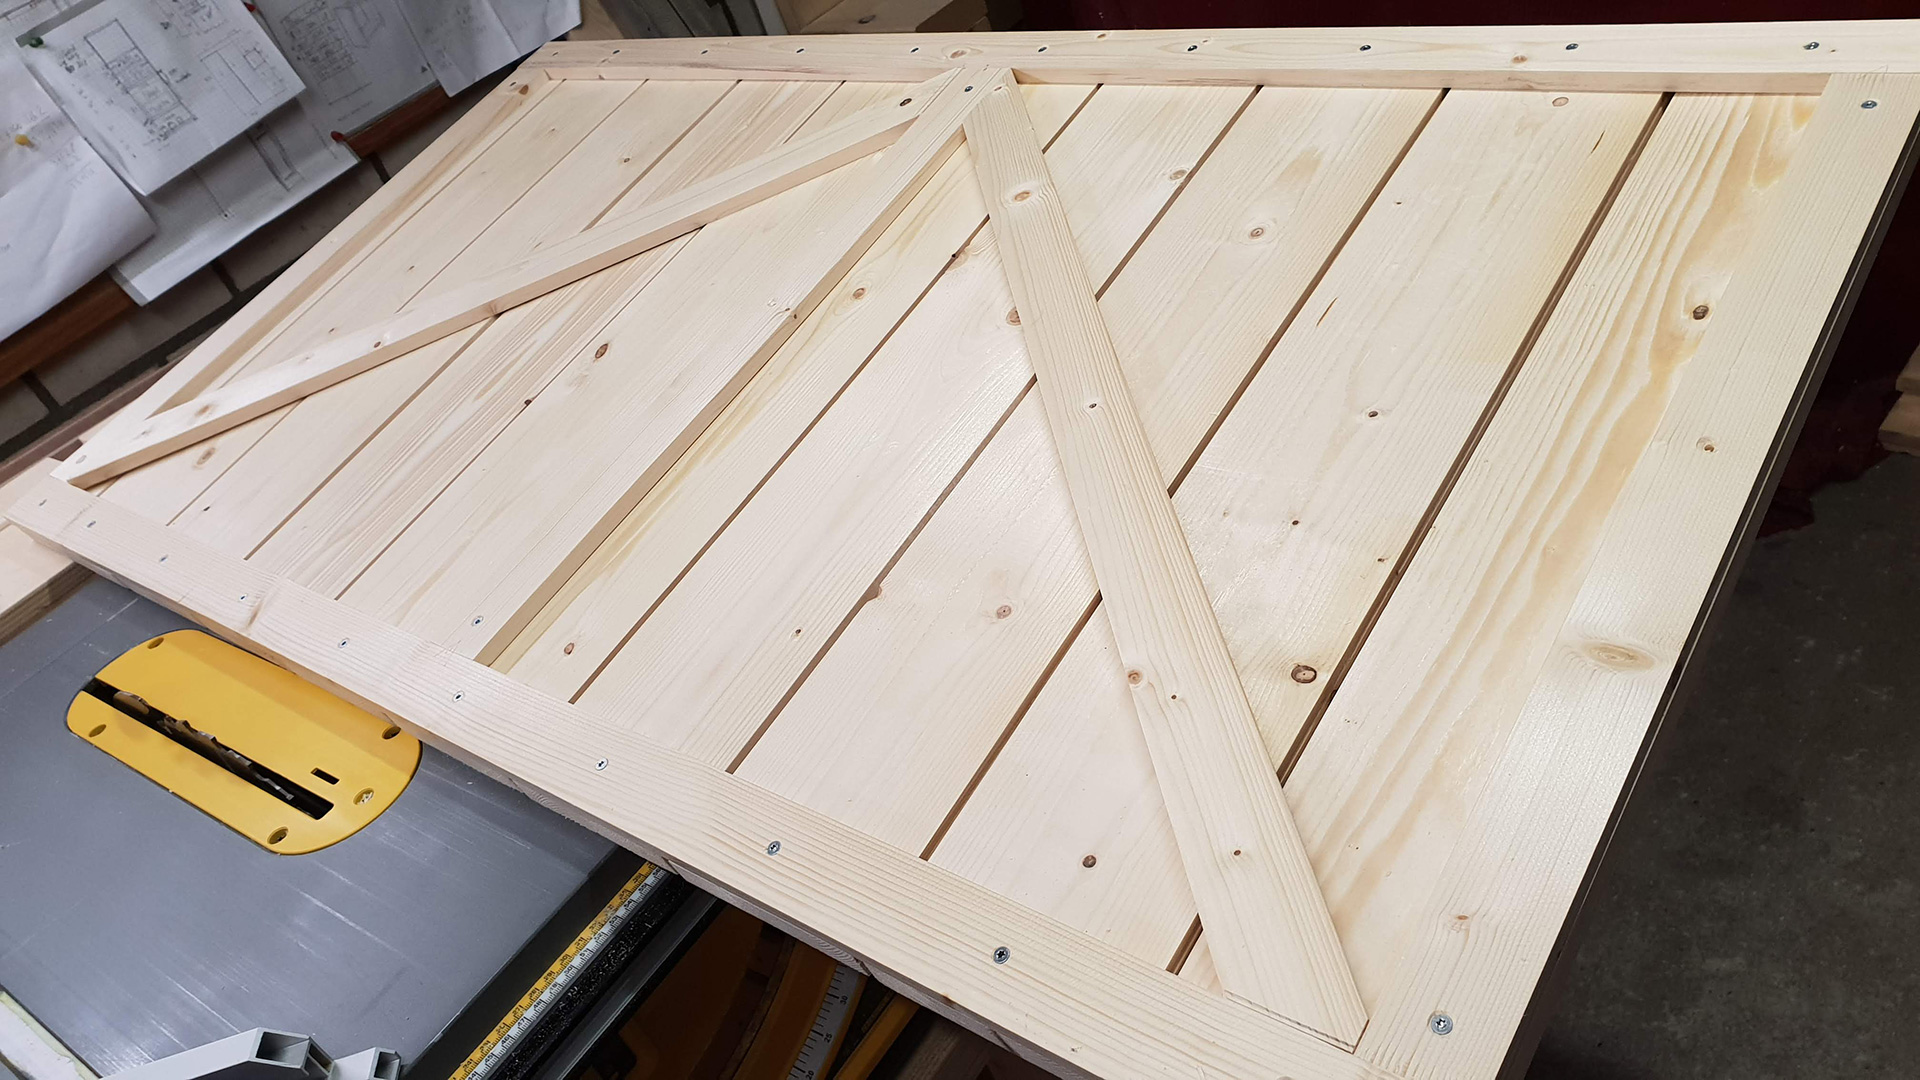
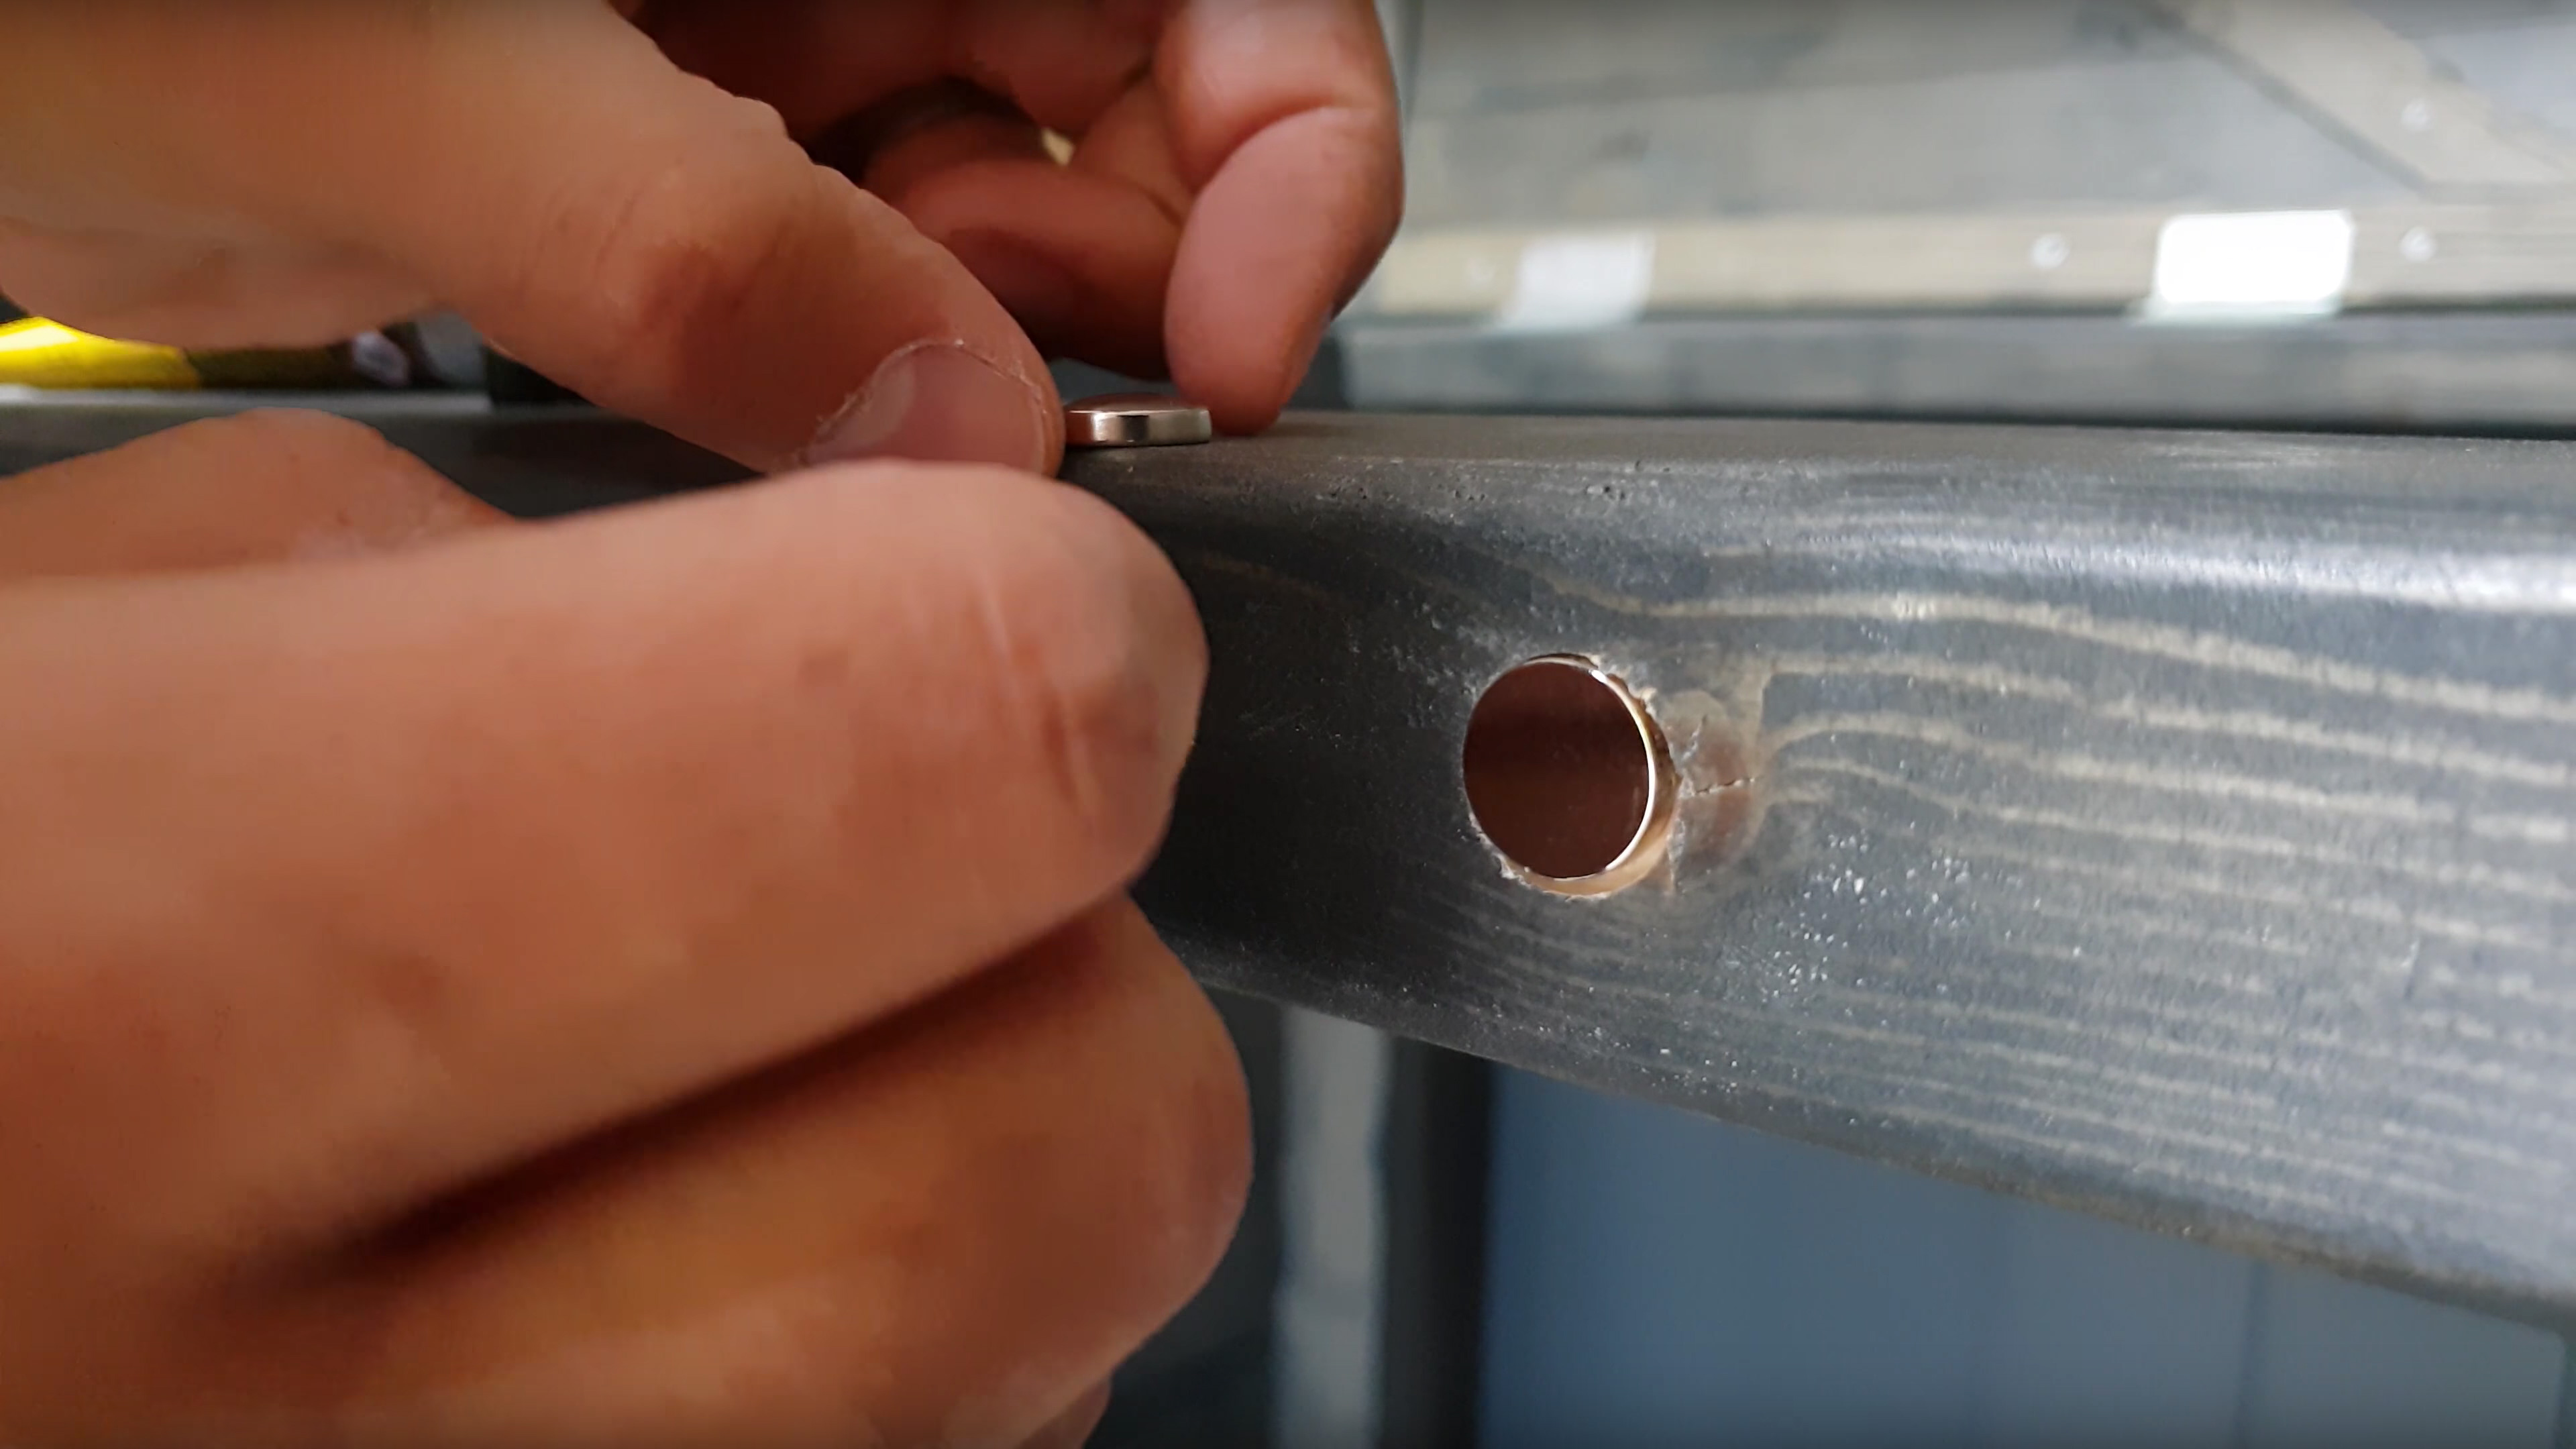
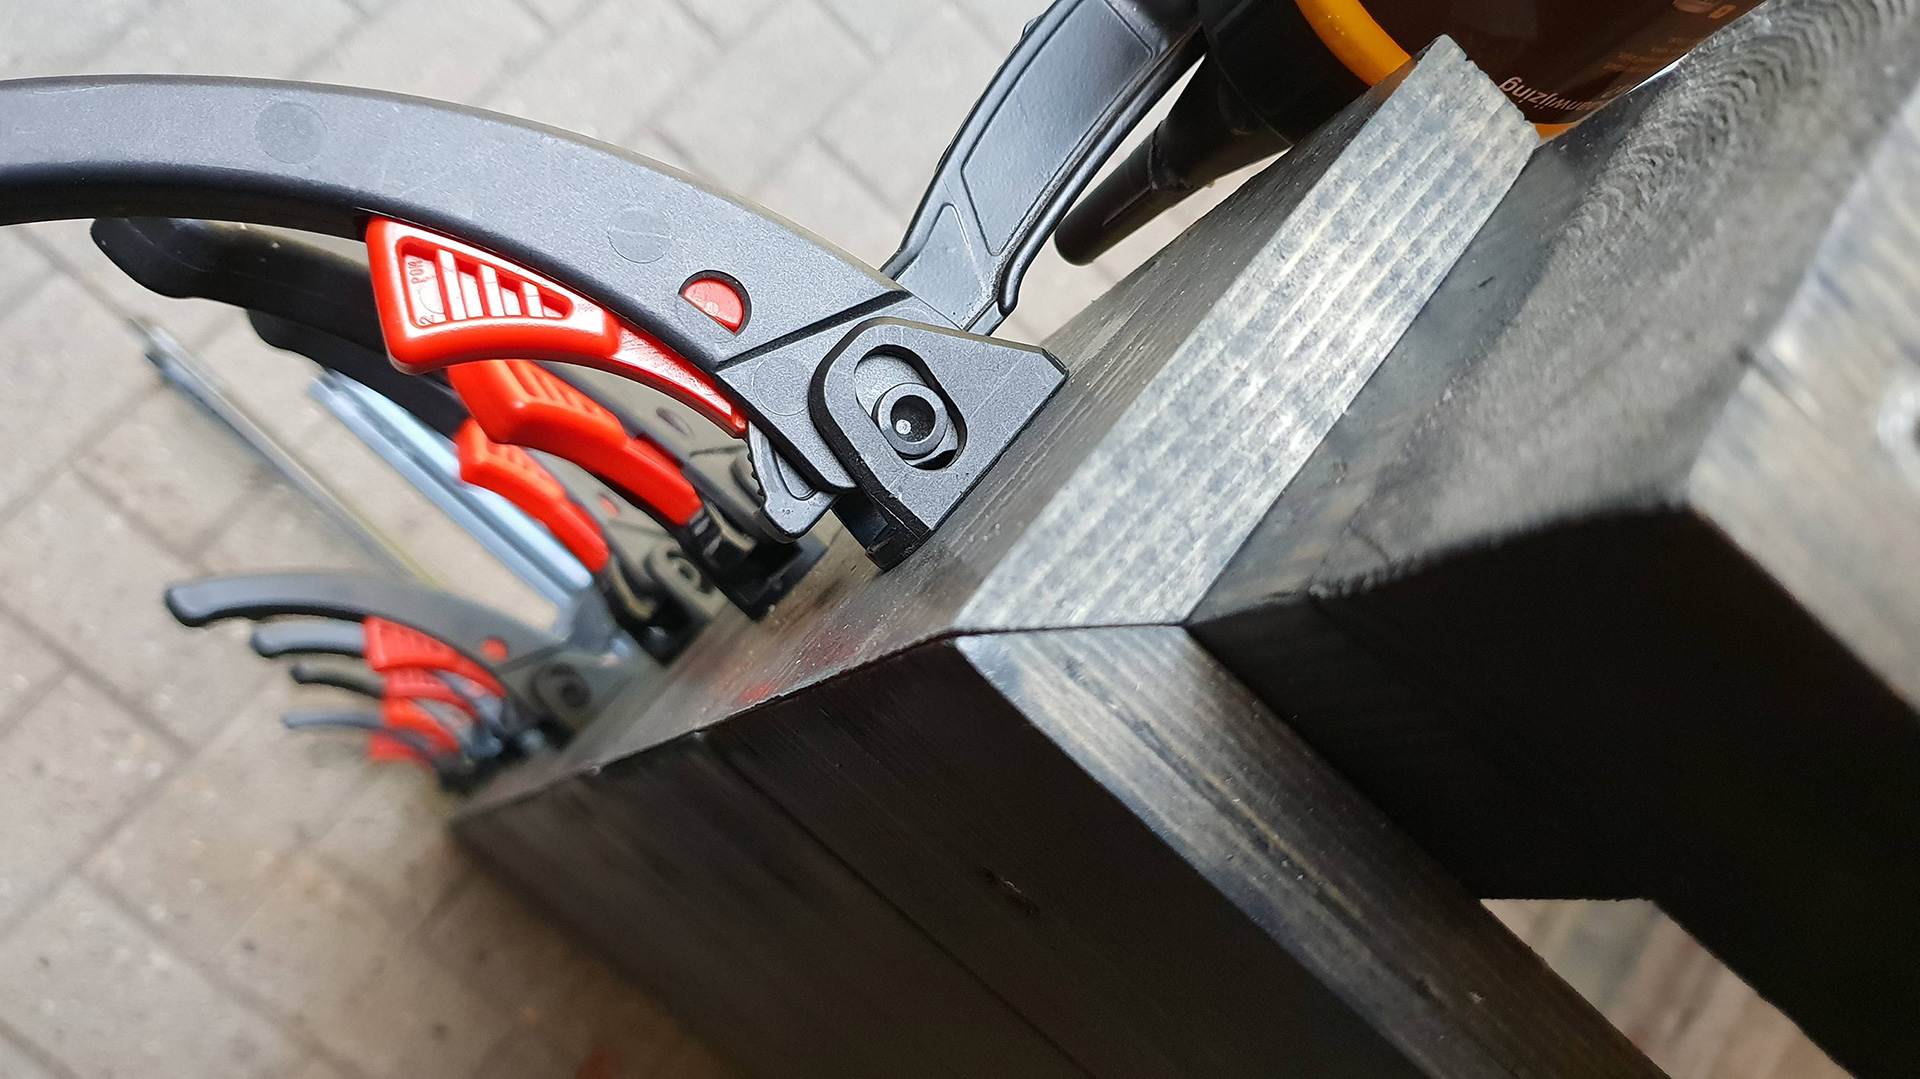
When the structure is standing you can build the doors and lids. These are just some planks attached from the inside. I chose to use a slightly more complicated way to attach them but it comes down to fastening them evenly spaced. For hinges, I used hidden ones for the doors and regular ones for the lids. You can do something more visually outspoken on the outside as well. To keep the doors shut I used some magnets in addition to the self-closing hinges.
Finishing touches
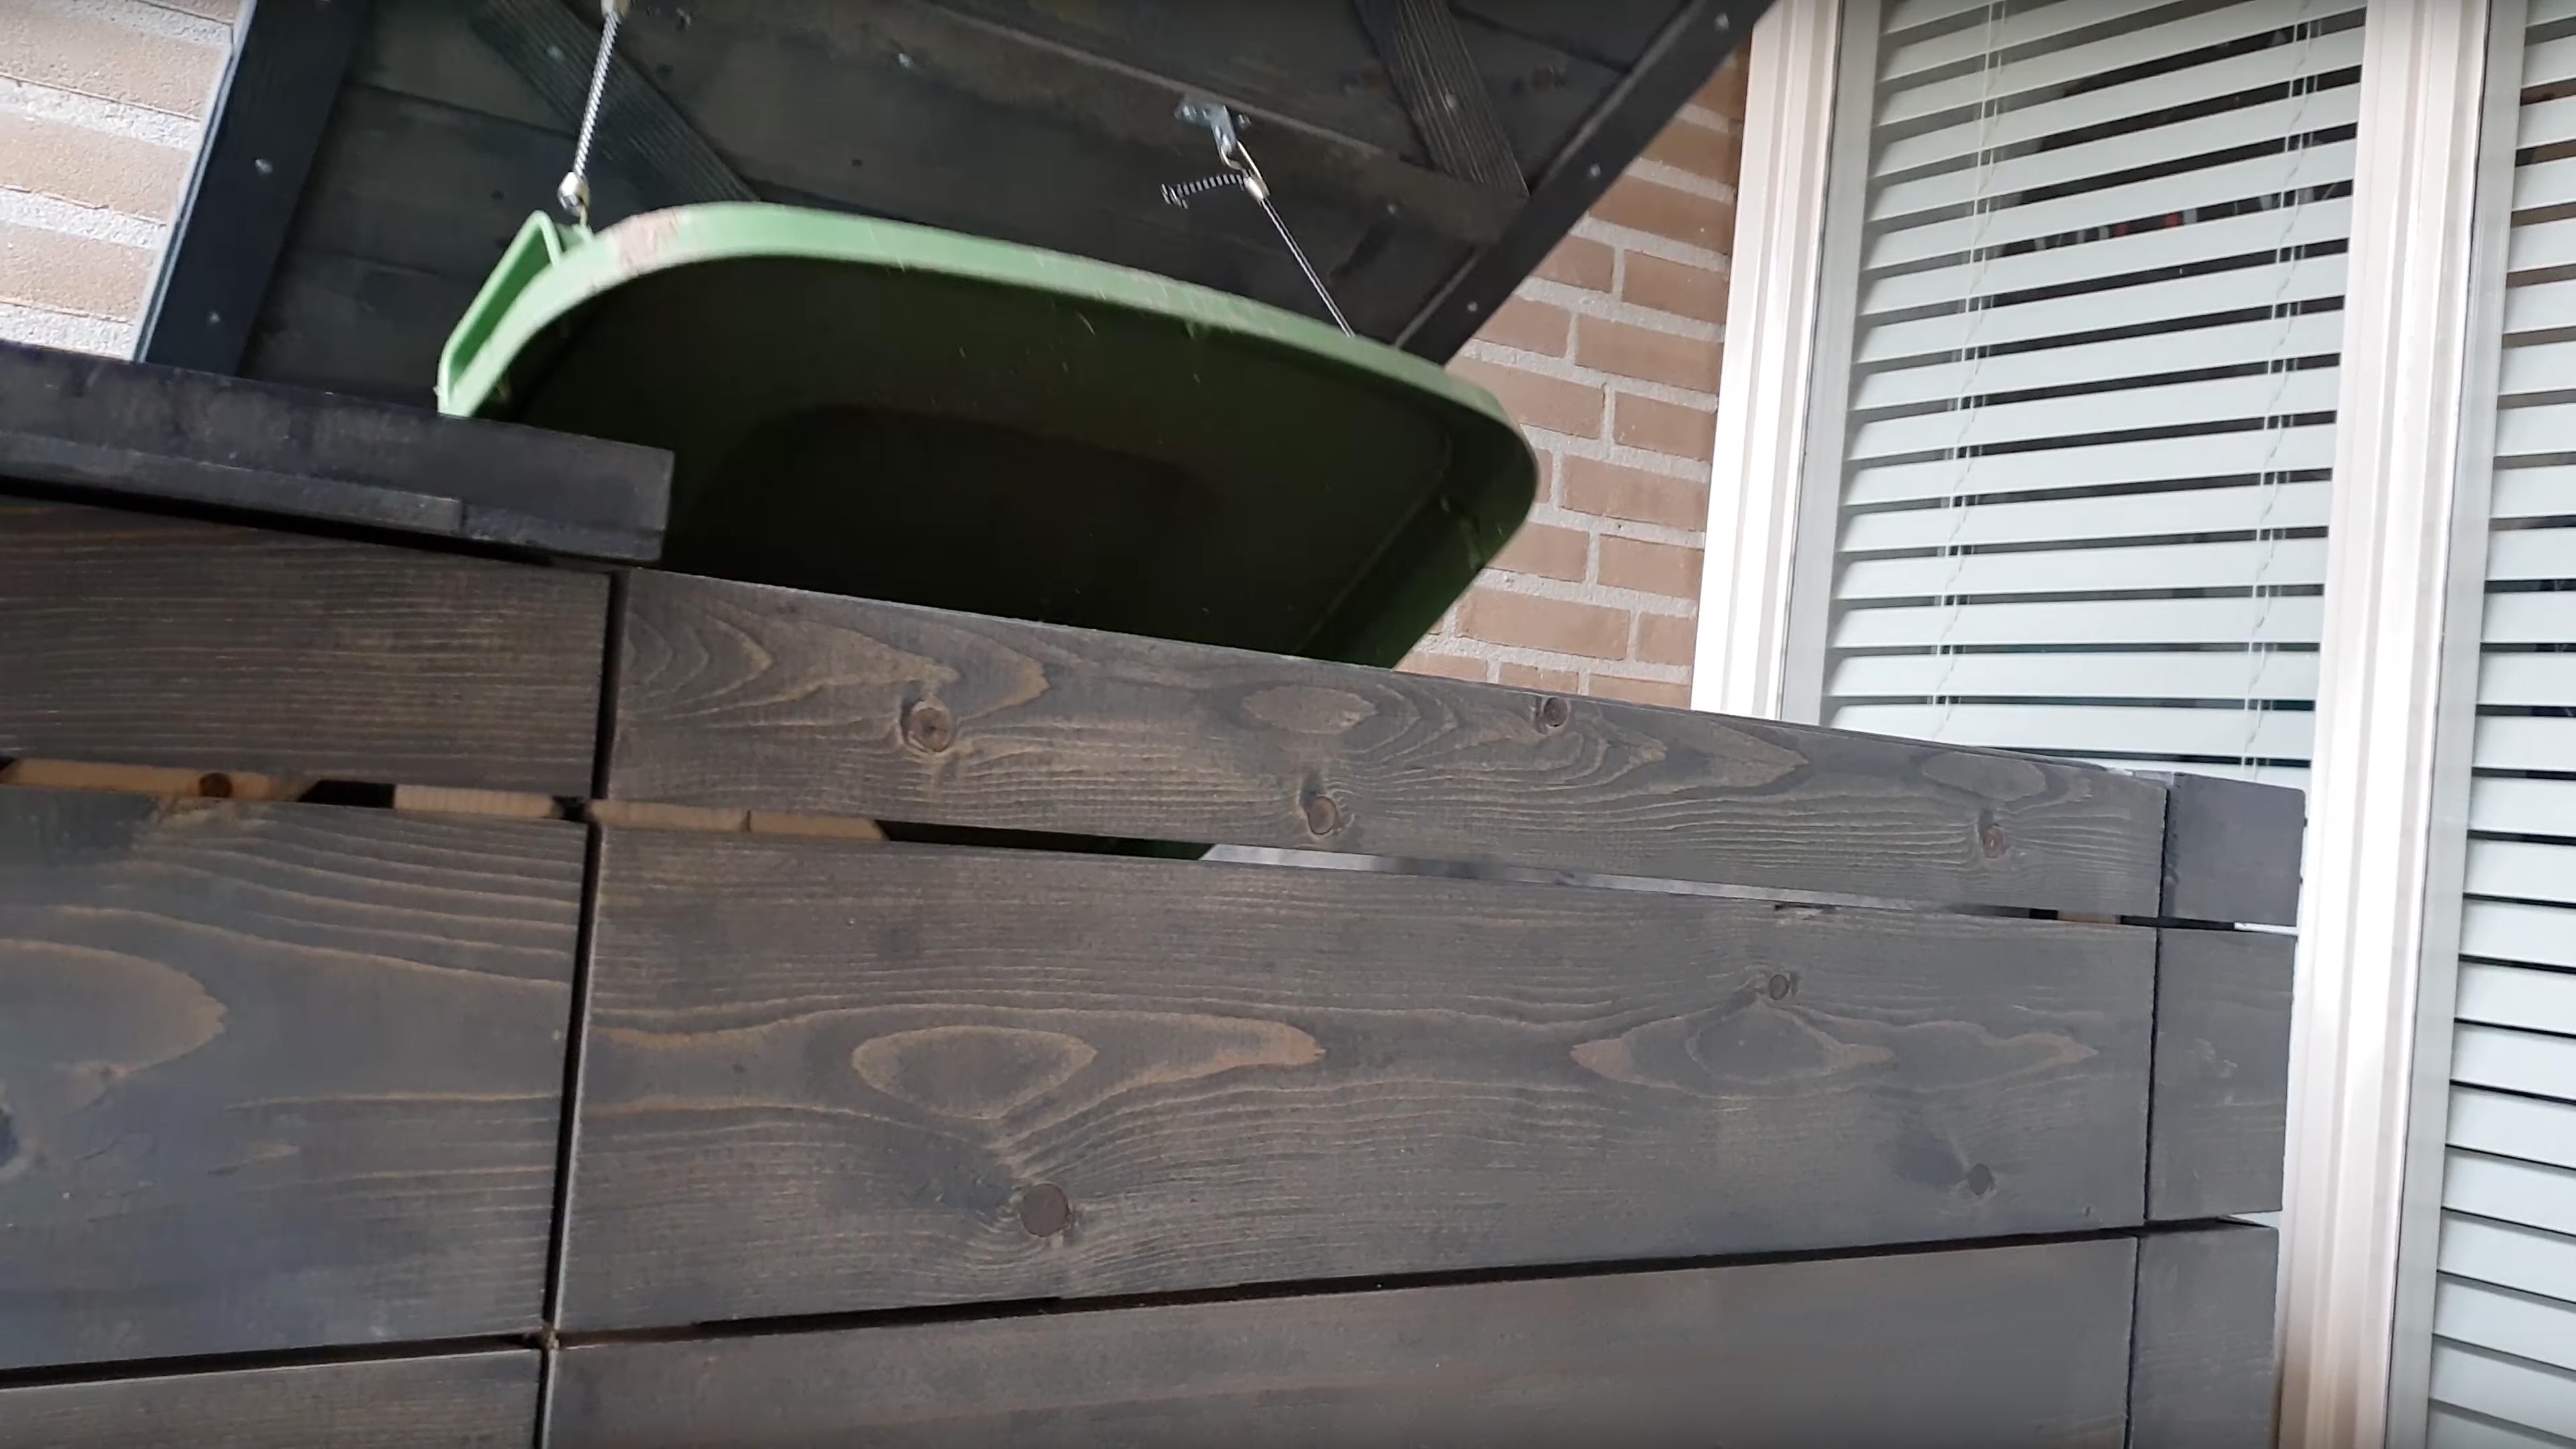
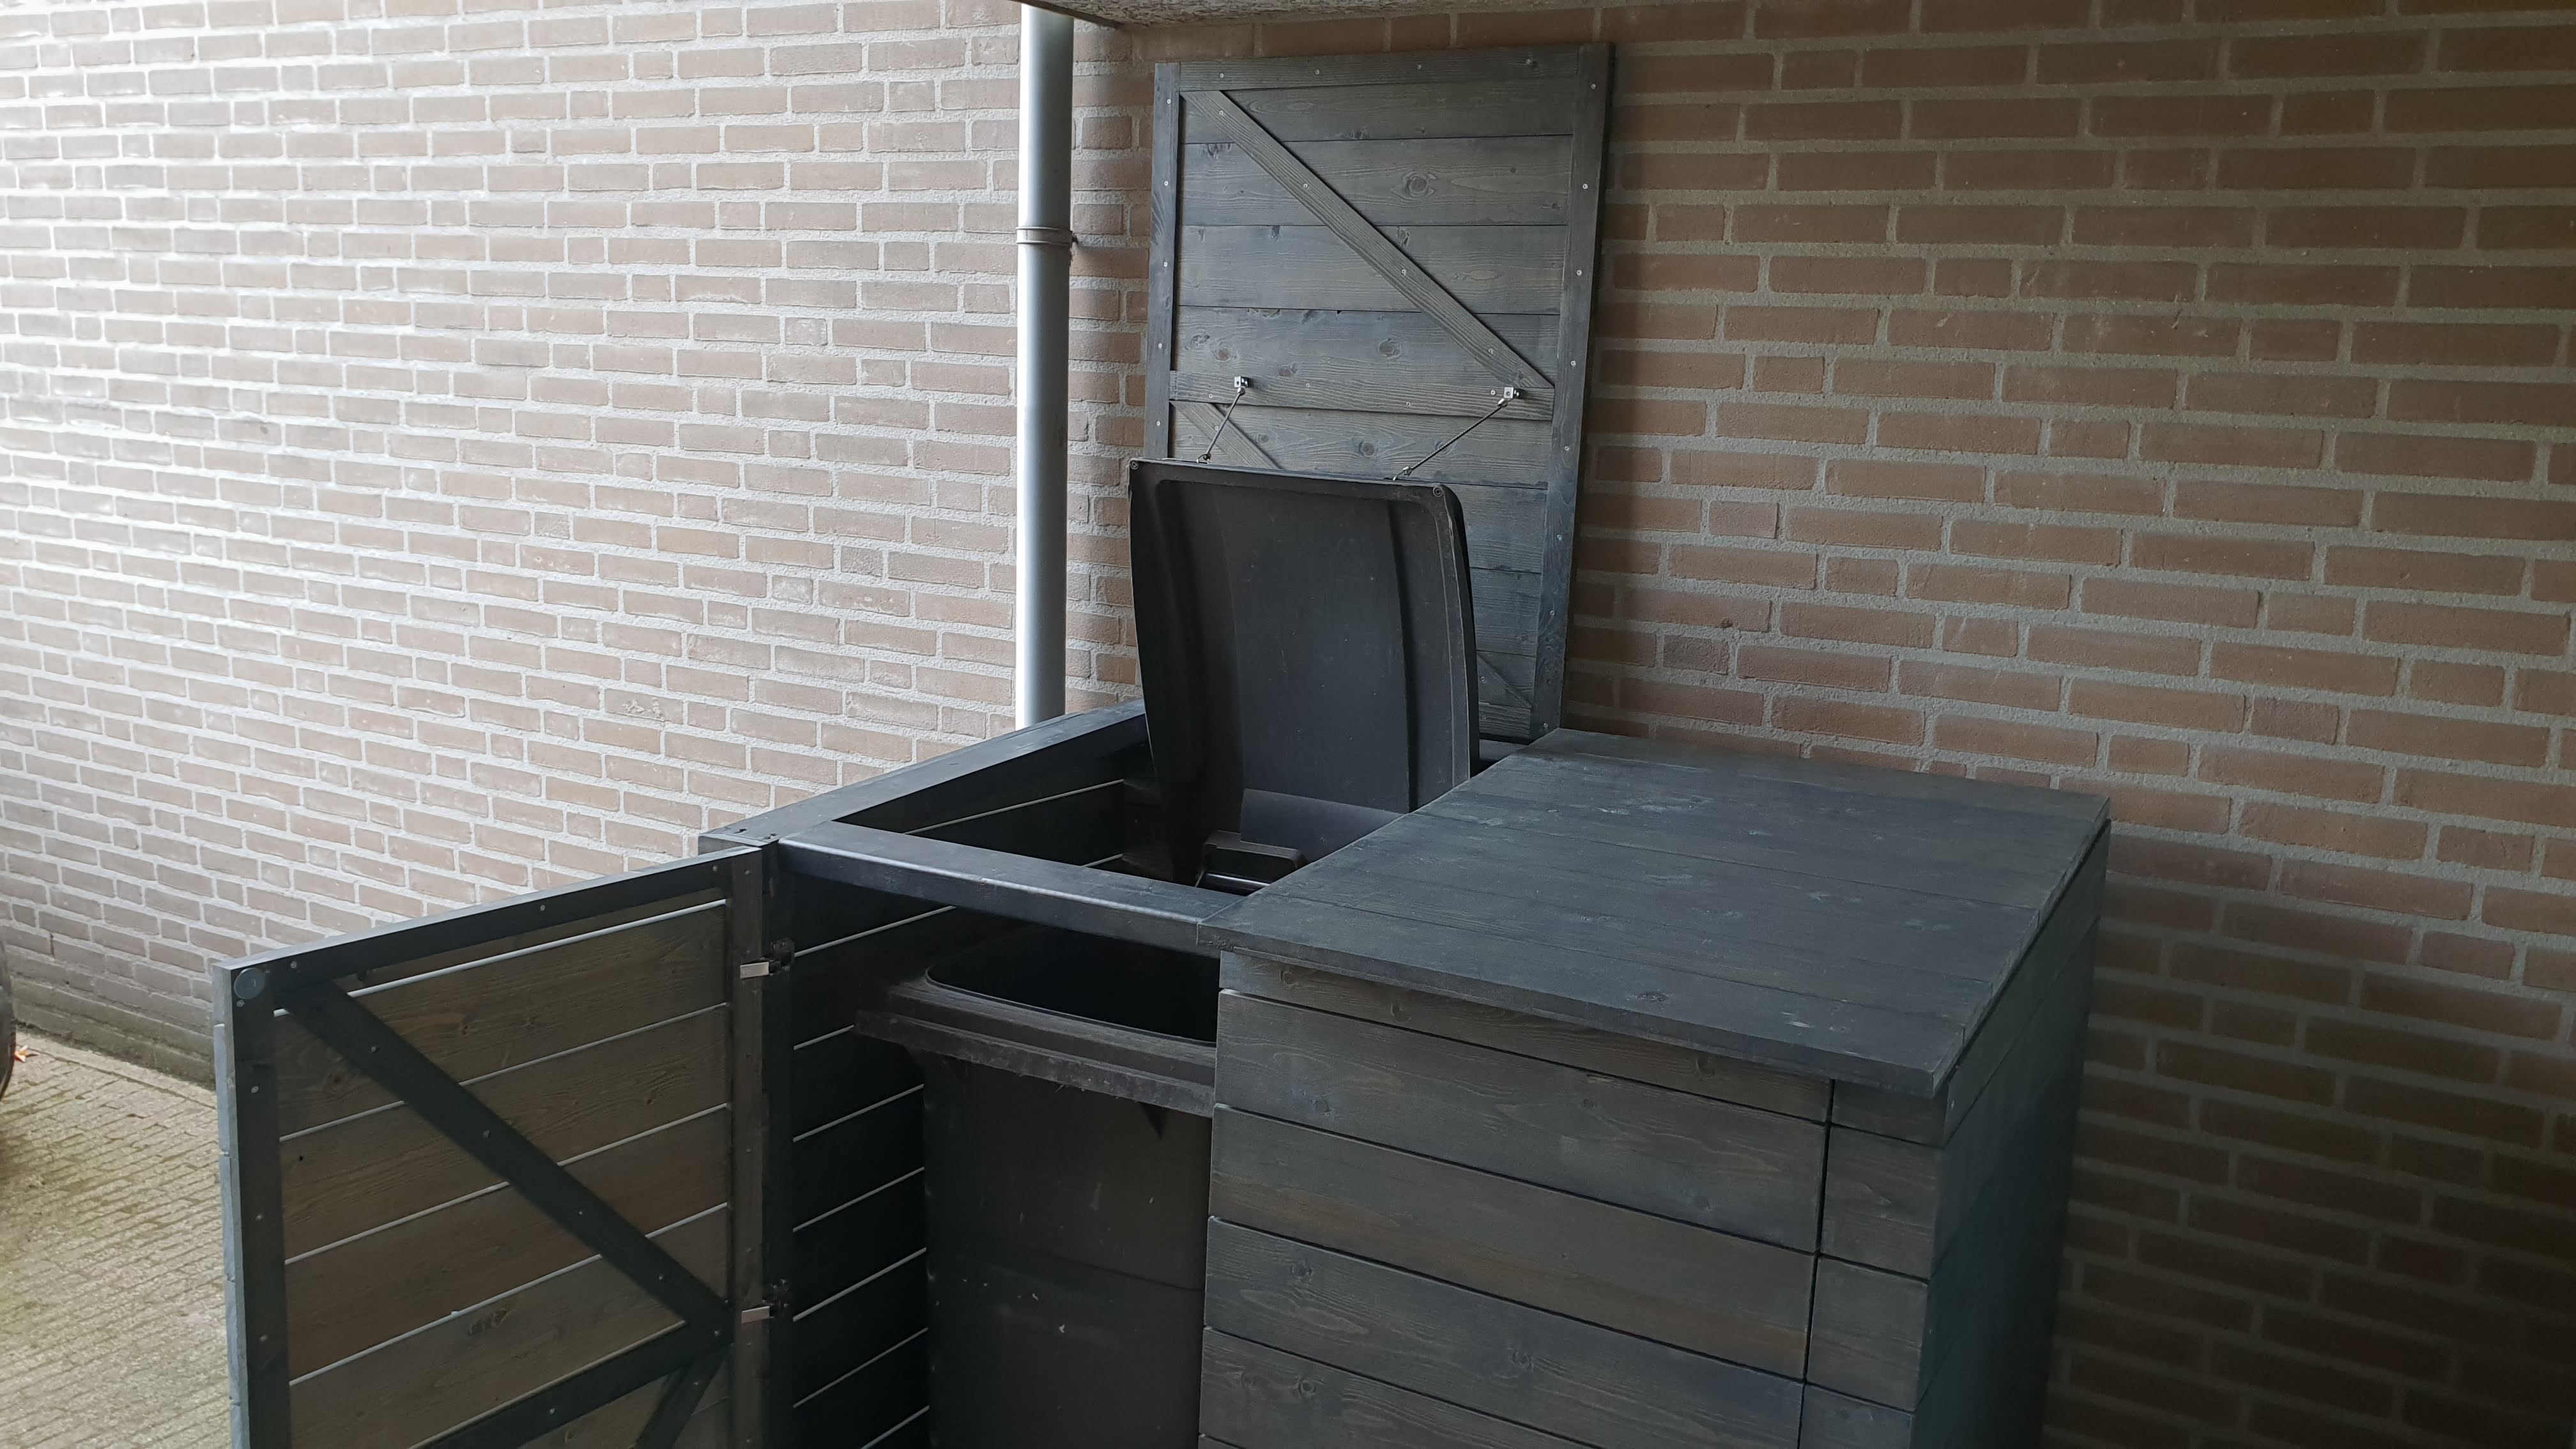
To complete the wrapping look I added pieces with a mitered corner to the posts of the frame. In the model, you can find these next to the doors (not mitered). I decided it was worth the extra effort of mitering them and I’m very happy I did because it looks great! Also, I added some hooks to the lid and attached the lid of the containers with some elastics to it. This is to open both lids simultaneously. This is something I really recommend doing because it allows for single-handed operation.
Result
Some things I like about the build and others not so much. What I like is the simplicity of the design. When it’s closed it looks nice and doesn’t say ‘garbage containers’ which is good. Also, the way it works I think is great. What I don’t like so much are the dimensions. I think it could have had tighter margins around the container to make it less bulky. Also aesthetically I would have liked to use a harder wood that could be left exposed. The pinewood used now needed protection so it couldn’t be helped. All in all, I’m happy about the result.
Additions
Once it started getting really wet and cold outside one lid was a little too tightly spaced. It was easily fixed by loosing the screws, letting the wood settle and tightening them back down. A good thing to keep in mind if you want to build your own version ;-).
Download & Links
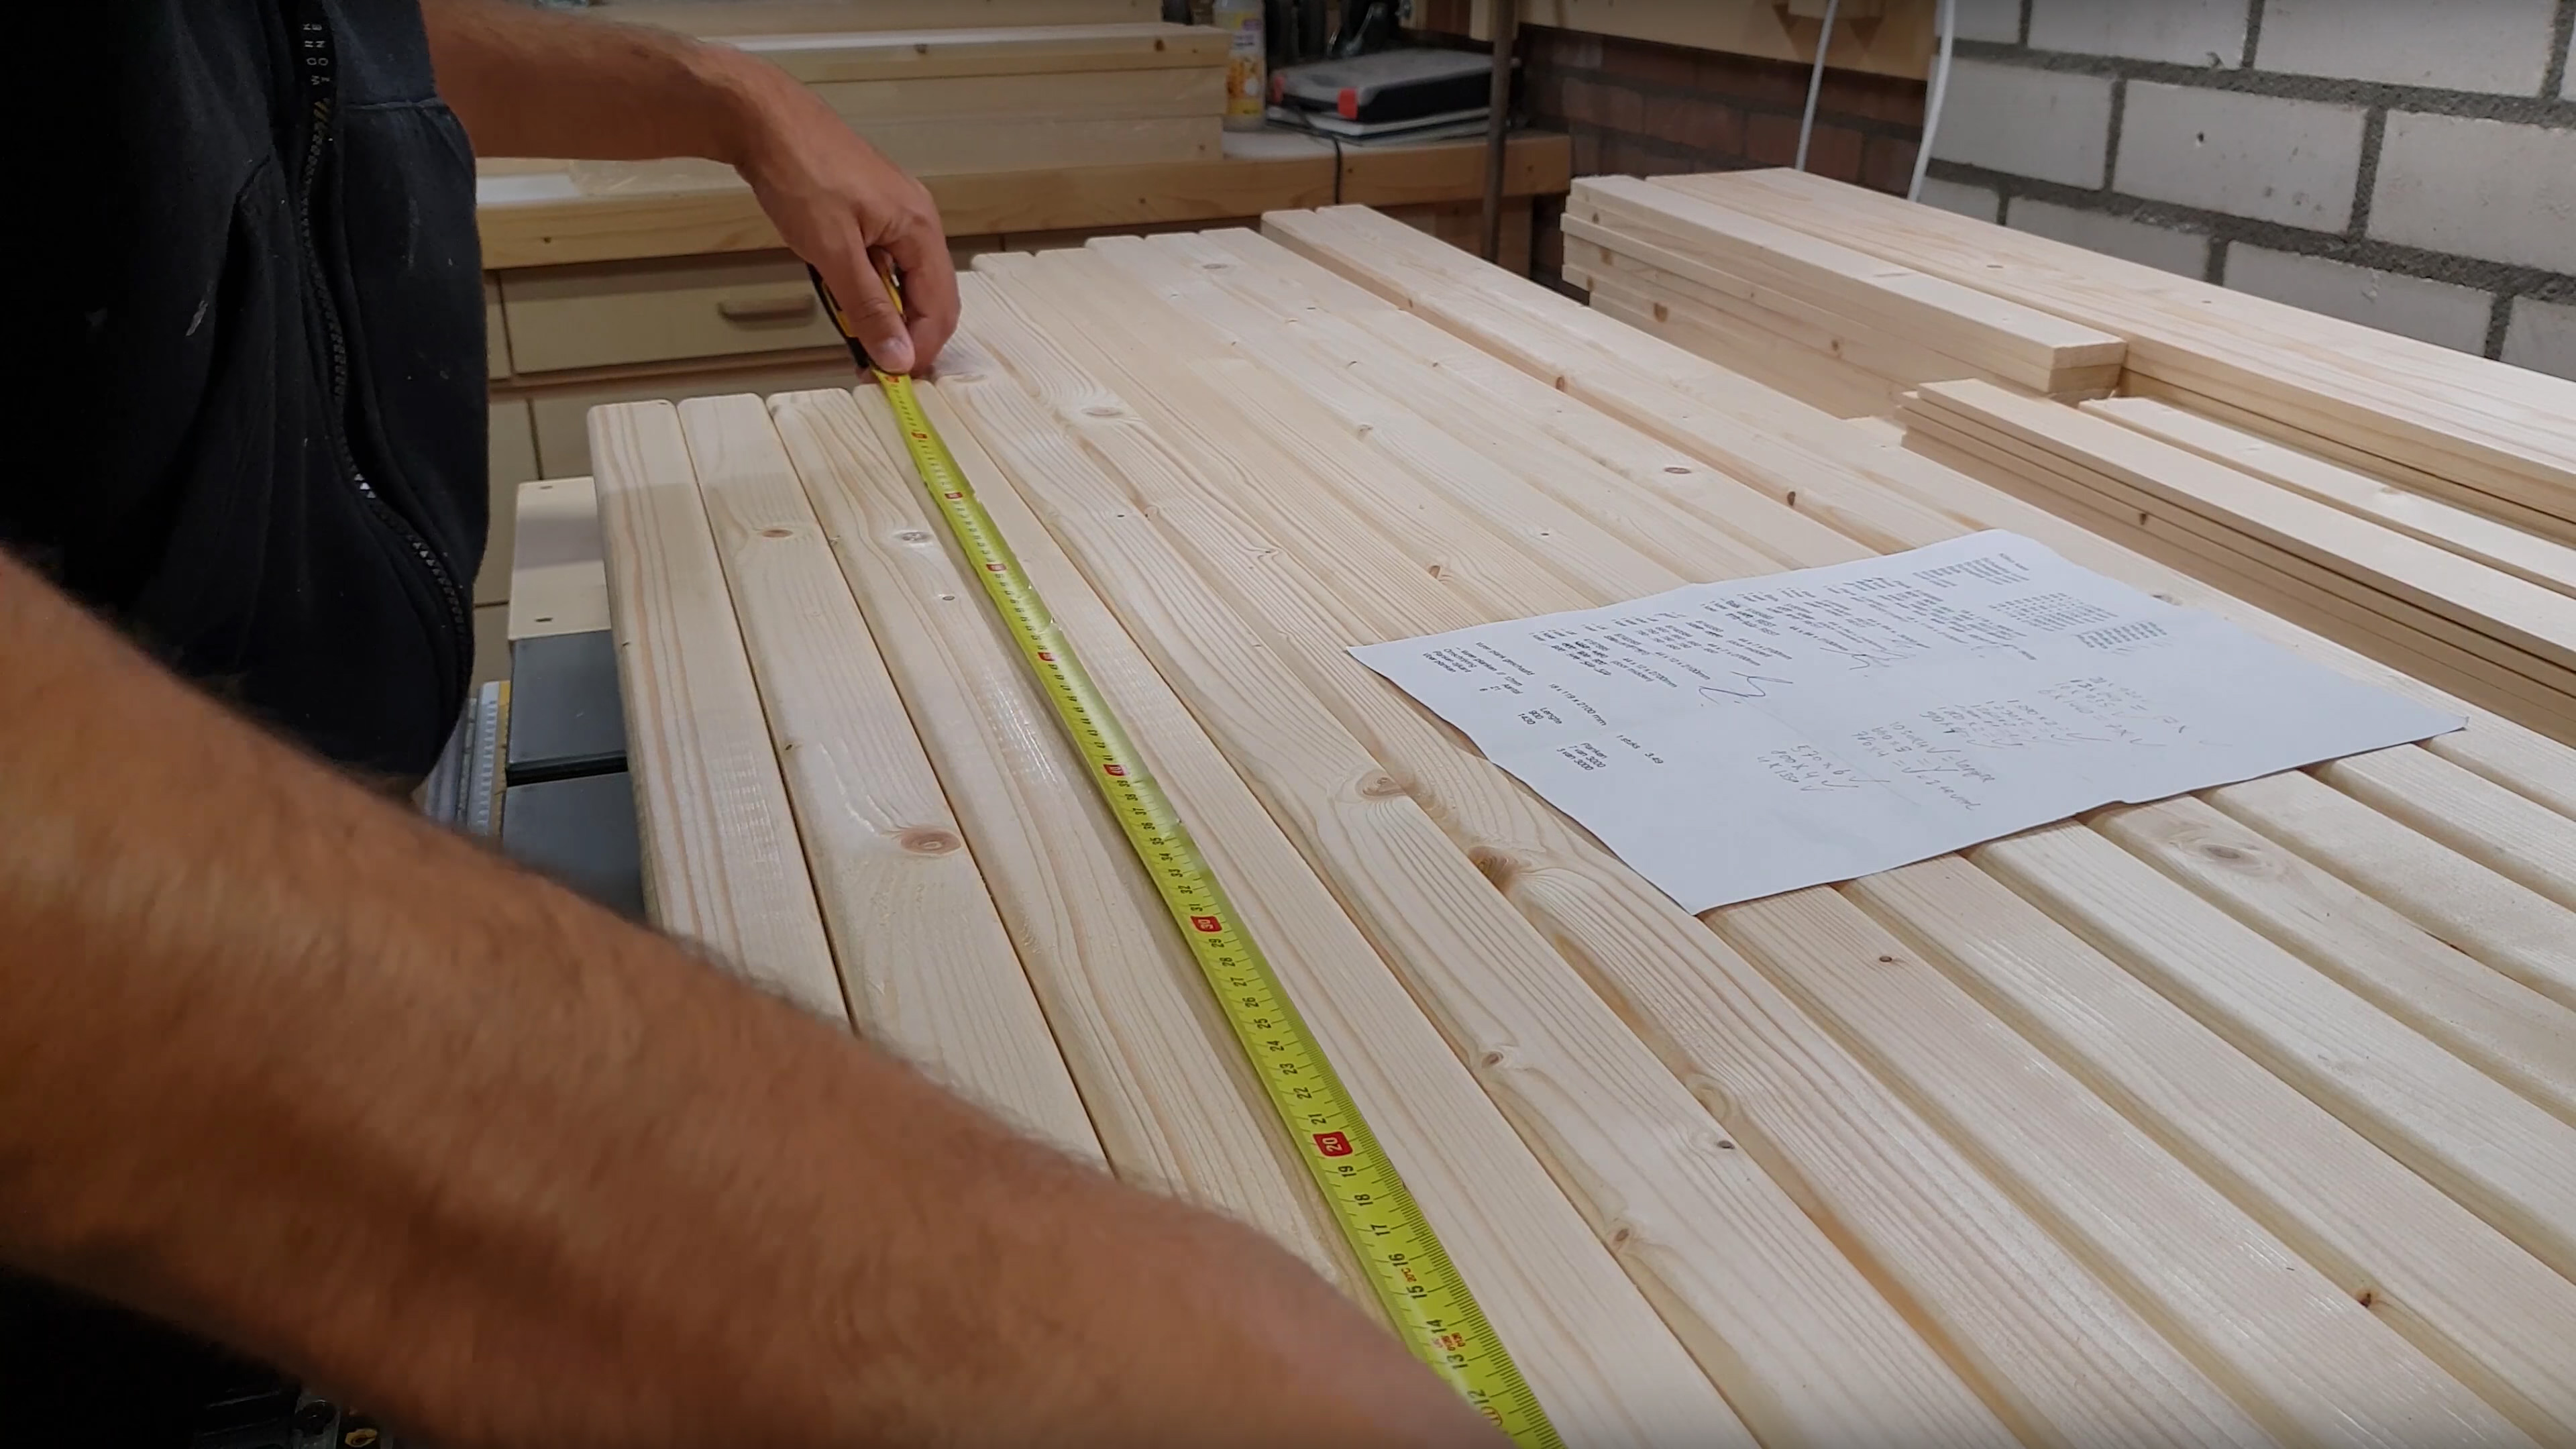
If you want to build something similar I’ve linked my 3D model below as a download.
SketchUp 3D-model
Instagram 1 | 2 | 3 | 4 | 5 | 6 | 7 | 8
Hope this post has inspired you to make something!
And don’t forget to follow your excitement 
Beste Rico,
Graag wil ik thuis een kliko ombouw maken die jij ook gemaakt hebt. in de video zag ik dat jij een tekening en een lijst had met de te zagen onderdelen. zou ik deze mogen ontvangen zodat ik dezelfde ombouw als jou kan maken?
met vriendelijke groet bjorn boers
Beste Bjorn,
Bedankt voor je bericht. Tof dat je er zelf ook één gaat maken.
De bestanden mag je zeker hebben hoor, geen probleem. De lijst waar je het over hebt staat zelfs al in het artikel. Je kunt hem vinden in het SketchUp model dat onderaan te downloaden is. Als je deze opent heb ik alle onderdelen los van elkaar staan met de afmetingen.
Daarmee moet het lukken. Mocht je er niet uitkomen dan mail mij maar op cornerfieldshop@gmail.com. Succes!