

After buying a table saw the first thing you need to make is a cross-cut sled. It’s an enormously versatile tool that makes working with the table saw easier, more accurate and much safer.
Design
There is not a single design that is perfect for a sled, there are many. Each design has its own specific usage that it works best for. A quick Google search will blow your mind on the variety of sled designs that people come up with. When it comes down to choosing a design for your sled you first need to know what you will be using it for. Not only the action but also the dimensions of your material play a role in the design. Short pieces, small sled. Big pieces, large sled. If you don’t have a specific use in mind I suggest starting with a general purpose design. Once you have a specific need you can always build another sled. That’s the other reason it’s a good first project after buying your saw. It’s easy to build and it will teach you a lot about your specific saw. Like how (in)accurate it is for example.
Inspiration
I went with a design inspired by 5 Cuts to a “Perfect” Cross-Cut Sled from William Ng. The dimensions for my sled are 67 cm deep by 66.5 cm wide. My fences are just high enough (13cm) so that I don’t cut through them with the blade fully raised. Dimensions are very specific to your saw. The minimum height of your fence for example. This is determined by the thickness of your base, the diameter or your blade, how high your saw can raise the blade and personal preference. The same goes for the width and depth. I wanted the sled to cover the top of the saw but not much more than that.
Build
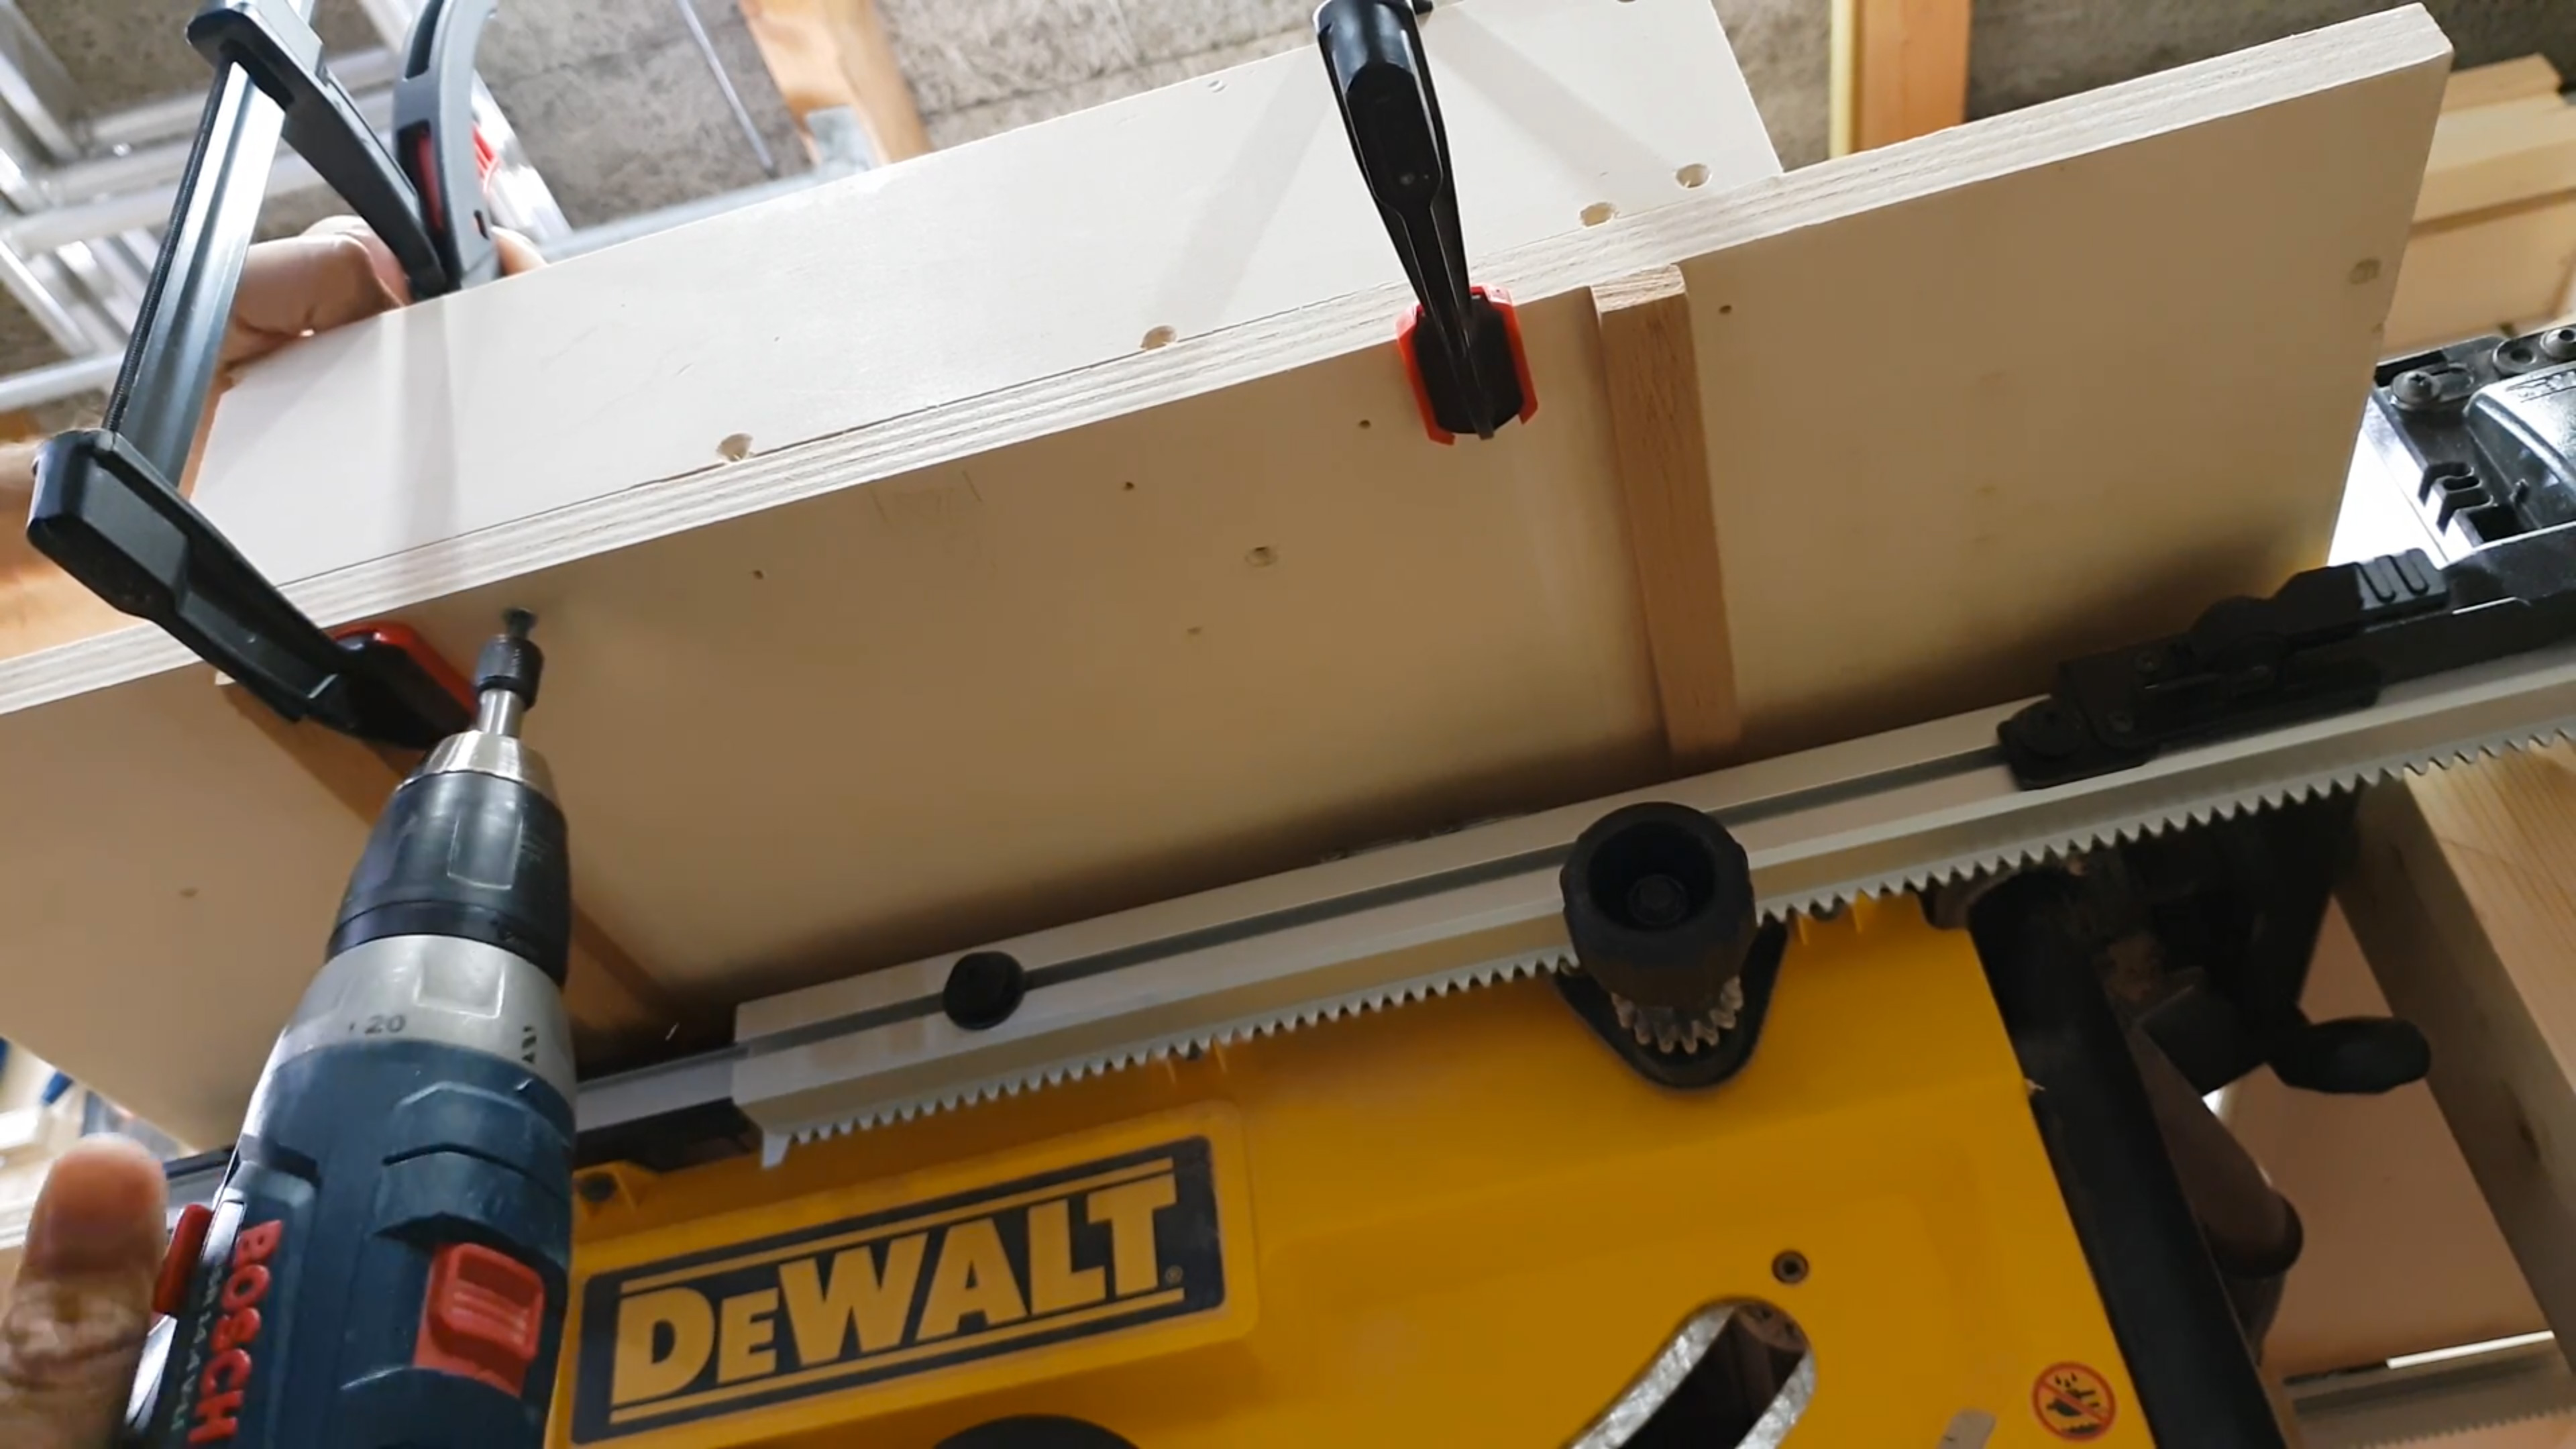
I started by looking for a base. Luckily for me, I had a scrap piece of plywood that had the dimensions that I wanted the sled to be. After sanding that, I started working on the runners. You need to use wood for the runners with little or no movement, so a dense hardwood is recommended. My first cut is just a rough cut that I will fine-tune. Take your time to cut the runners because they determine for a large part how accurate your sled will be. If they are to loose the accuracy is compromised and if they are too tight the sled doesn’t work at all. In my case, it was a matter of checking with a caliper after each cut, moving my fence a little and cutting some more until I had a snug fit. It’s better if you use a digital gauge when you move the fence like in Williams video but I don’t have one so I did it manually and the result isn’t too bad.

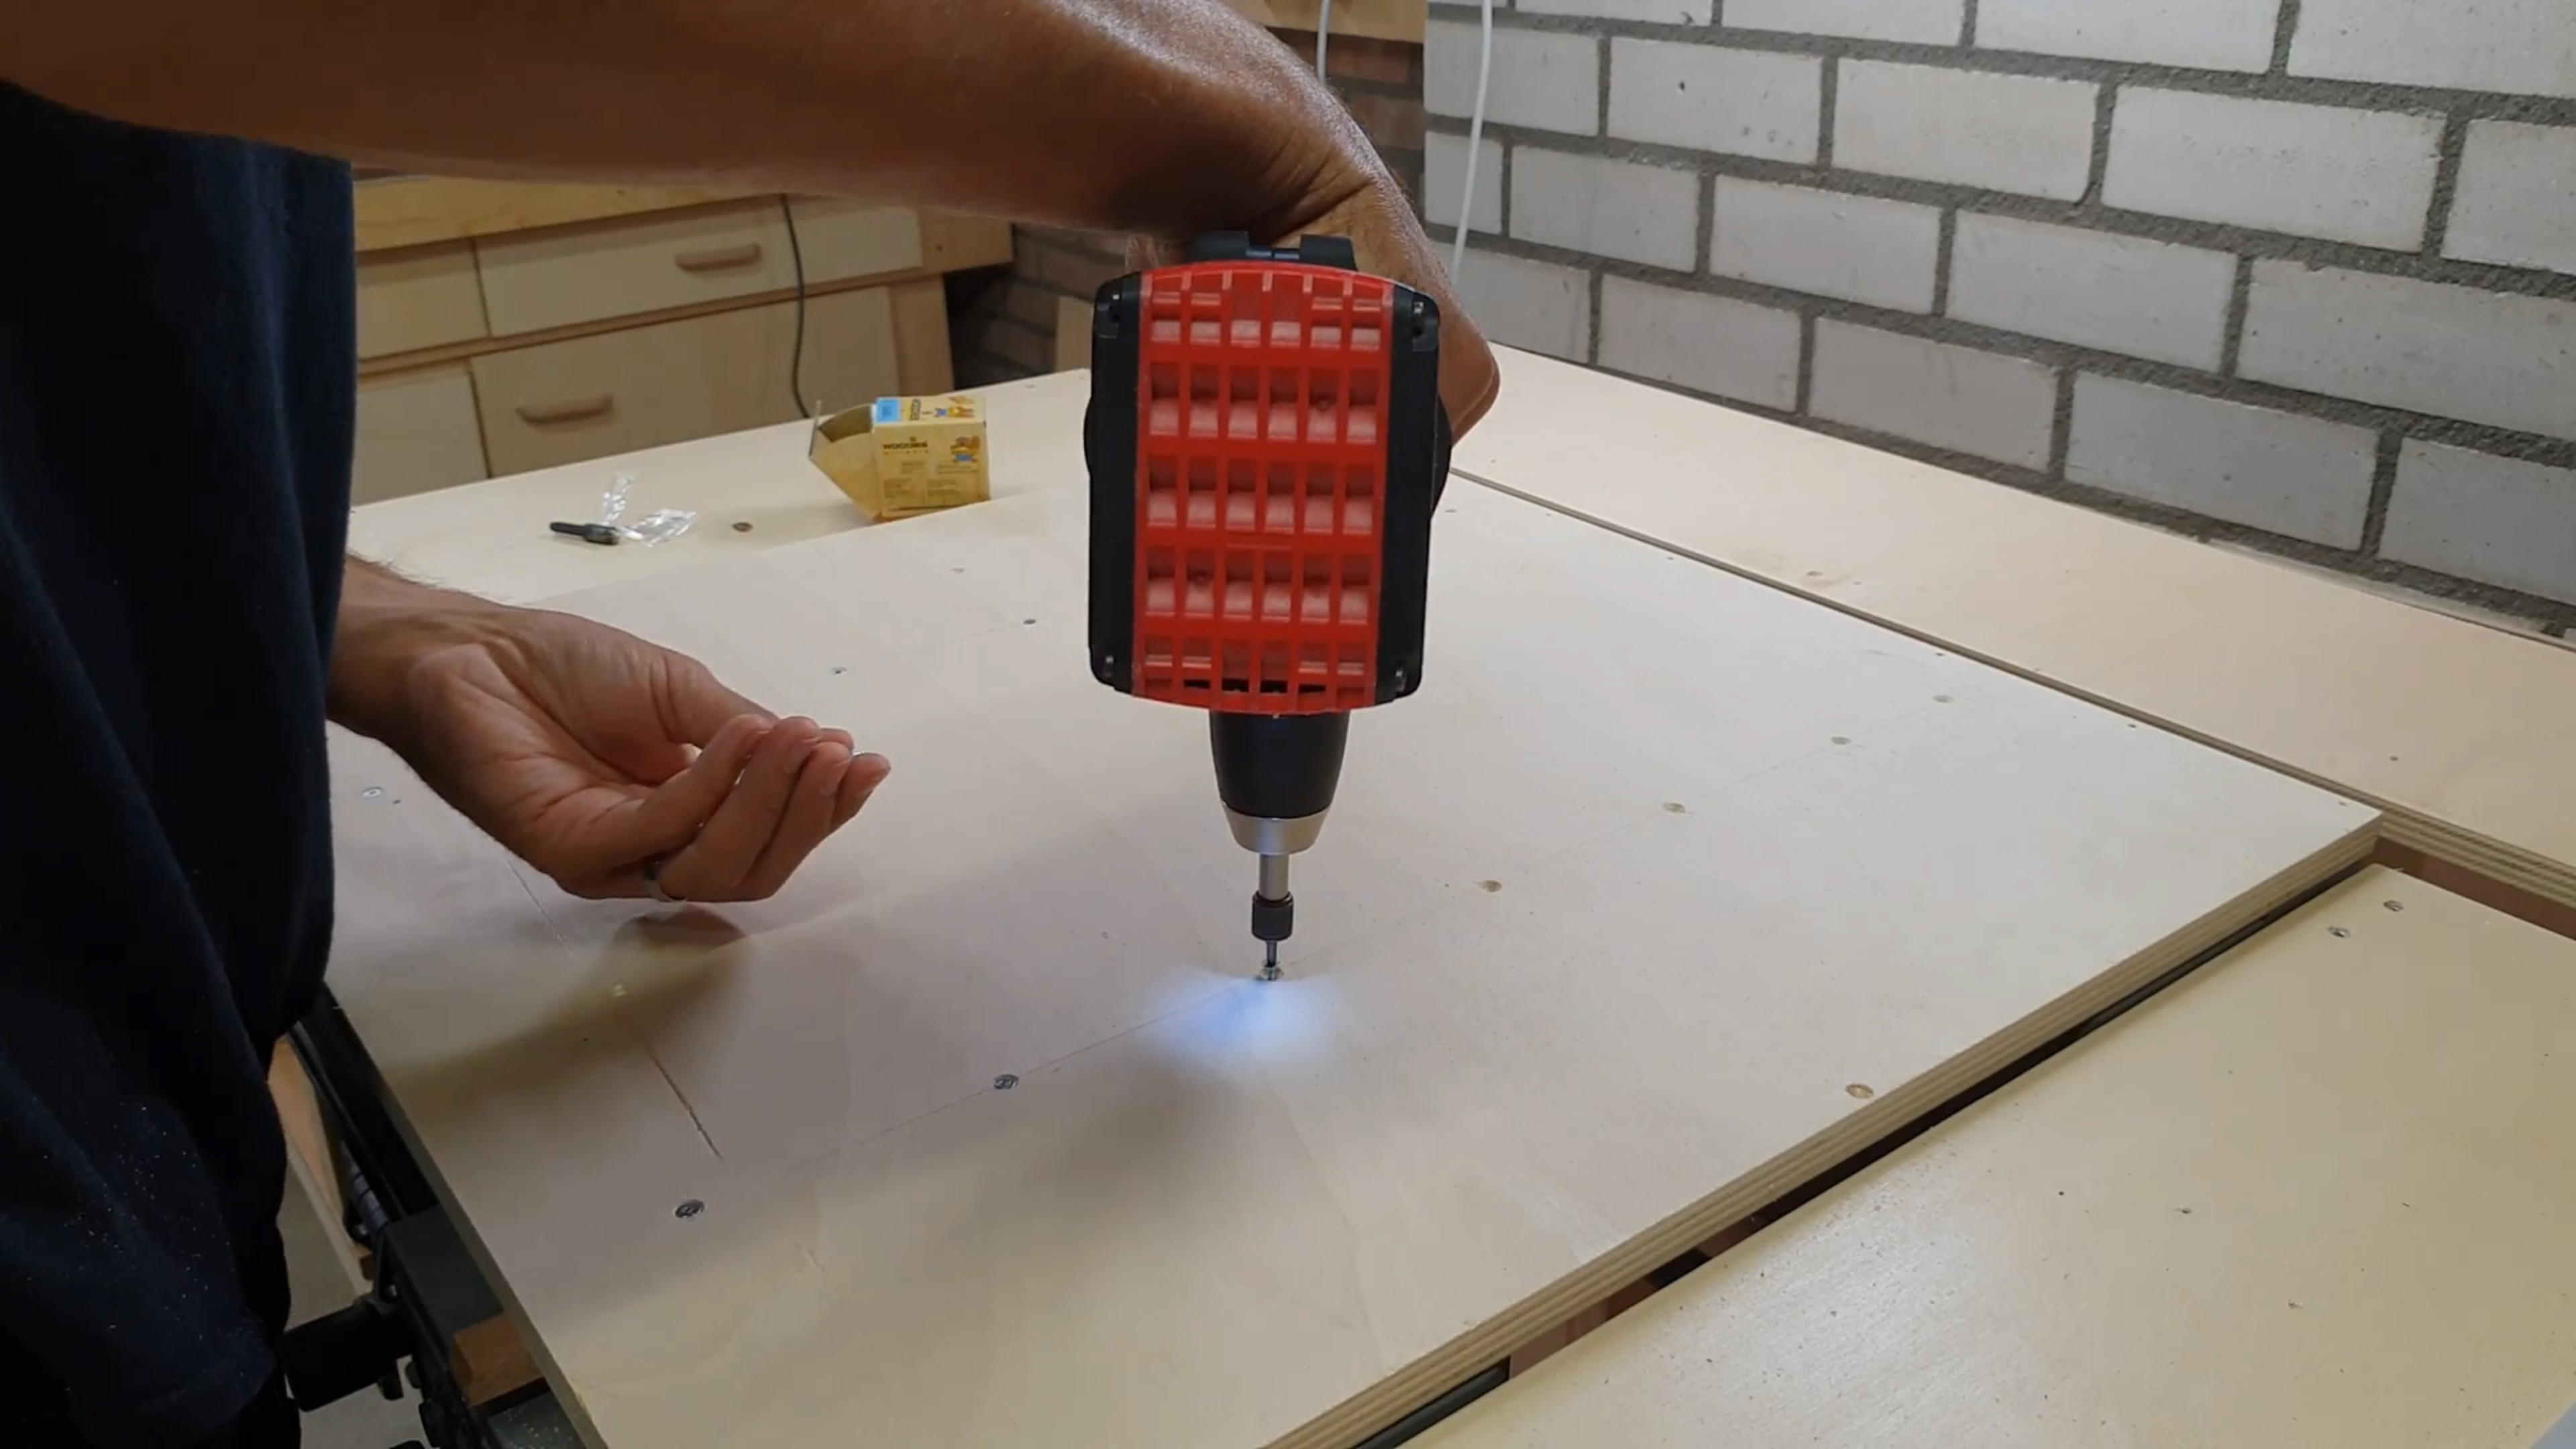
Once you have the runners complete you can secure them to the base of the sled. Make sure the screws don’t stick out on either end and pre-drill the holes because the hardwood will split if you don’t. With the runners attached the fences are up next. The back fence can be attached without accurate measurements because you won’t reference any cuts of it. If you do intend to do this then you should position this very accurately like the front fence.
Fences
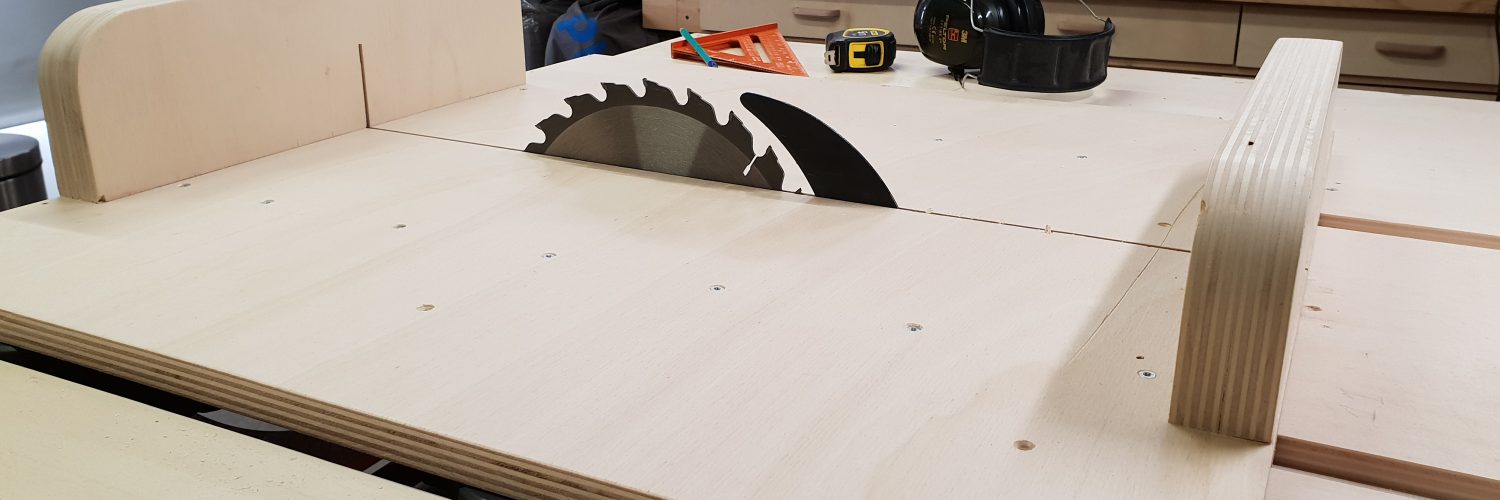
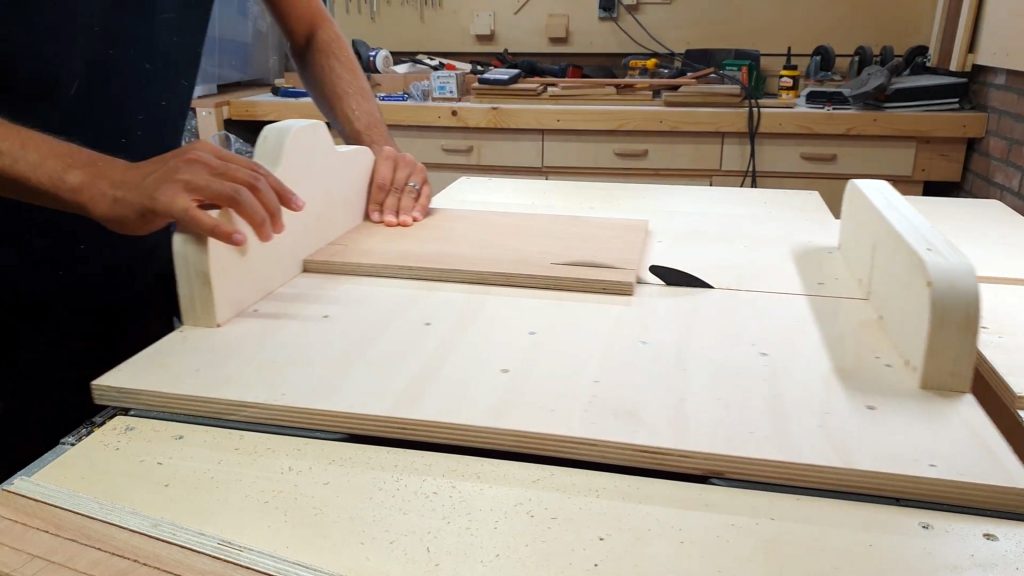
With the back fence attached I fasten the front fence with a single screw on one end and a clamp on the other. I then cut through the base up to the front fence but no through it. When cutting through a fence I recommend clamping sacrificial boards to it to prevent chip-out. Once you have the cut made it’s time to take the first attempt at attaching it. I took my measurements with a few different squares but you use anything with a 90-degree angle. It’s important that across the length of the sled the cut is at a perfect 90-degree angle with the fence. If it’s not then your future cuts made with the sled will all be crooked.
Once you feel the fence is positioned correctly drive in a screw where you had the clamp. Now you can use the famous 5-cut method to measure how much you are off from 90-degree. William explains this perfectly in his video here.
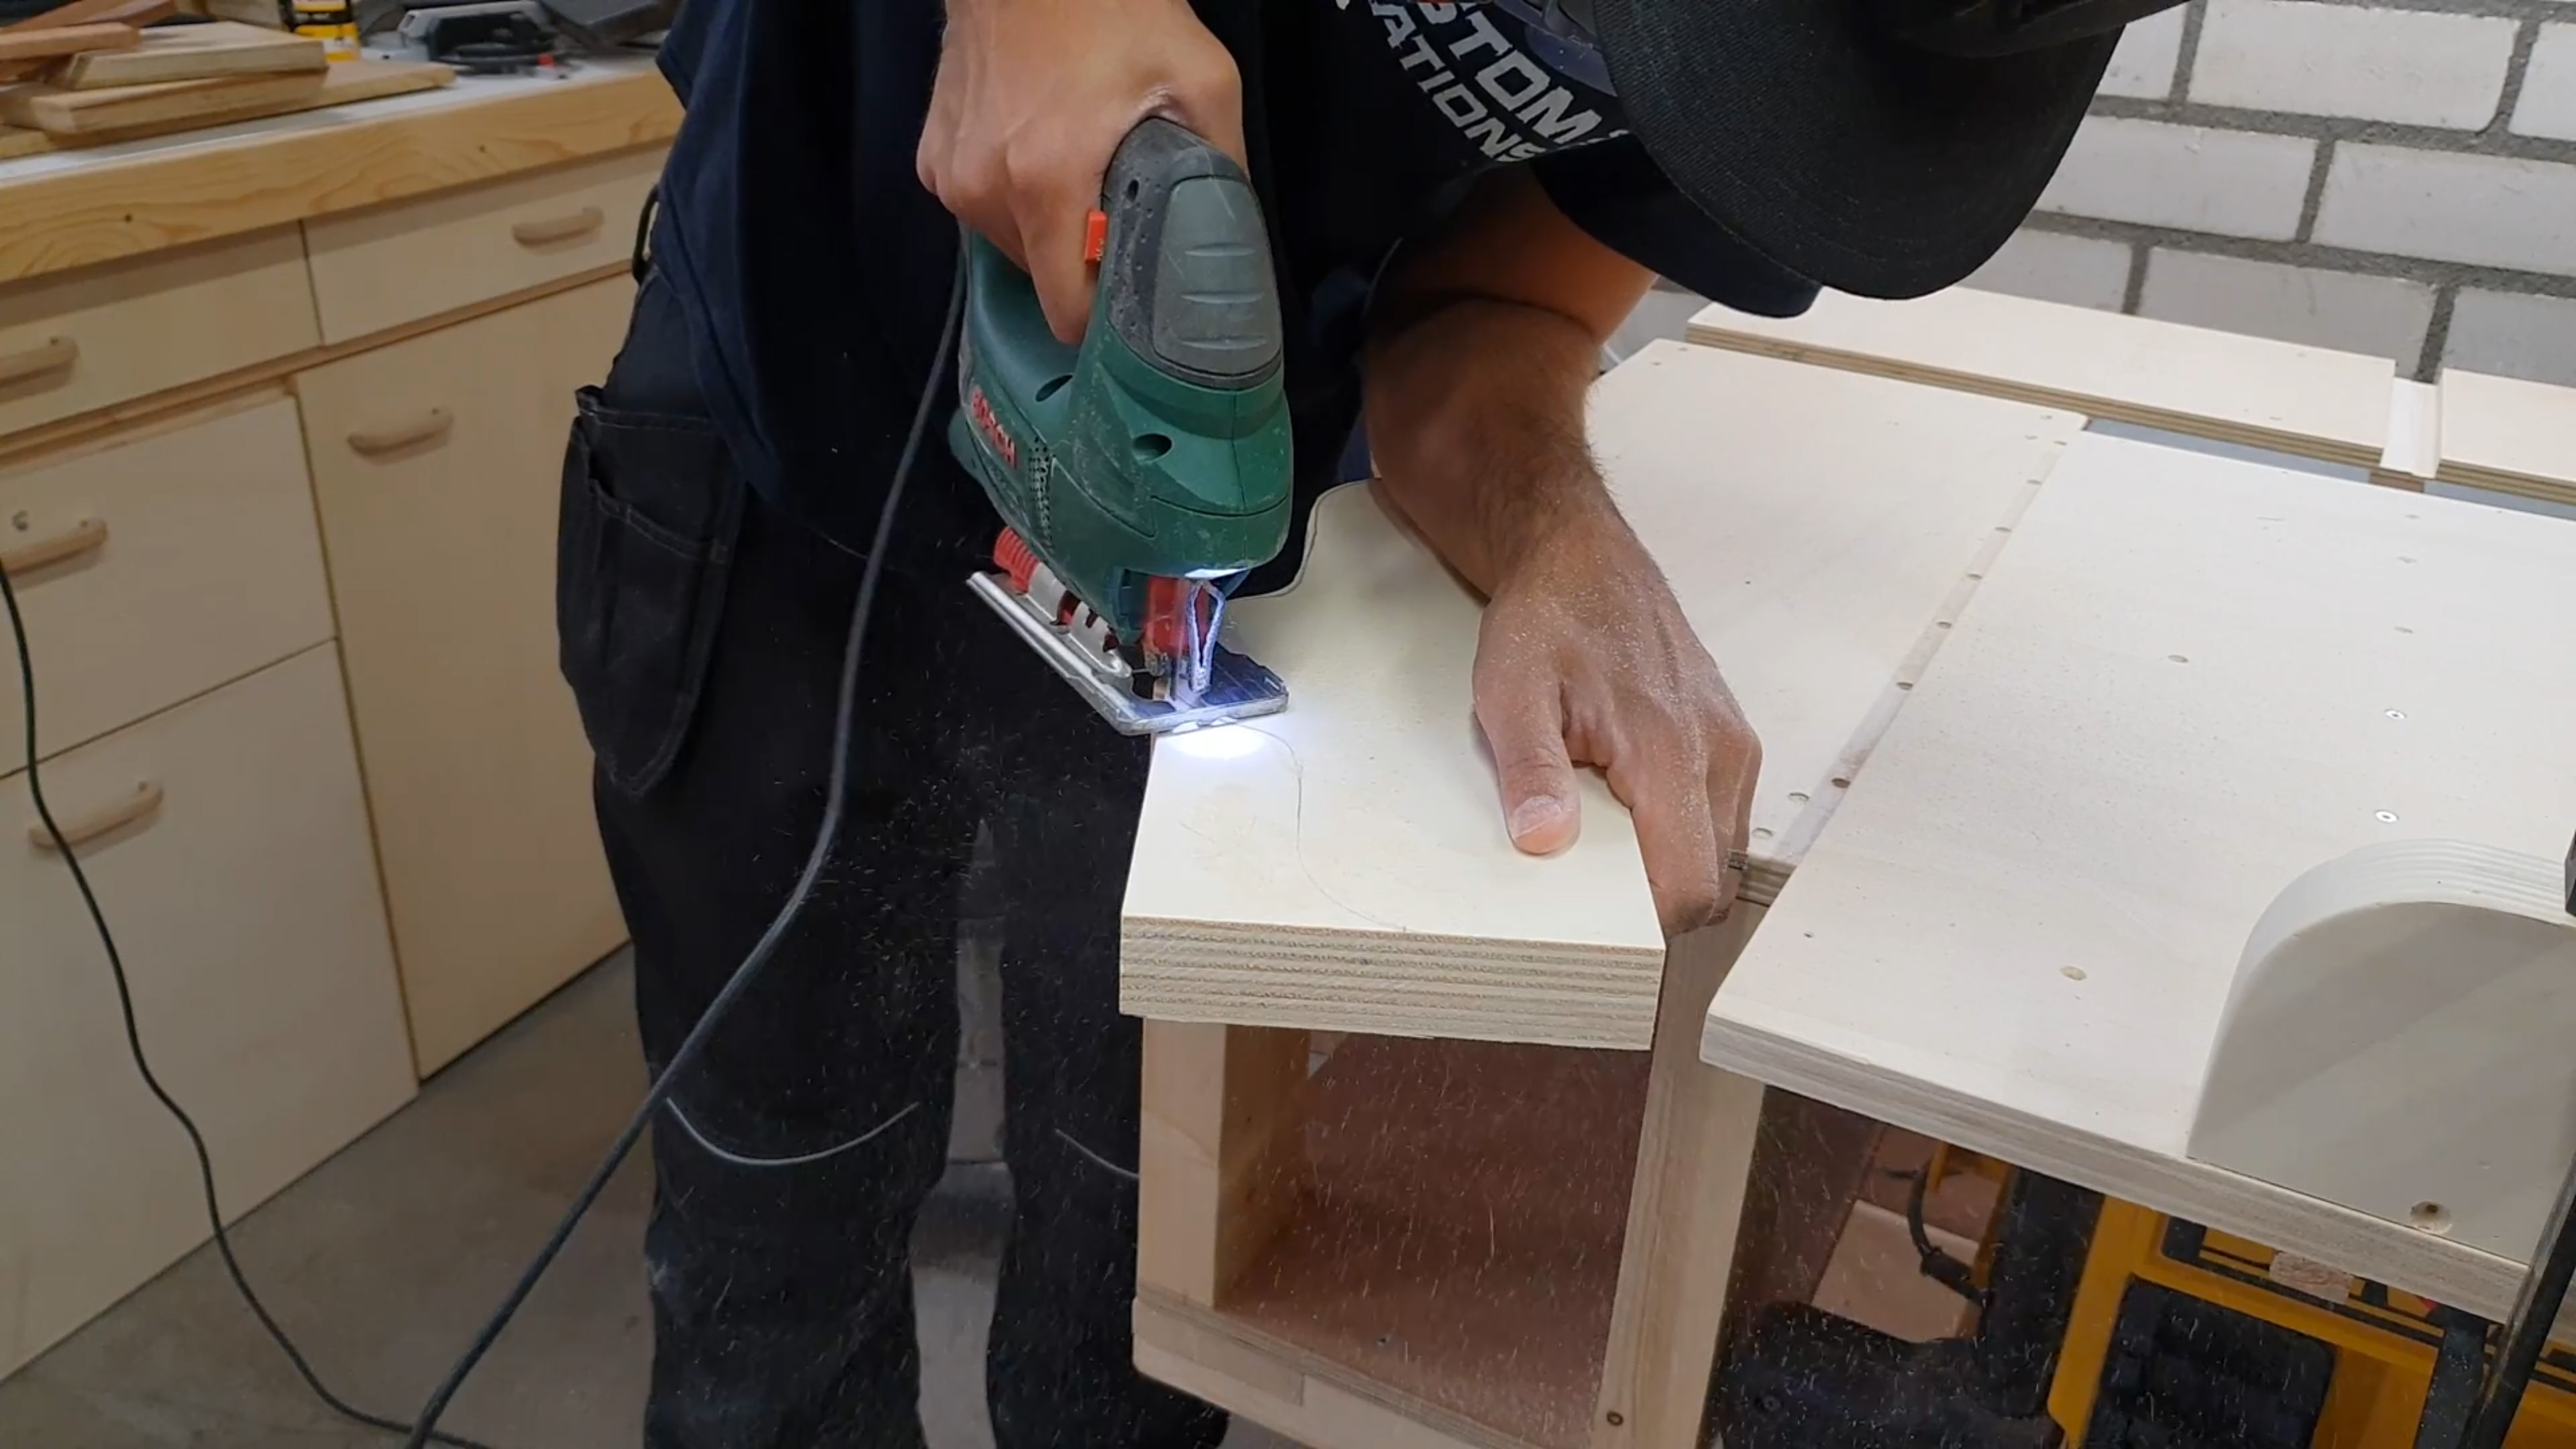
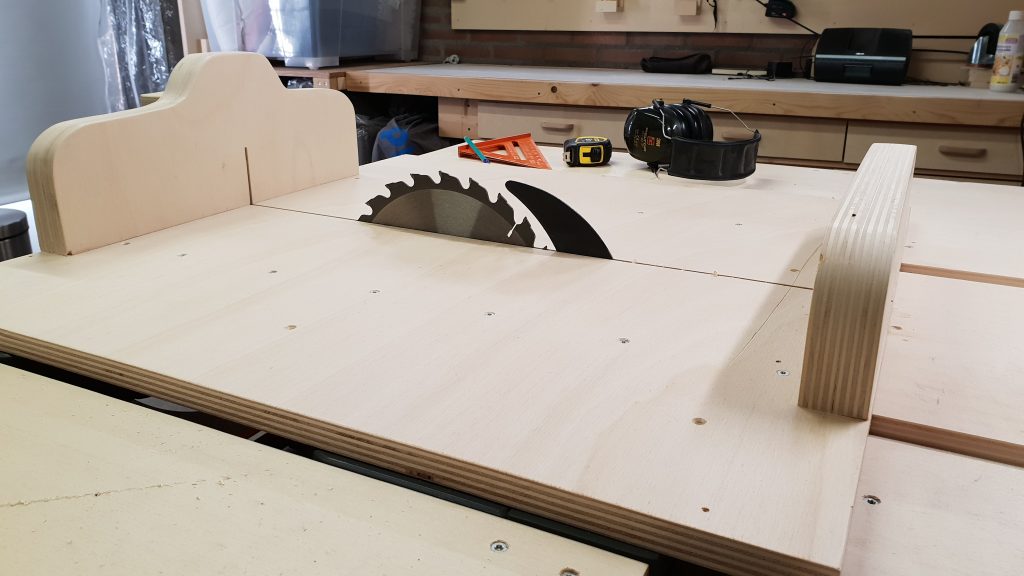
Once the 90-degree is perfect (or close to it) you can fasten the fence more permanently with some additional screws and the sled is complete. As a safety feature, I suggest adding a blade-guard on the back of the sled. This is a simple box that prevents you from touching the blade as it comes out the back of the sled during a cut. How you finish it is up to you, I chose to use a wax so it slides easily on the saw.
Result
This project is something I’ve done a few times now and I can tell you that the result gets considerably better after a few attempts. The 5-cuts technique and taking your time also play a big part in getting an accurate sled. I’ve been using it now for a few months and hopefully will get a lot more use out of it. Happy days!
Additions
I haven’t made any changes or modifications since I’ve built the sled and don’t plan too. If there is a different need I will probably just make a different sled for that purpose specifically.
Links
I hope this post has inspired you to make something.
And don’t forget to follow your excitement!
Hi, I have a question for you. What should someone be looking for in a table saw? Are there specific features you really need to have? I’ve been looking at Dewalt but there are so many good brands out there. It’s hard to choose… Looking forward to your reply.
Hi Aron, I think it’s a very personal question. One that is difficult to answer. I had some criteria that the saw needed to meet but those criteria don’t necessarily apply to you too. For me the accuracy, power, size, and range of cut were important. Since you can’t try all the saws out before you buy them I had to go on reviews found online and specifications. Once I narrowed my search down to a few contenders, I made my decision based on what was available for a good price and stuck with a brand that I had good experiences with. I already owned a circular saw from DeWalt and am very pleased with that. I know it’s very difficult to choose since it’s a expensive purchase to make… Good luck, I hope this helps!
Excellent. thank you for sharing.
Thanks!