

The next addition to my mobile workbench is a Moxon vise. A long-overdue project! Let’s get into it.
Design
For this project, I did not come up with the design myself. I’m inspired by one of the vises that Jay Bates made. I’ve linked the details of that video at the bottom of this article. Make sure to check him out if you don’t know him! He is one of the people that made me be a woodworker. The concept of it is that you fit two pipe clamps to your workbench. The biggest advantages are that it’s cheap and very easy to make. That is if you compare it to a regular vise.
Build
Tools & Materials
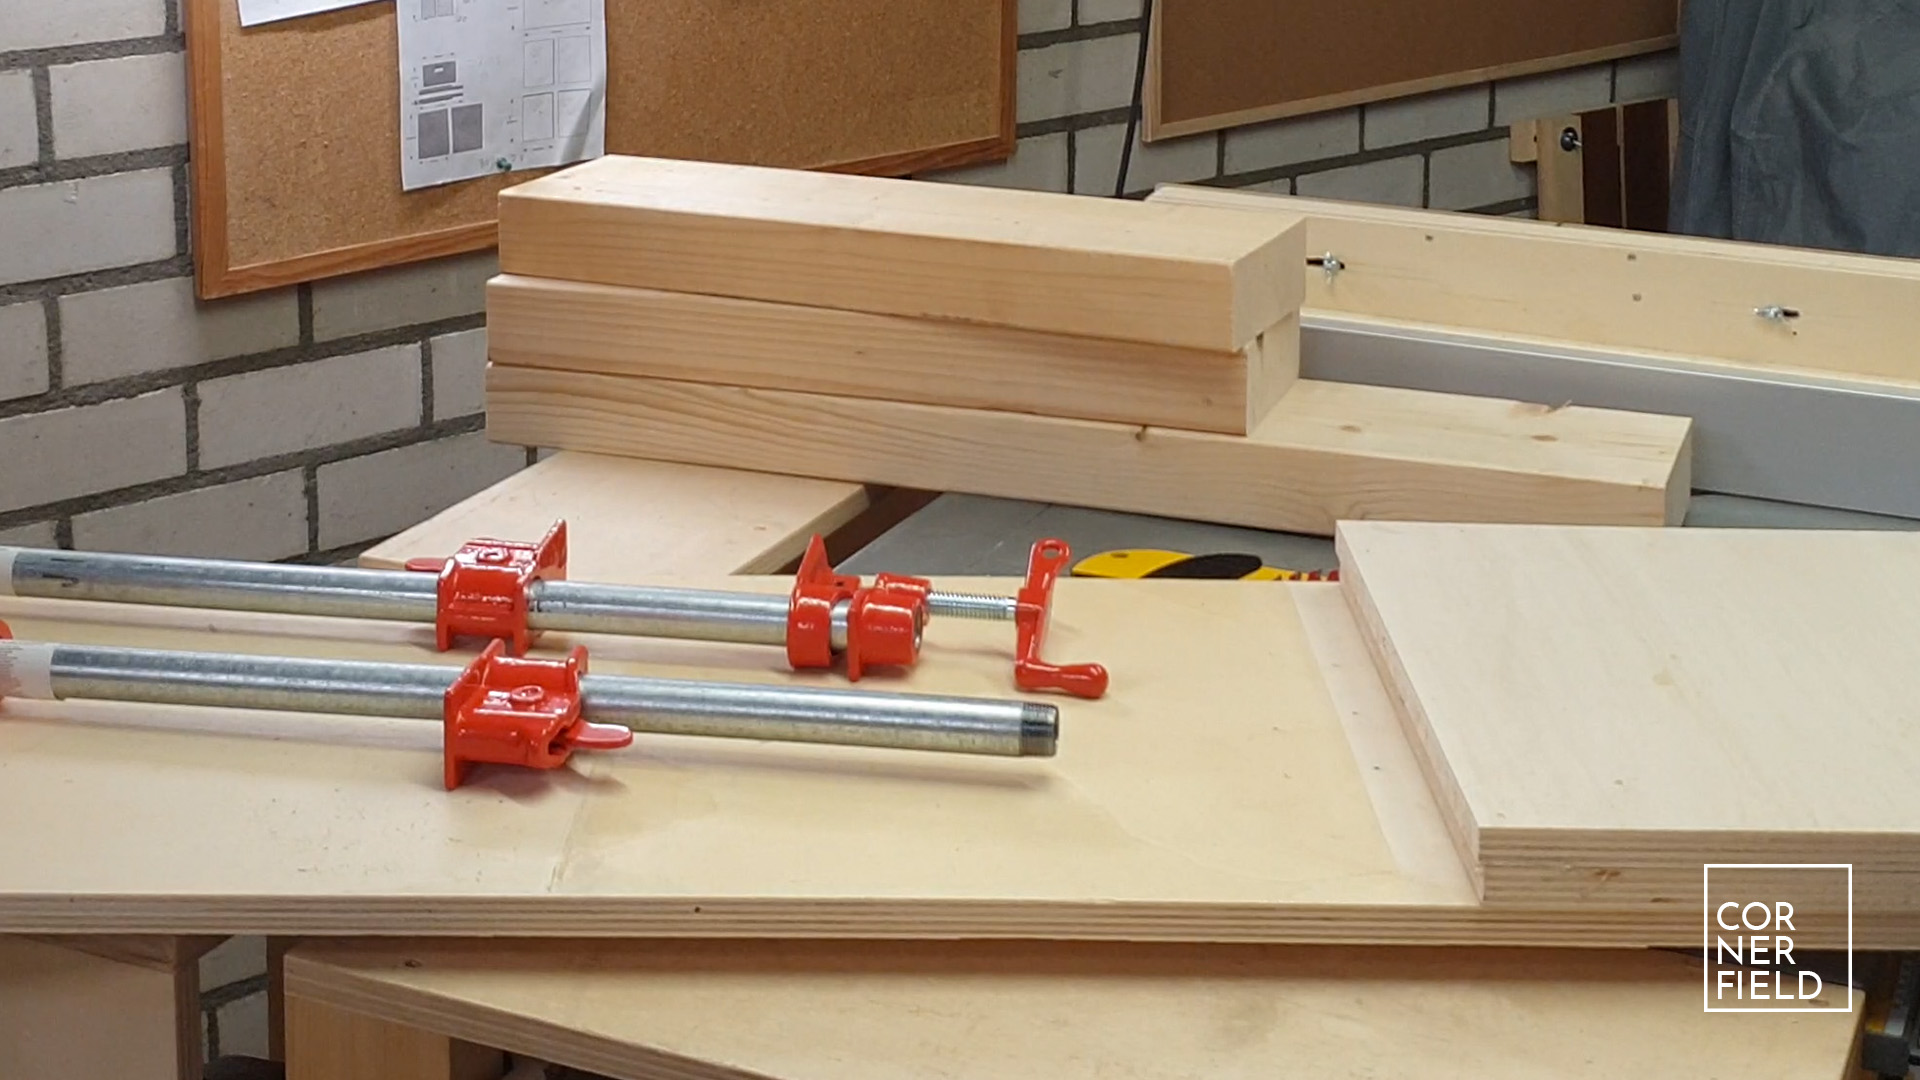
Assuming that you already have a workbench you will need the following materials. Two pipe clamps (diameter can be 1/2″ or 3/4″), some blocks of wood, a few strips of plywood, glue, and screws. As far as tools go, the list is fairly short. A saw (of any kind), drill with a few bits and drills, marking and measuring tools, clamps, sandpaper, and wax (any kind of wax). The one specific tool that I had to buy was a drill that matched the diameter of my pipes. That being said, having more tools at your disposal (like a drill press) will make this project a little easier. However, you should be able to manage with just this list.
Workbench modifications
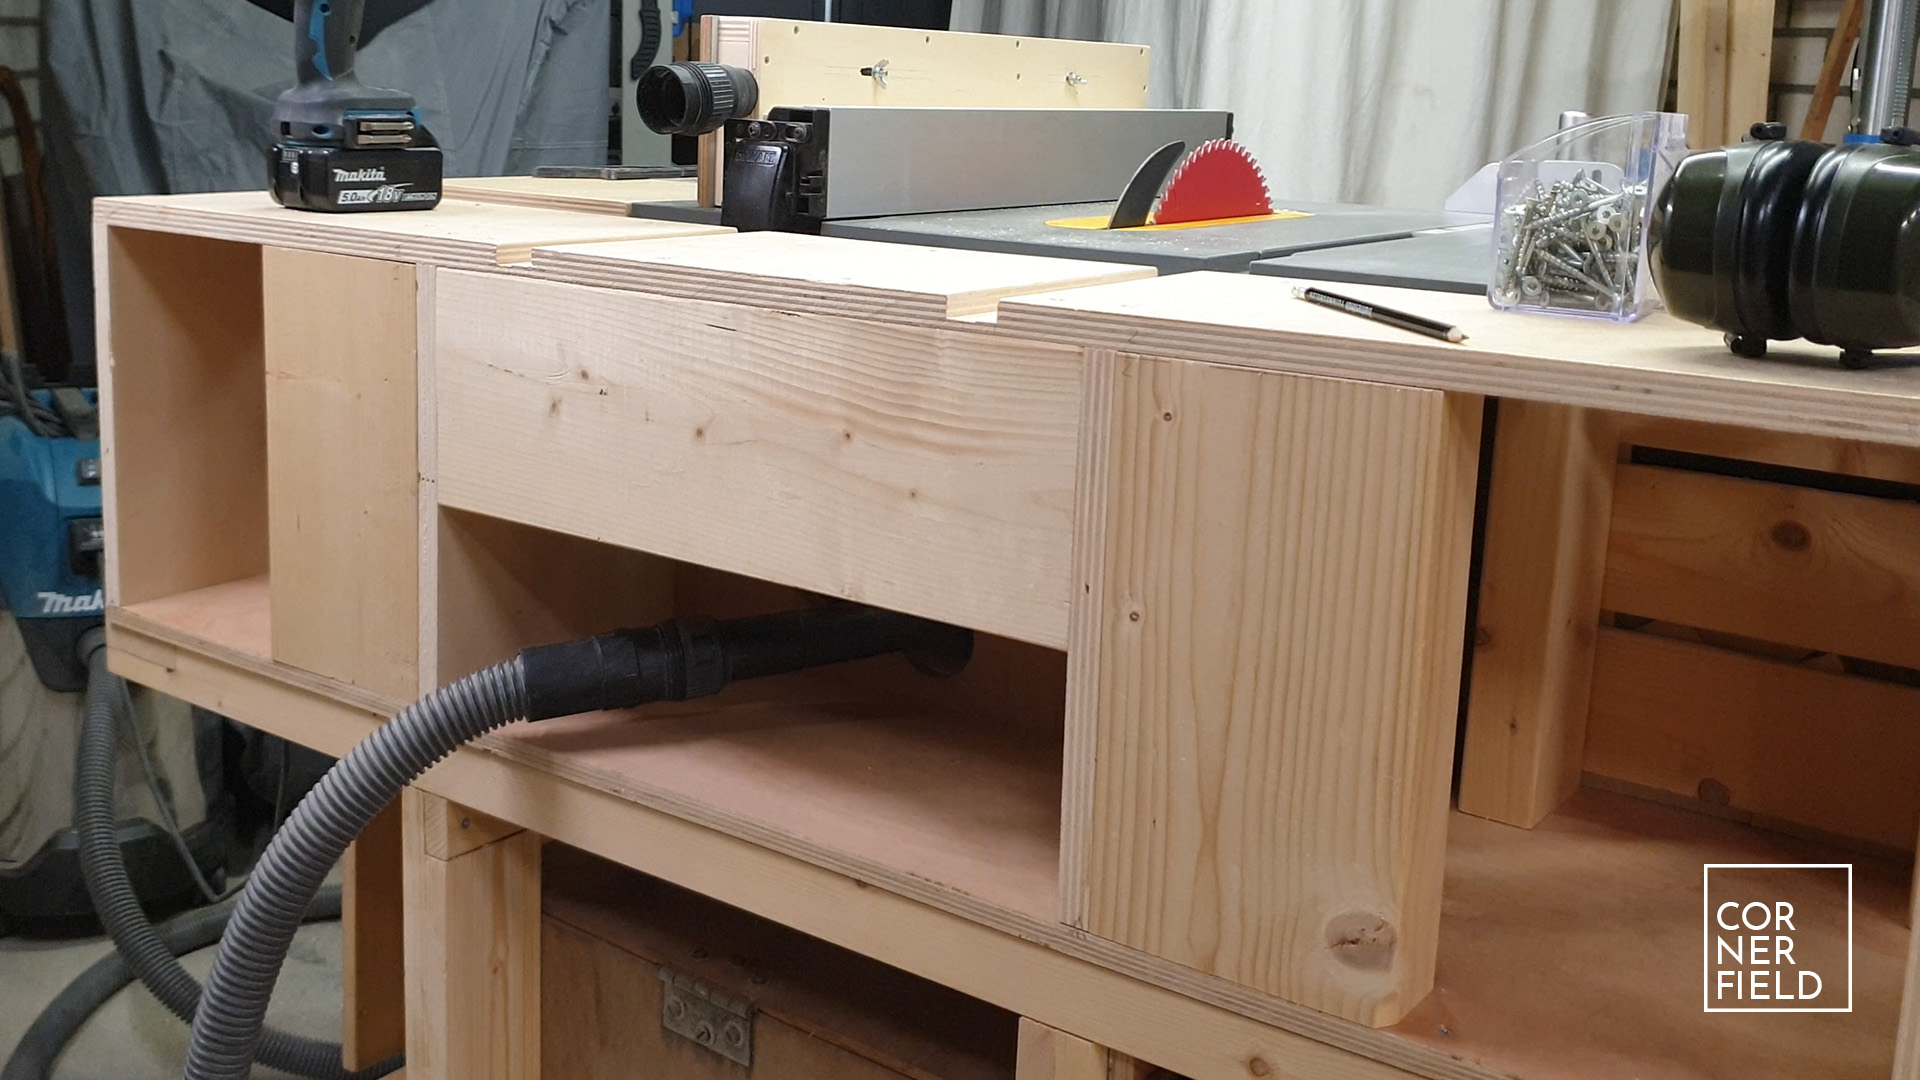
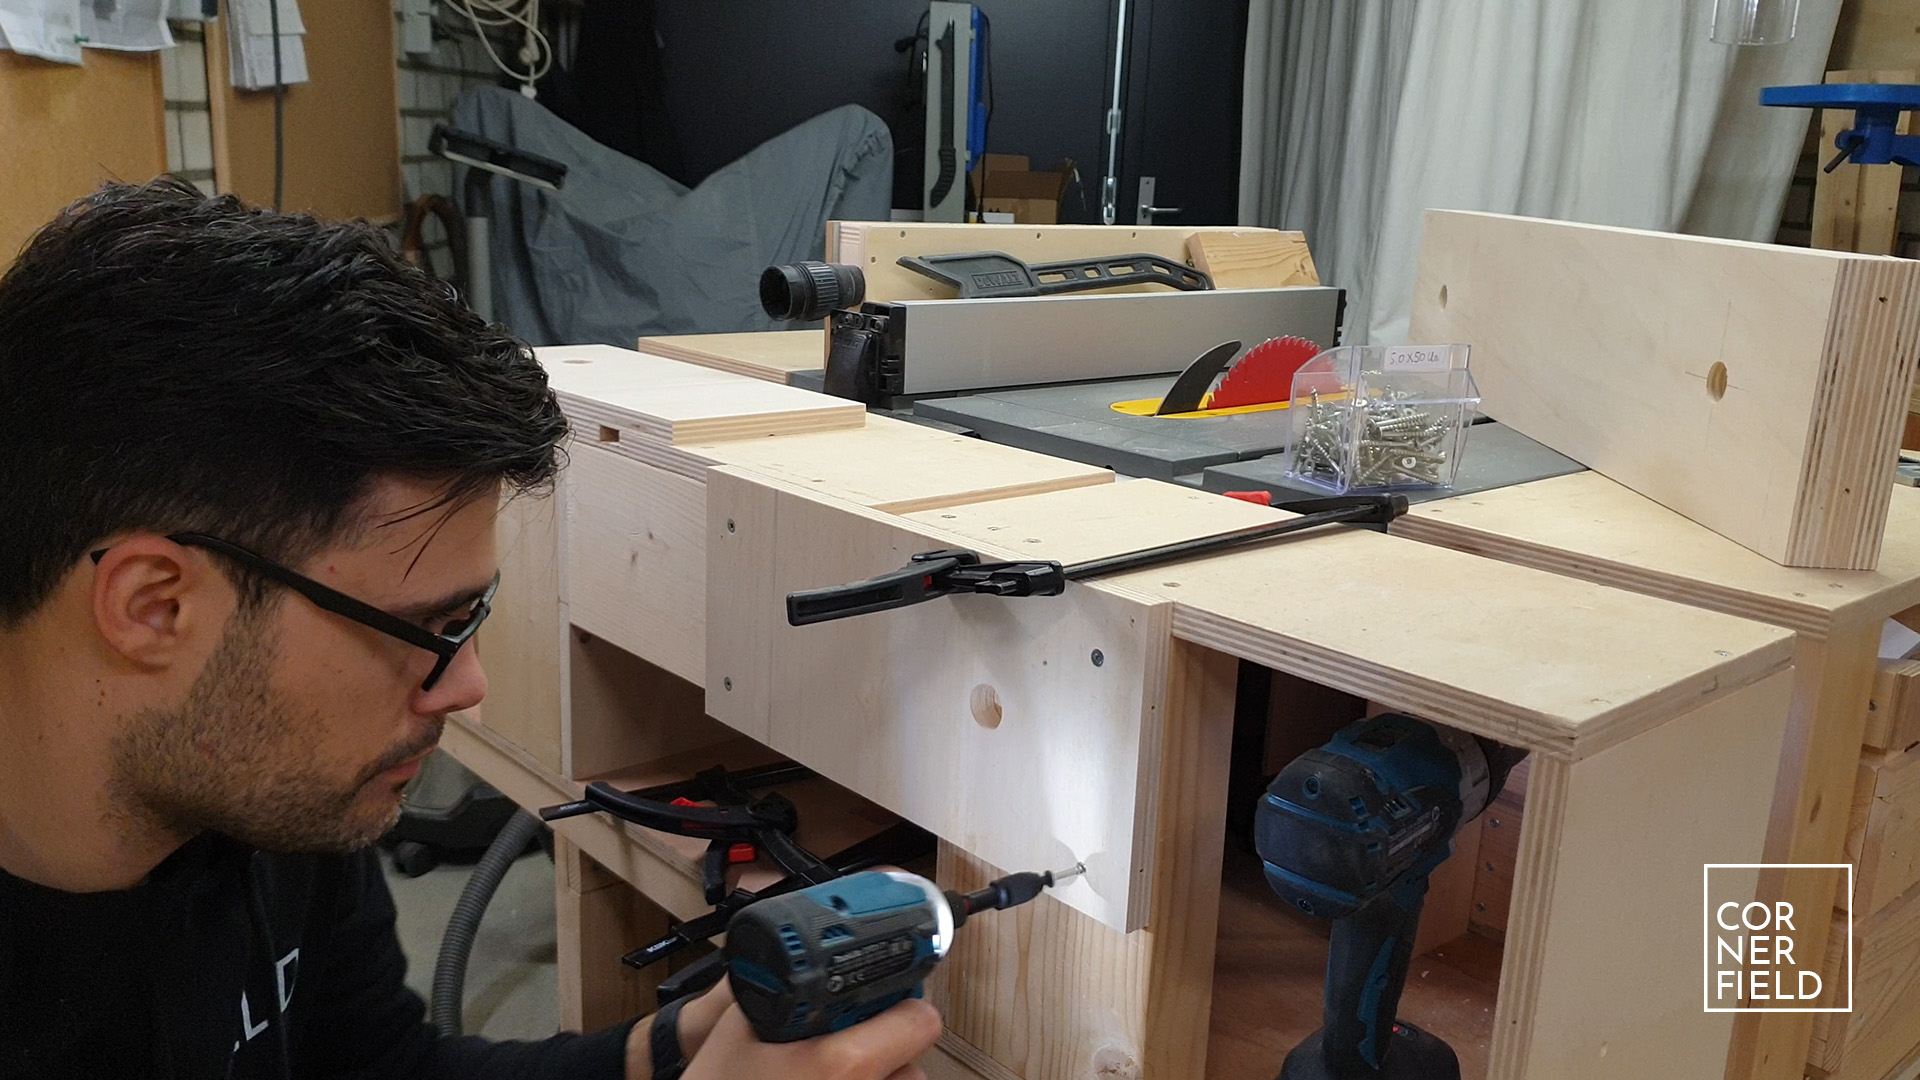
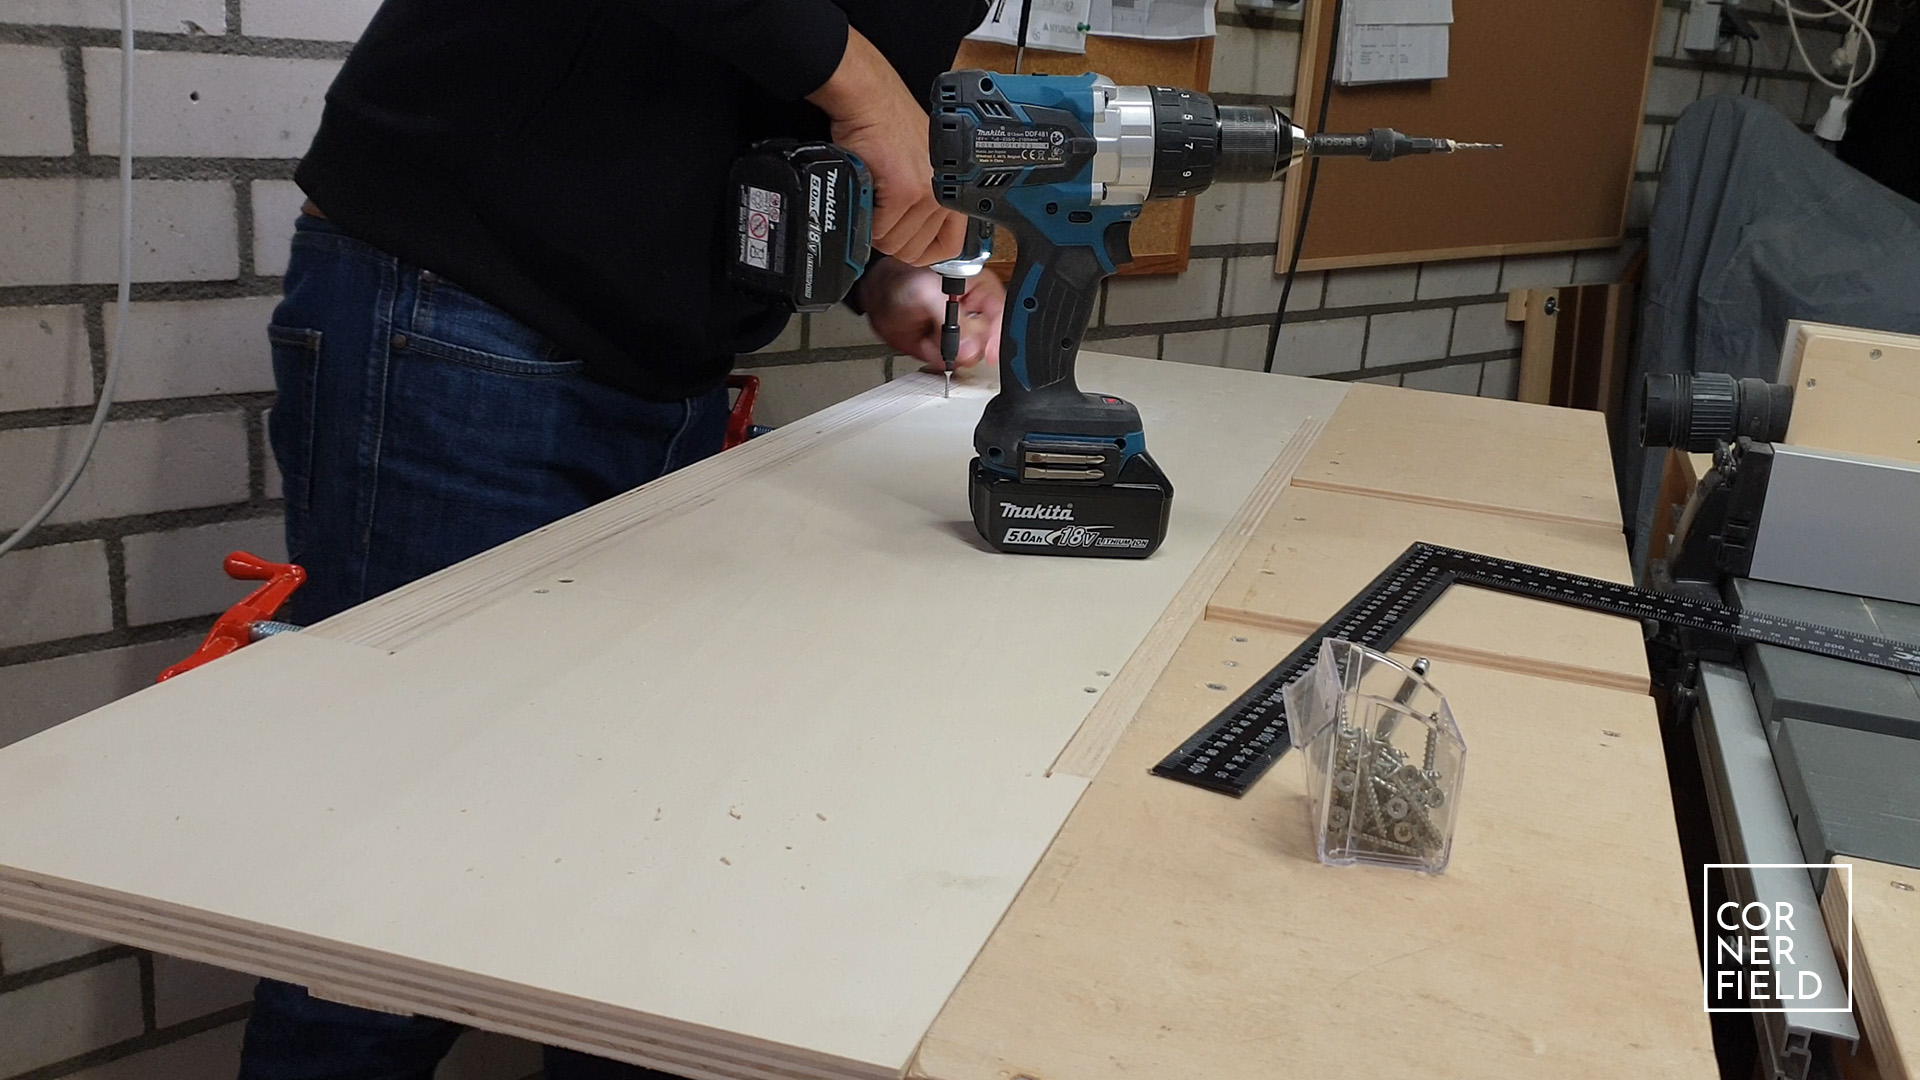
The first step in my build is reinforcing the workbench. I do this by adding some blocks of pine. You can add as many or as little support here as you feel comfortable with. It also slightly depends on how you are going to use it. I’m a big believer in iterating my tools so I’m not using any glue to attach these blocks. I’m using screws only. Important here is that the vertical face of the part of the workbench that you will be using is flat. You could use this as the fixed part of the vise as is. I decided to take two scraps of plywood to screw down to this surface. This way I have a nice flat fixed jaw for my vise.
Jaw
The moveable part of the vise is made from laminating multiple pieces of plywood together. You could use as many layers as you want here, I’m going with three. The two outer layers are a single part, the middle is made from two pieces. Additionally, you could leave a gap in this middle piece. This gives options for putting a bench dog in.

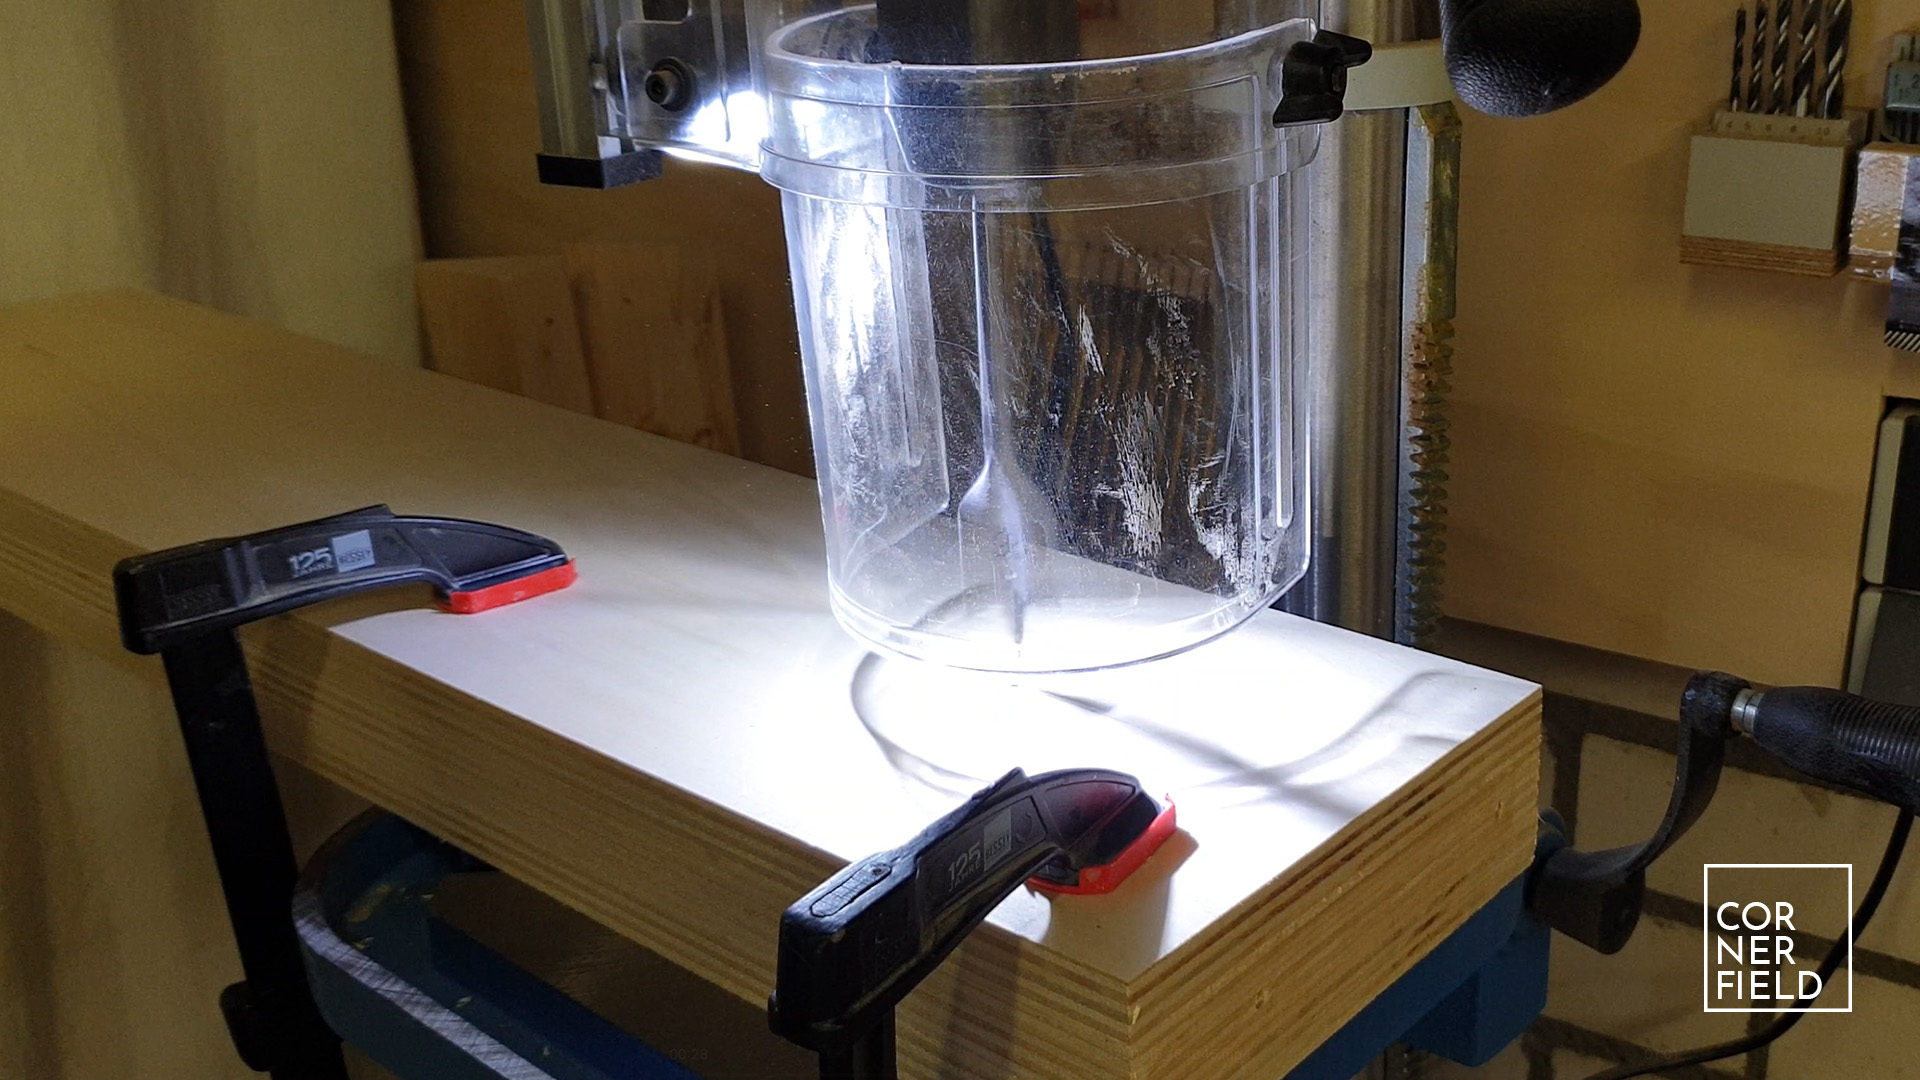
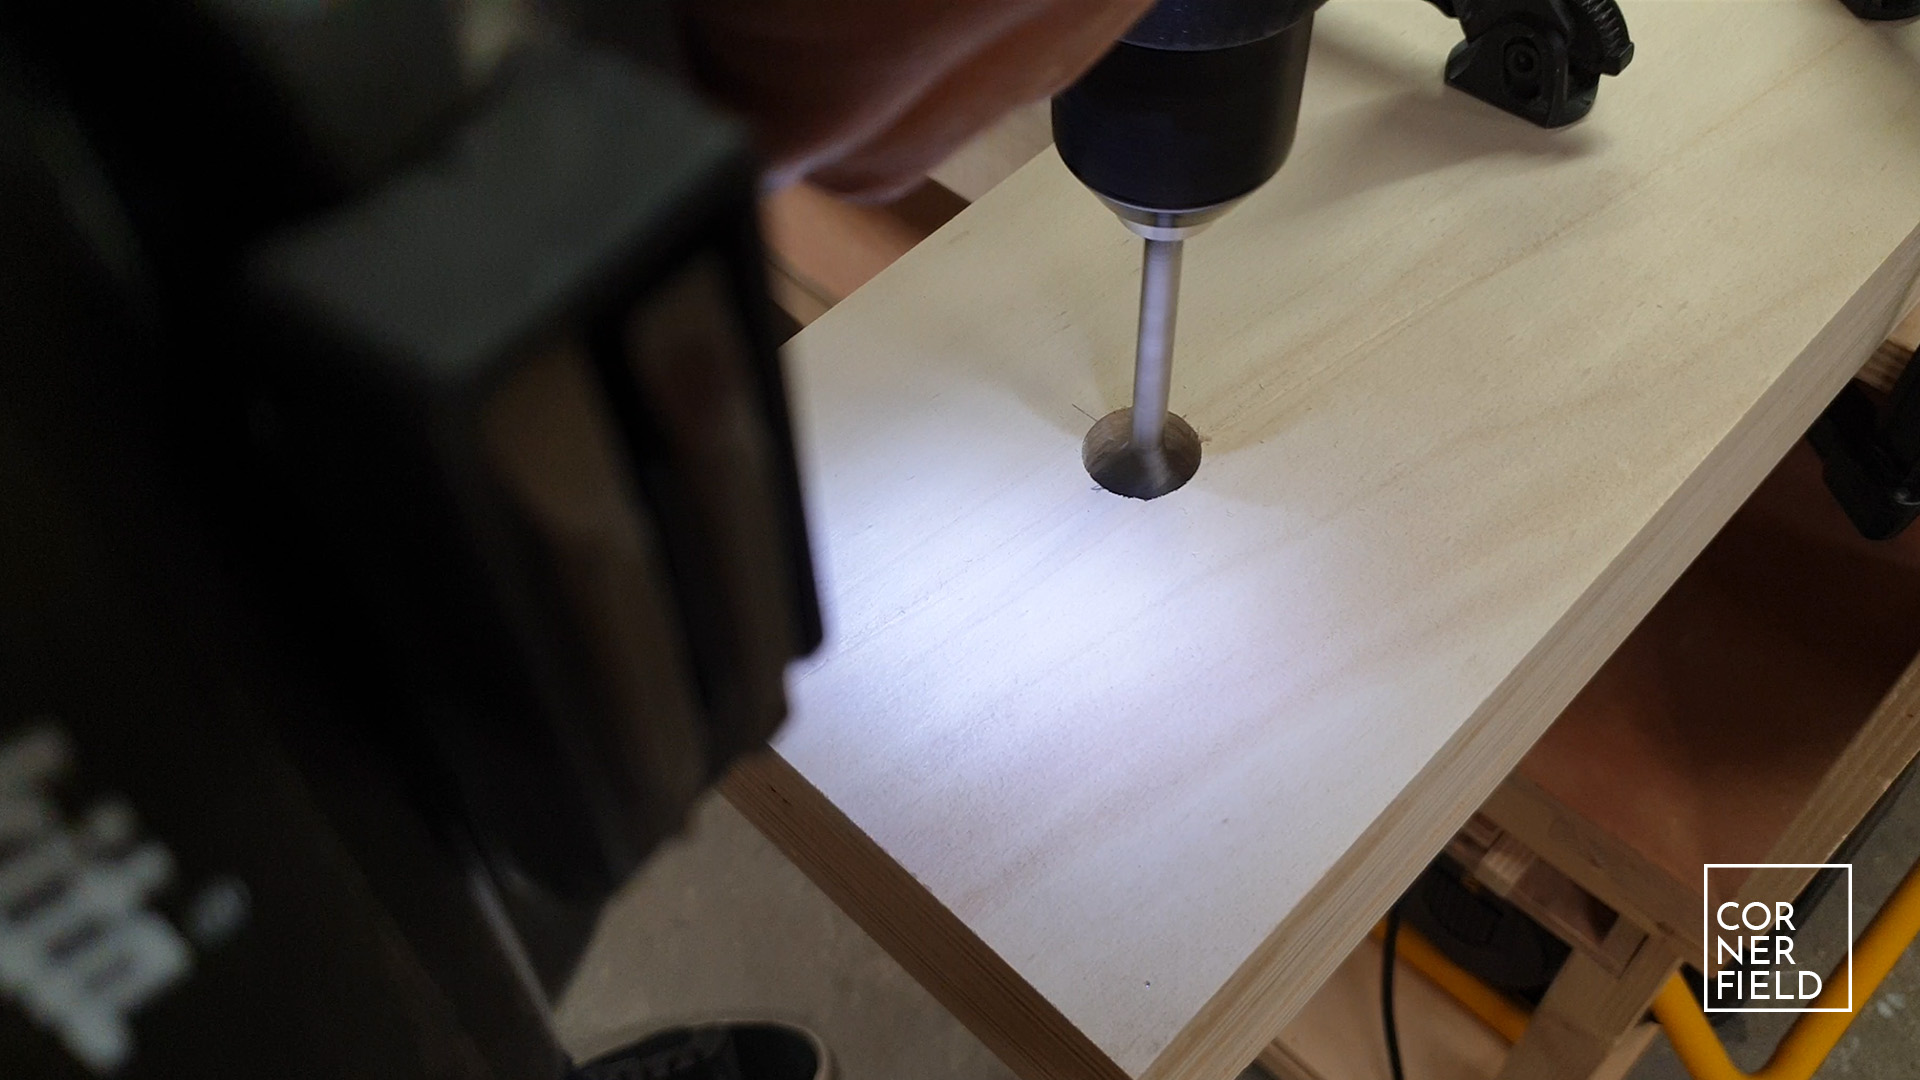
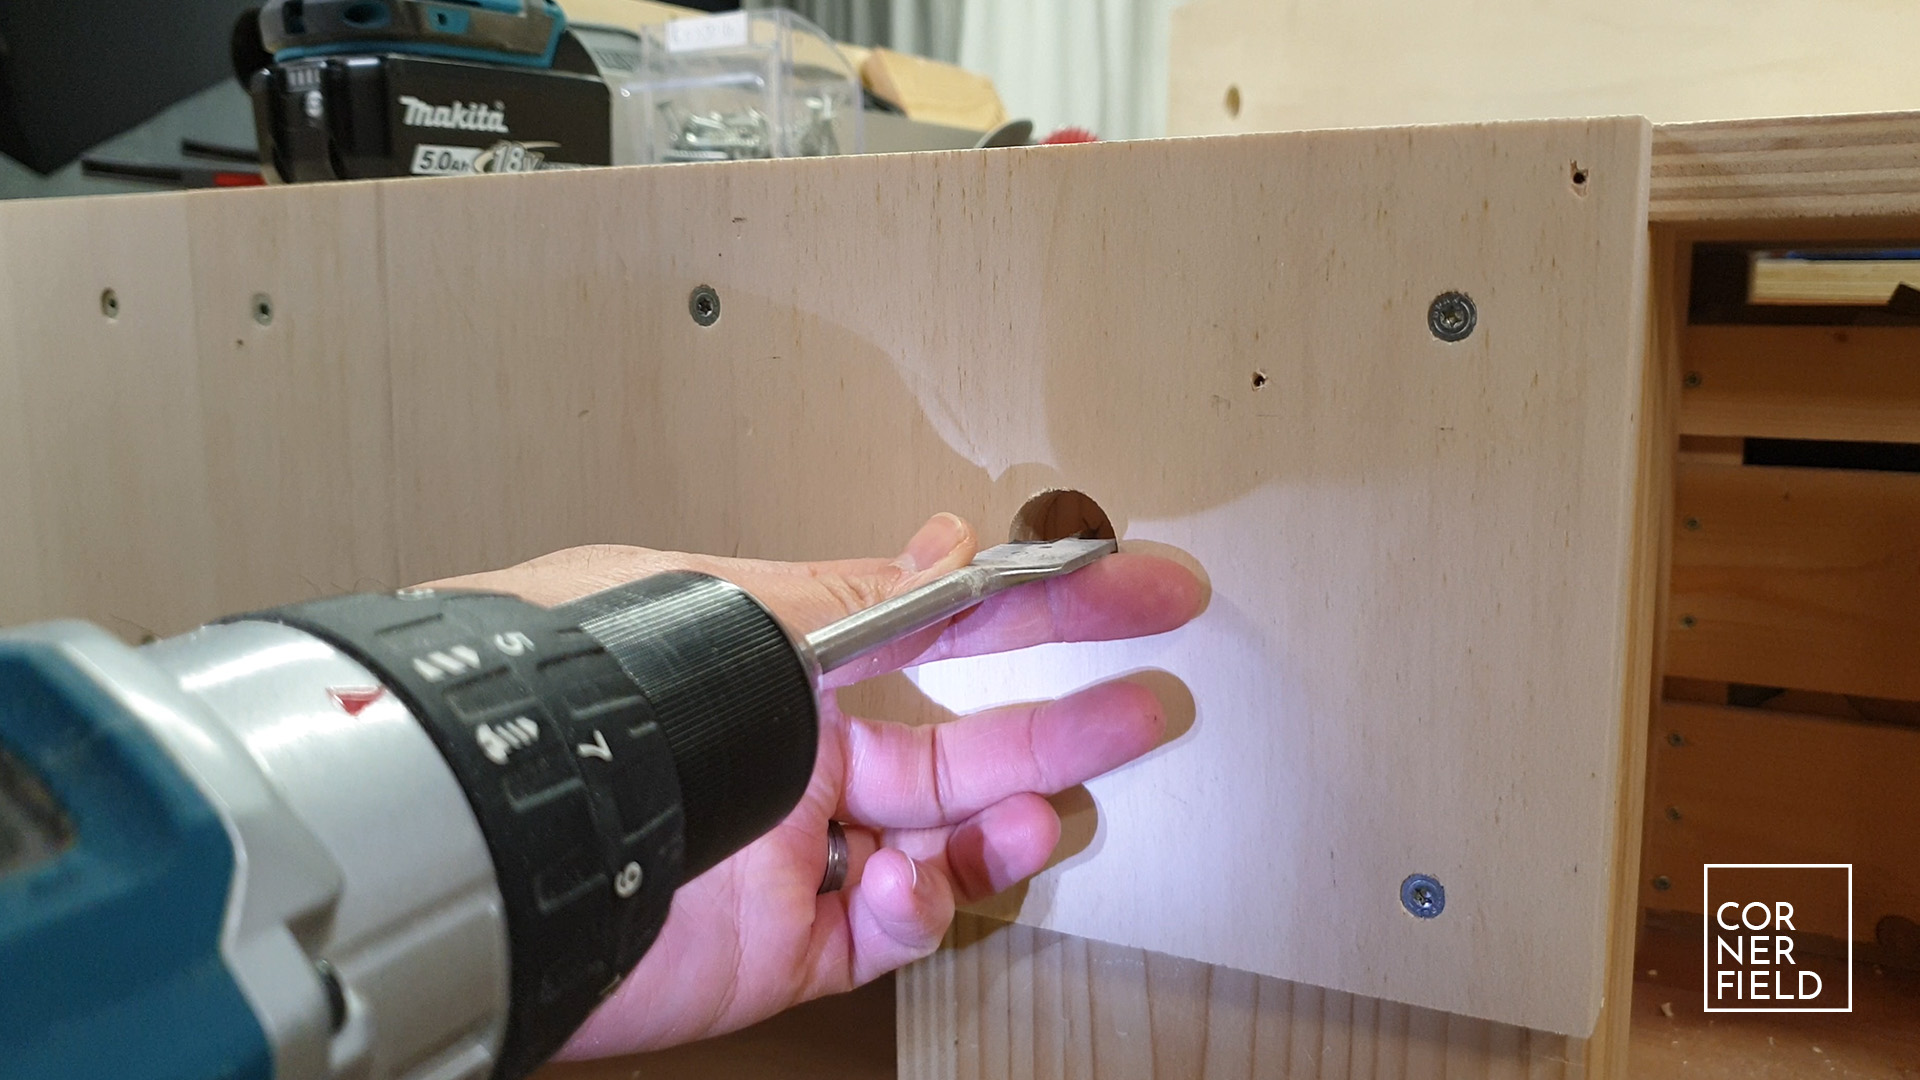
The only modification that is required after gluing this up is drilling two holes for the pipes. I’m using my drill press to do this. If you use a handheld drill make sure that the holes are at a 90-degree angle with the surface. For the size of the hole, I recommend using a bit one size bigger than your pipe. Otherwise, you will have to deal with the same issues I had. More on that later. I’m using the holes I drilled in this part as a guide to drill through the fixed jaw and the support blocks. You could also make all the holes in all the parts before assembly. This would assure one straight hole for the pipes. If you can make this work then I would recommend doing it that way.
Clamps
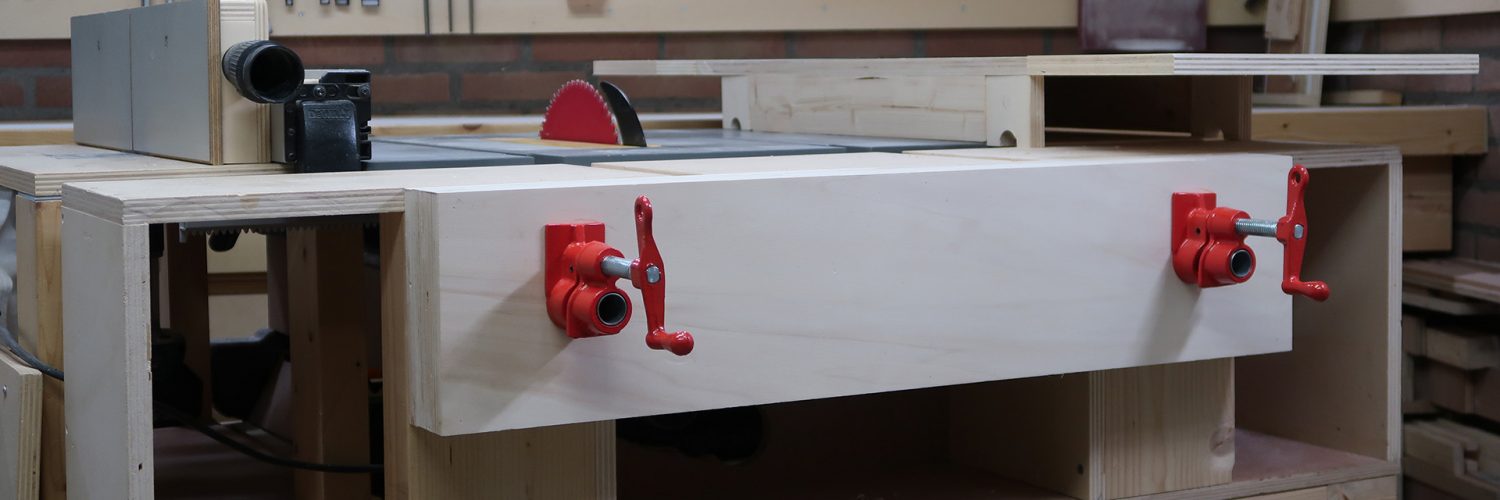
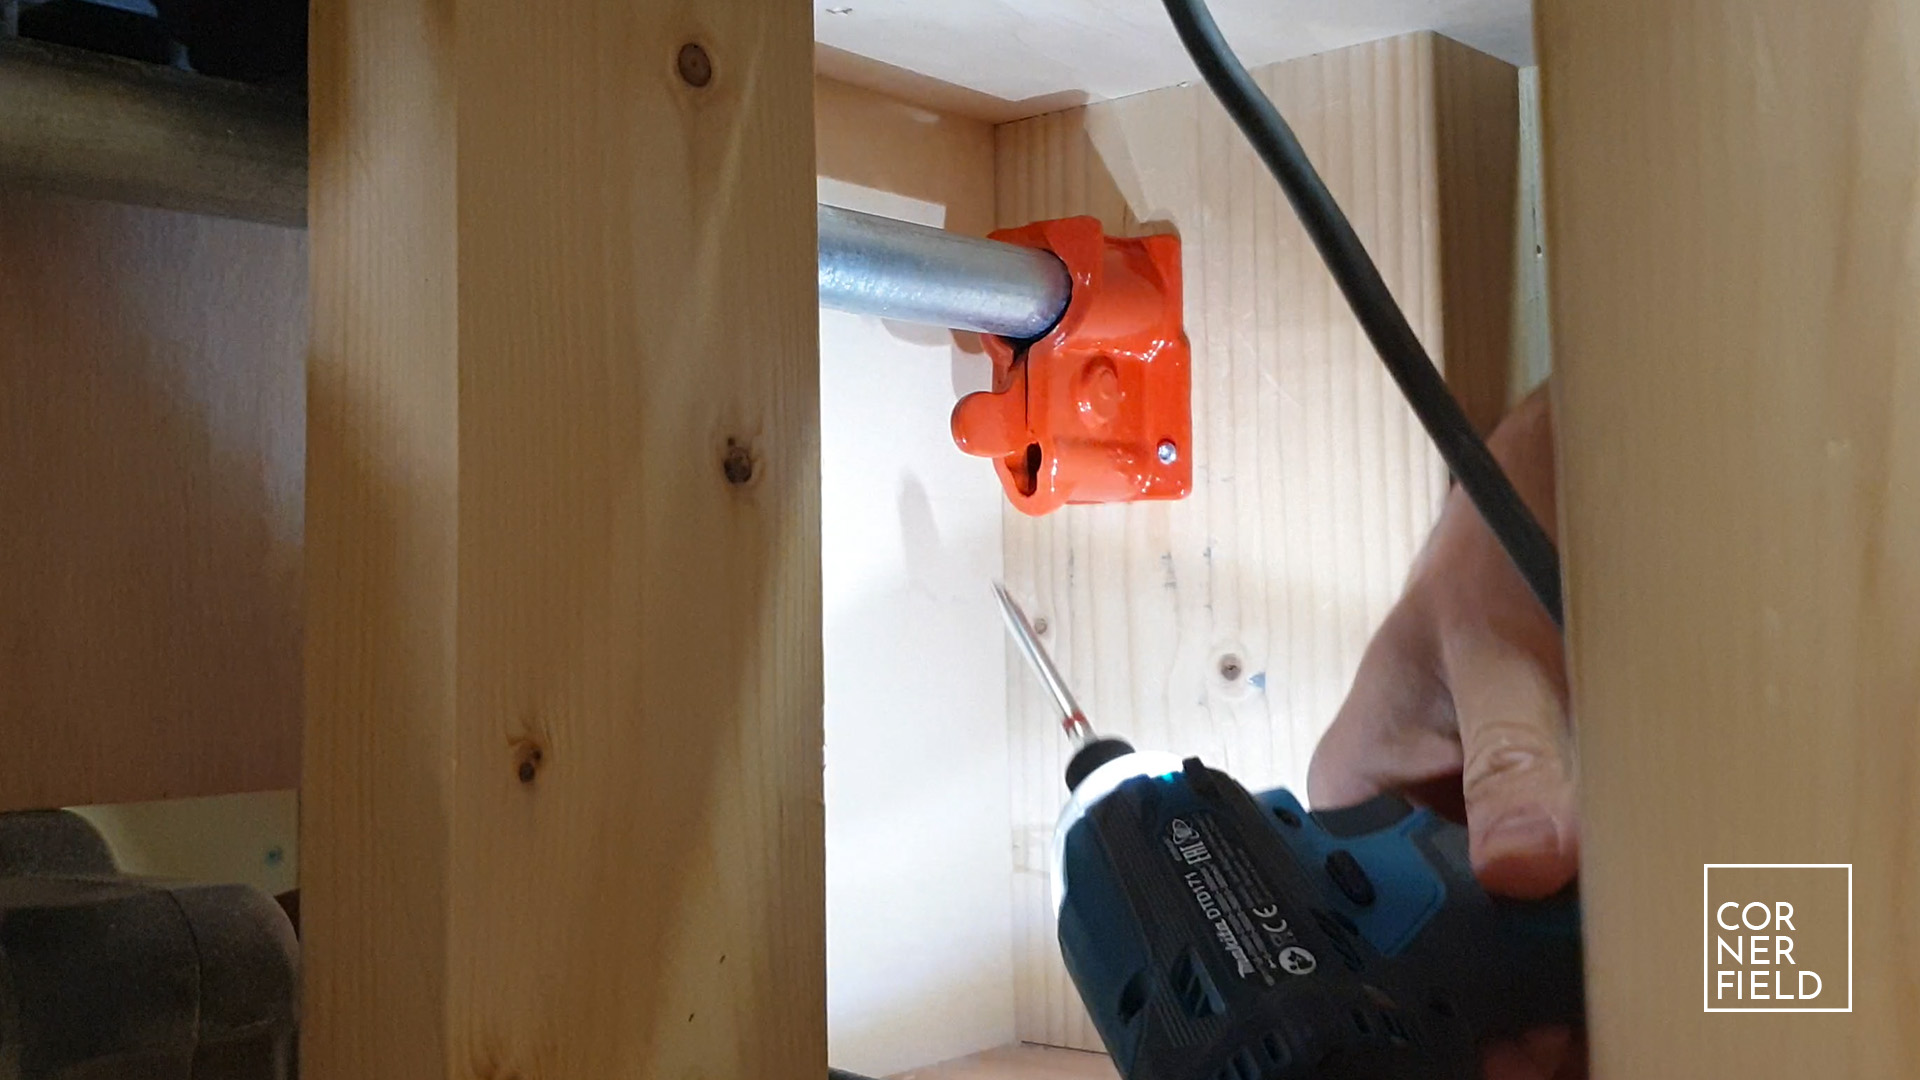
With the support in place and the jaws for the vise made the last step is attaching the clamps. The only parts that you need to fasten to your workbench are the stops of the clamps. If you don’t this the vise won’t properly work. I’m attaching this to the back of the support with two screws. Mine didn’t have any available holes for these screws so I made some. The front part of the clamp isn’t attached to the jaw. You can do this but this will mean you need three arms. Two to loosen the stops at the back and one to pull the vise open/closed. It’s easier to leave them loose so you open/close the clamps one at a time ;-).


Finishing
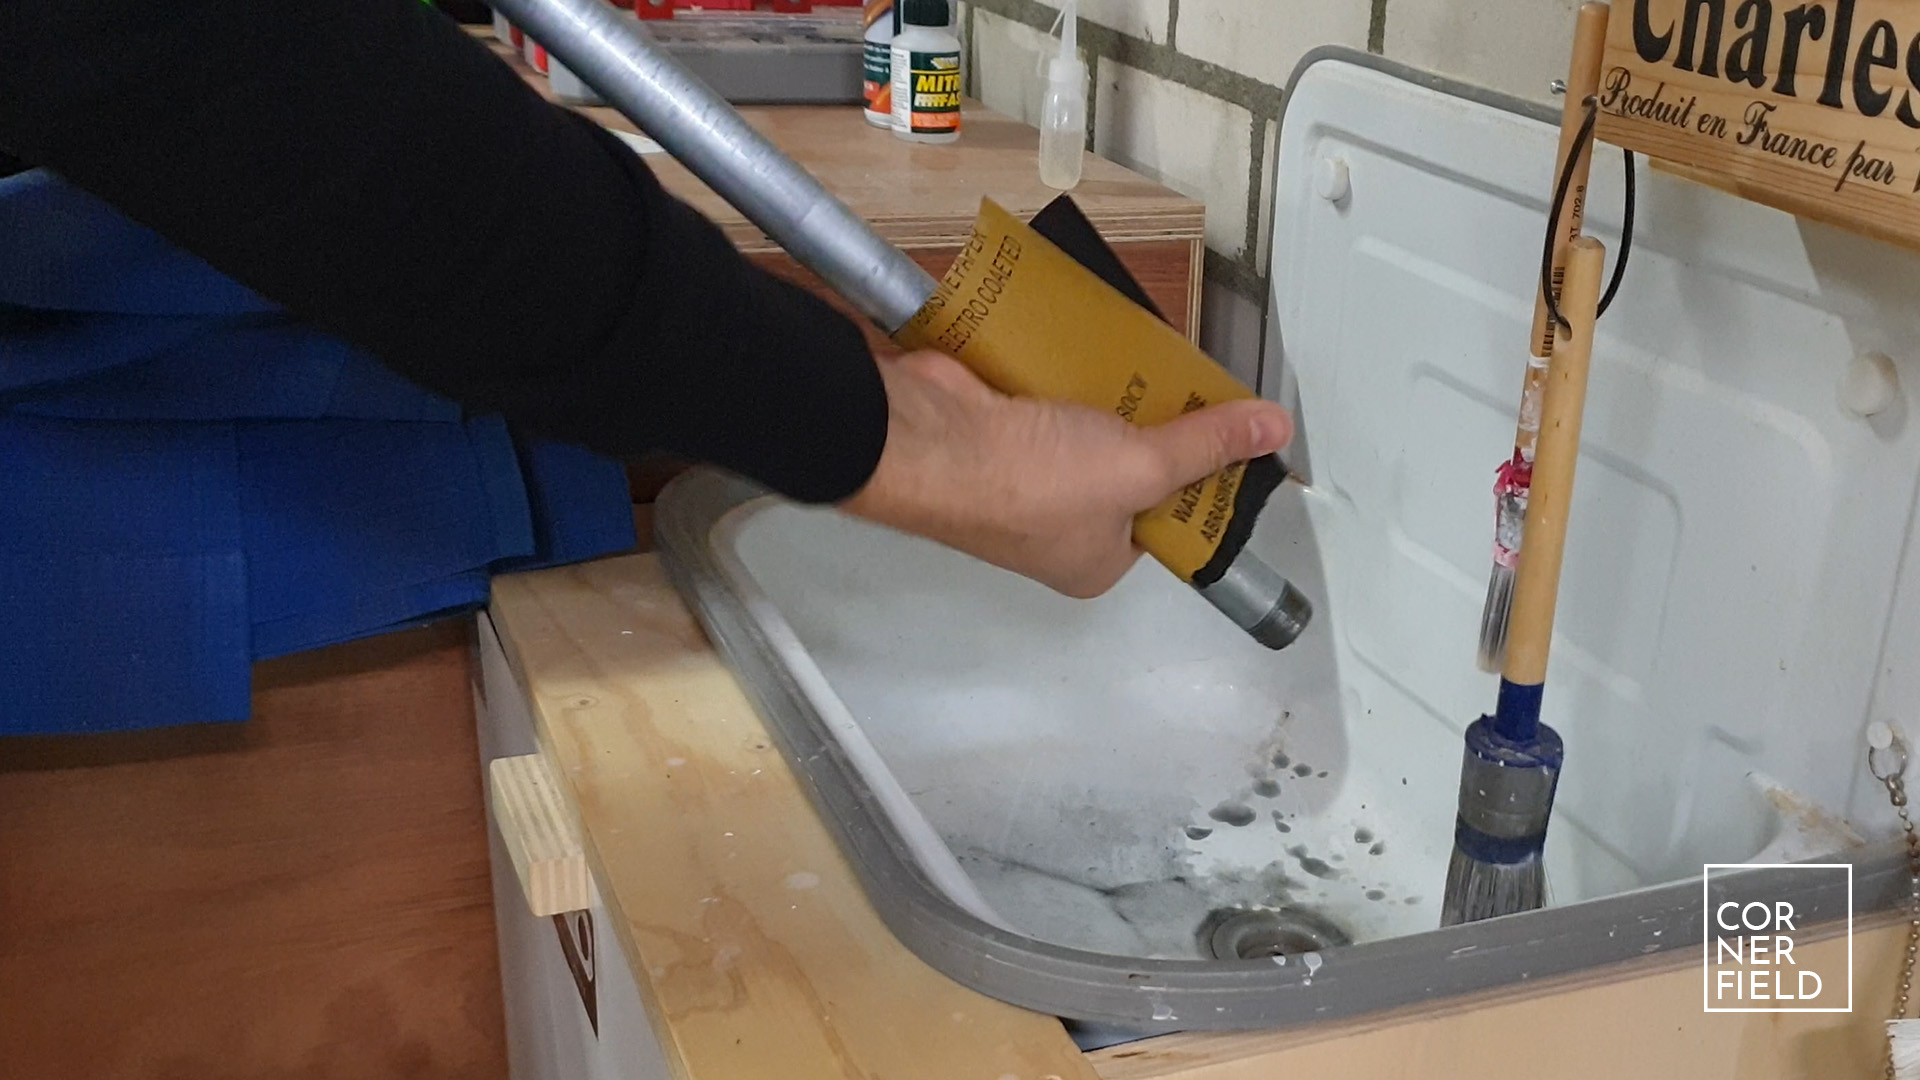
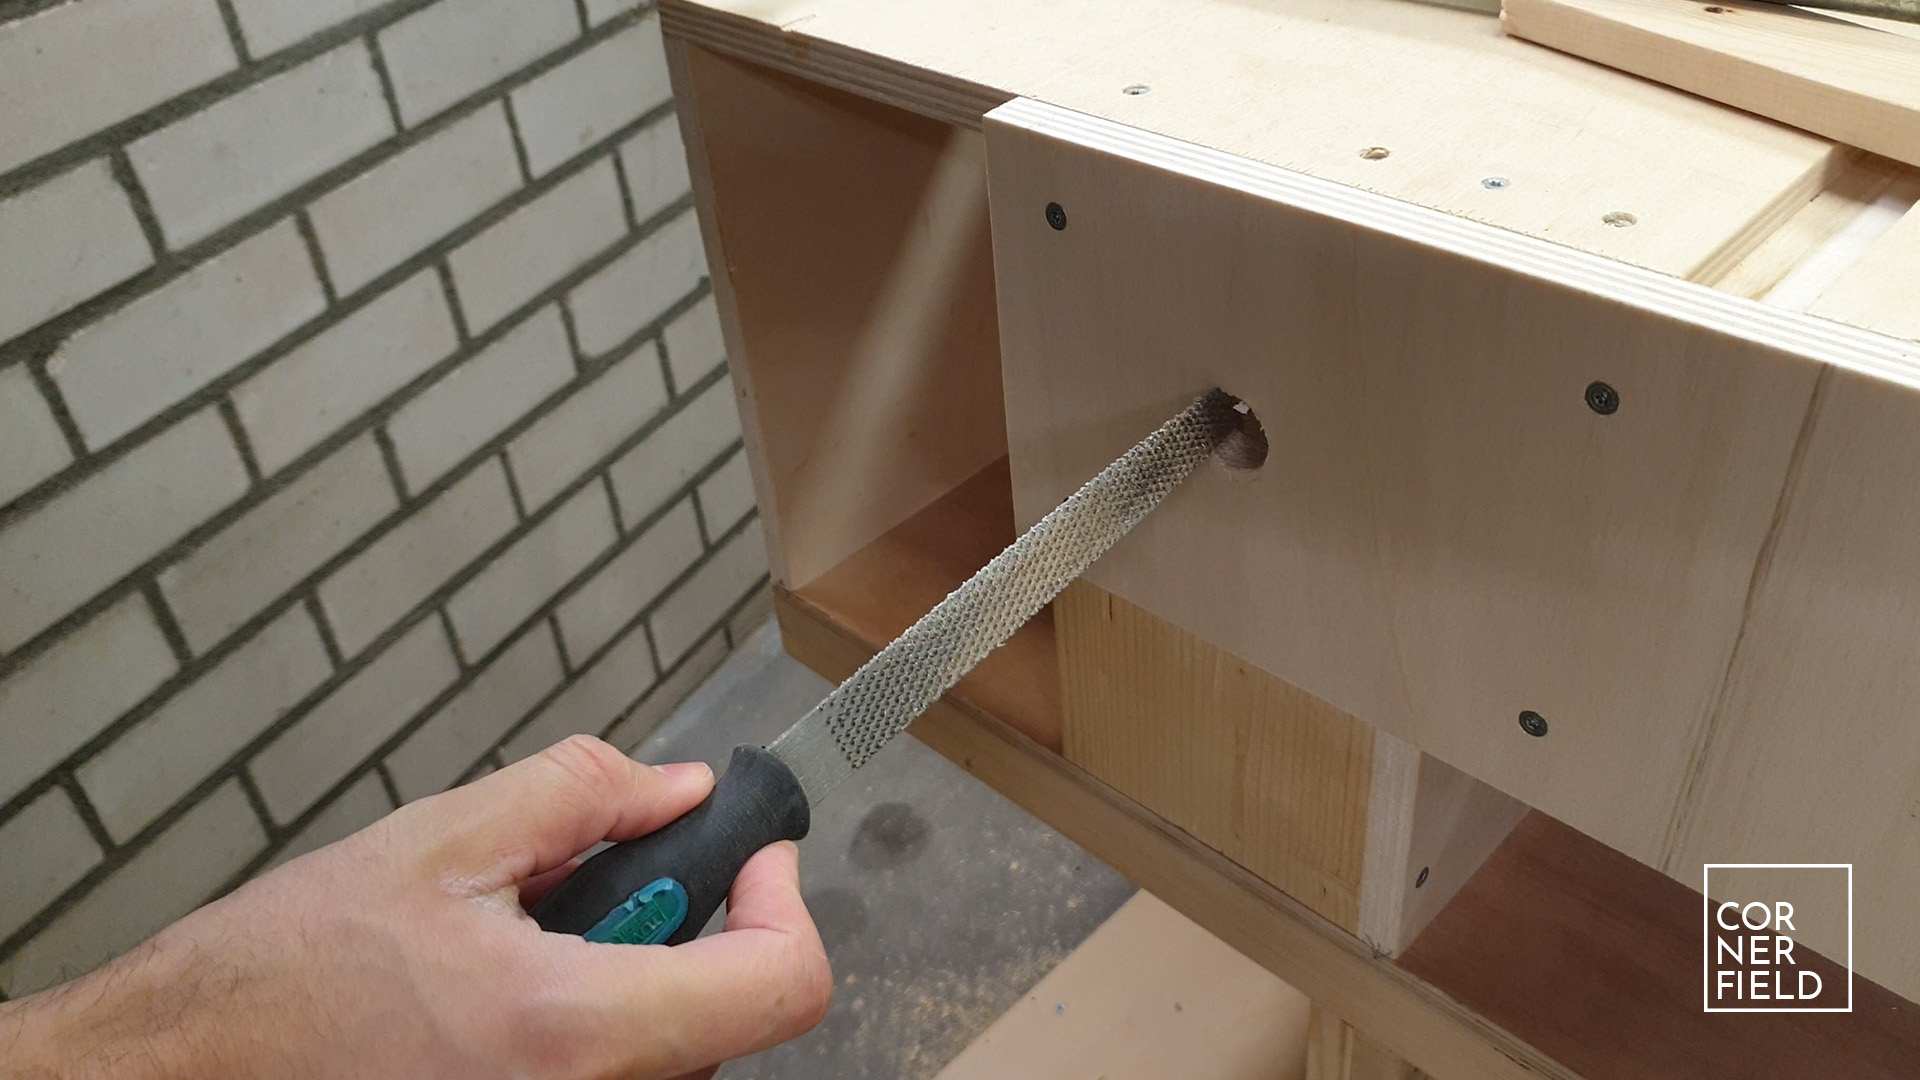
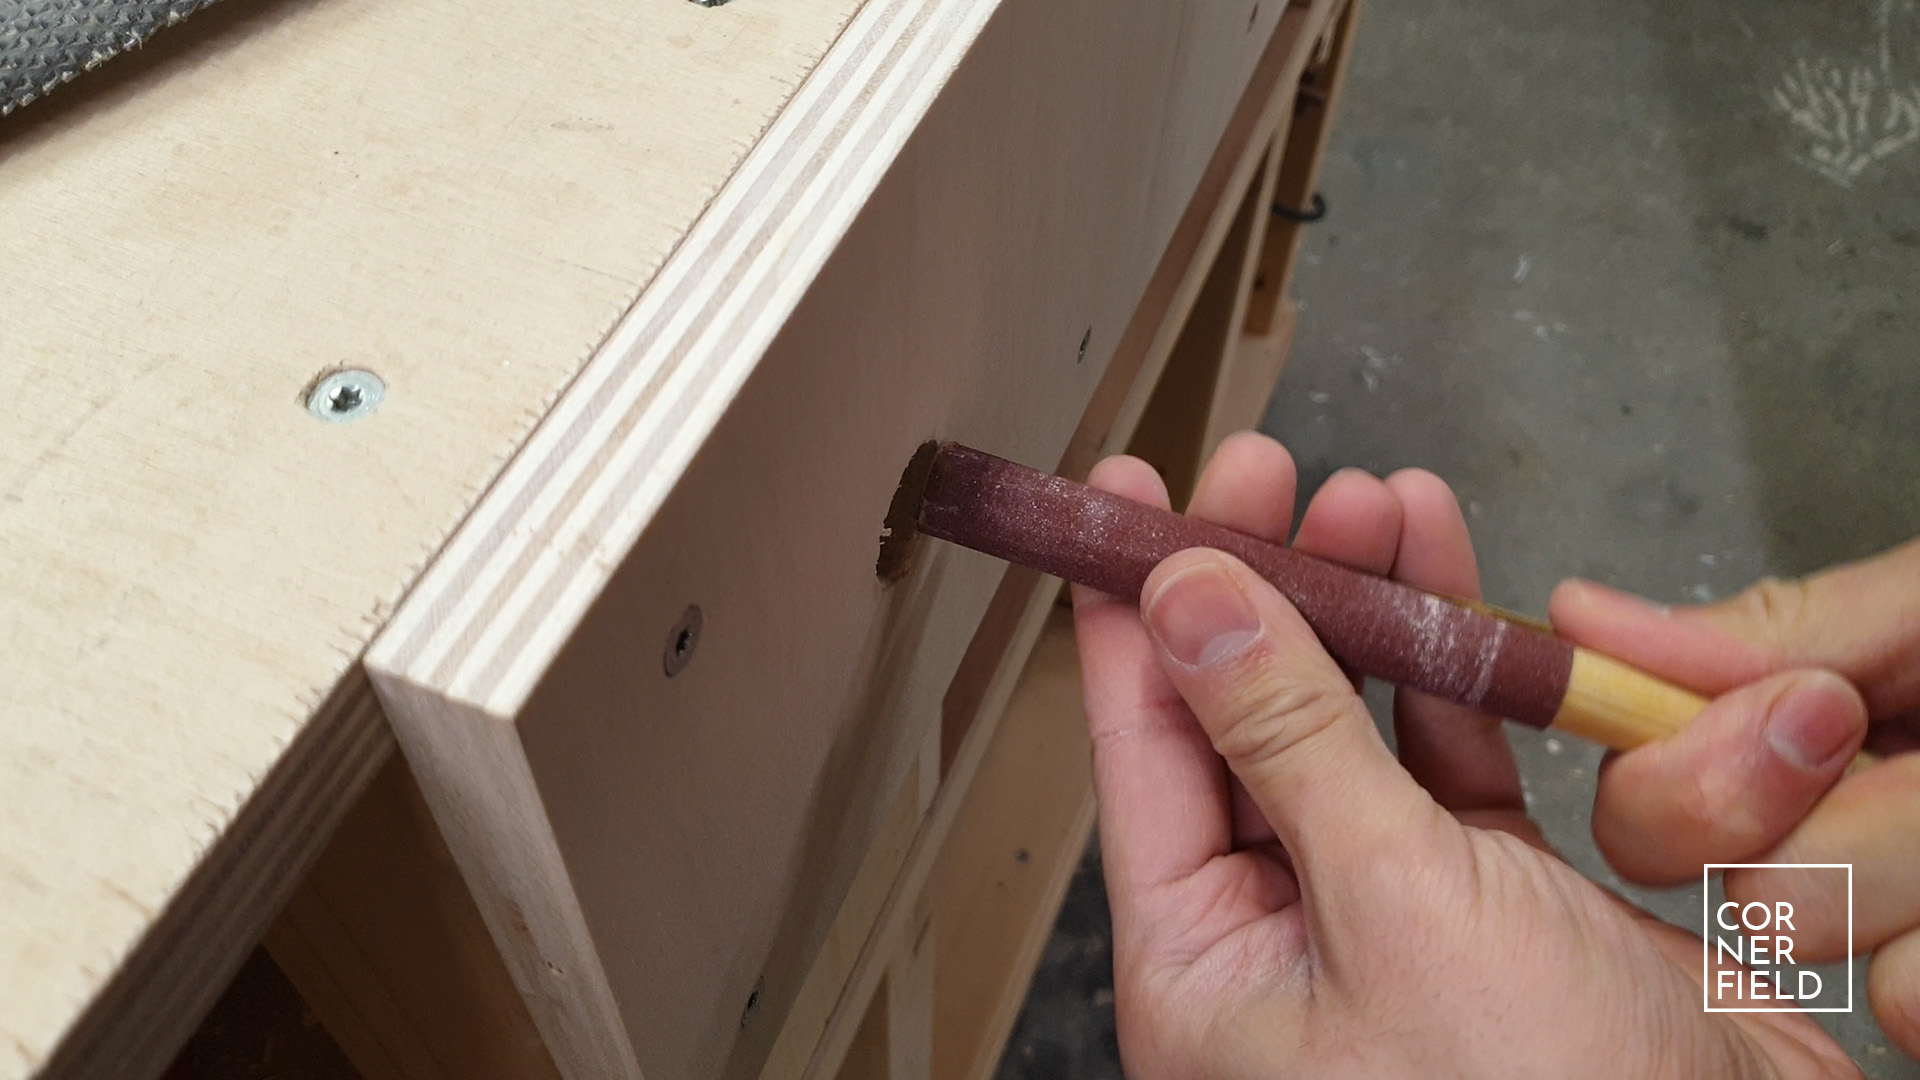
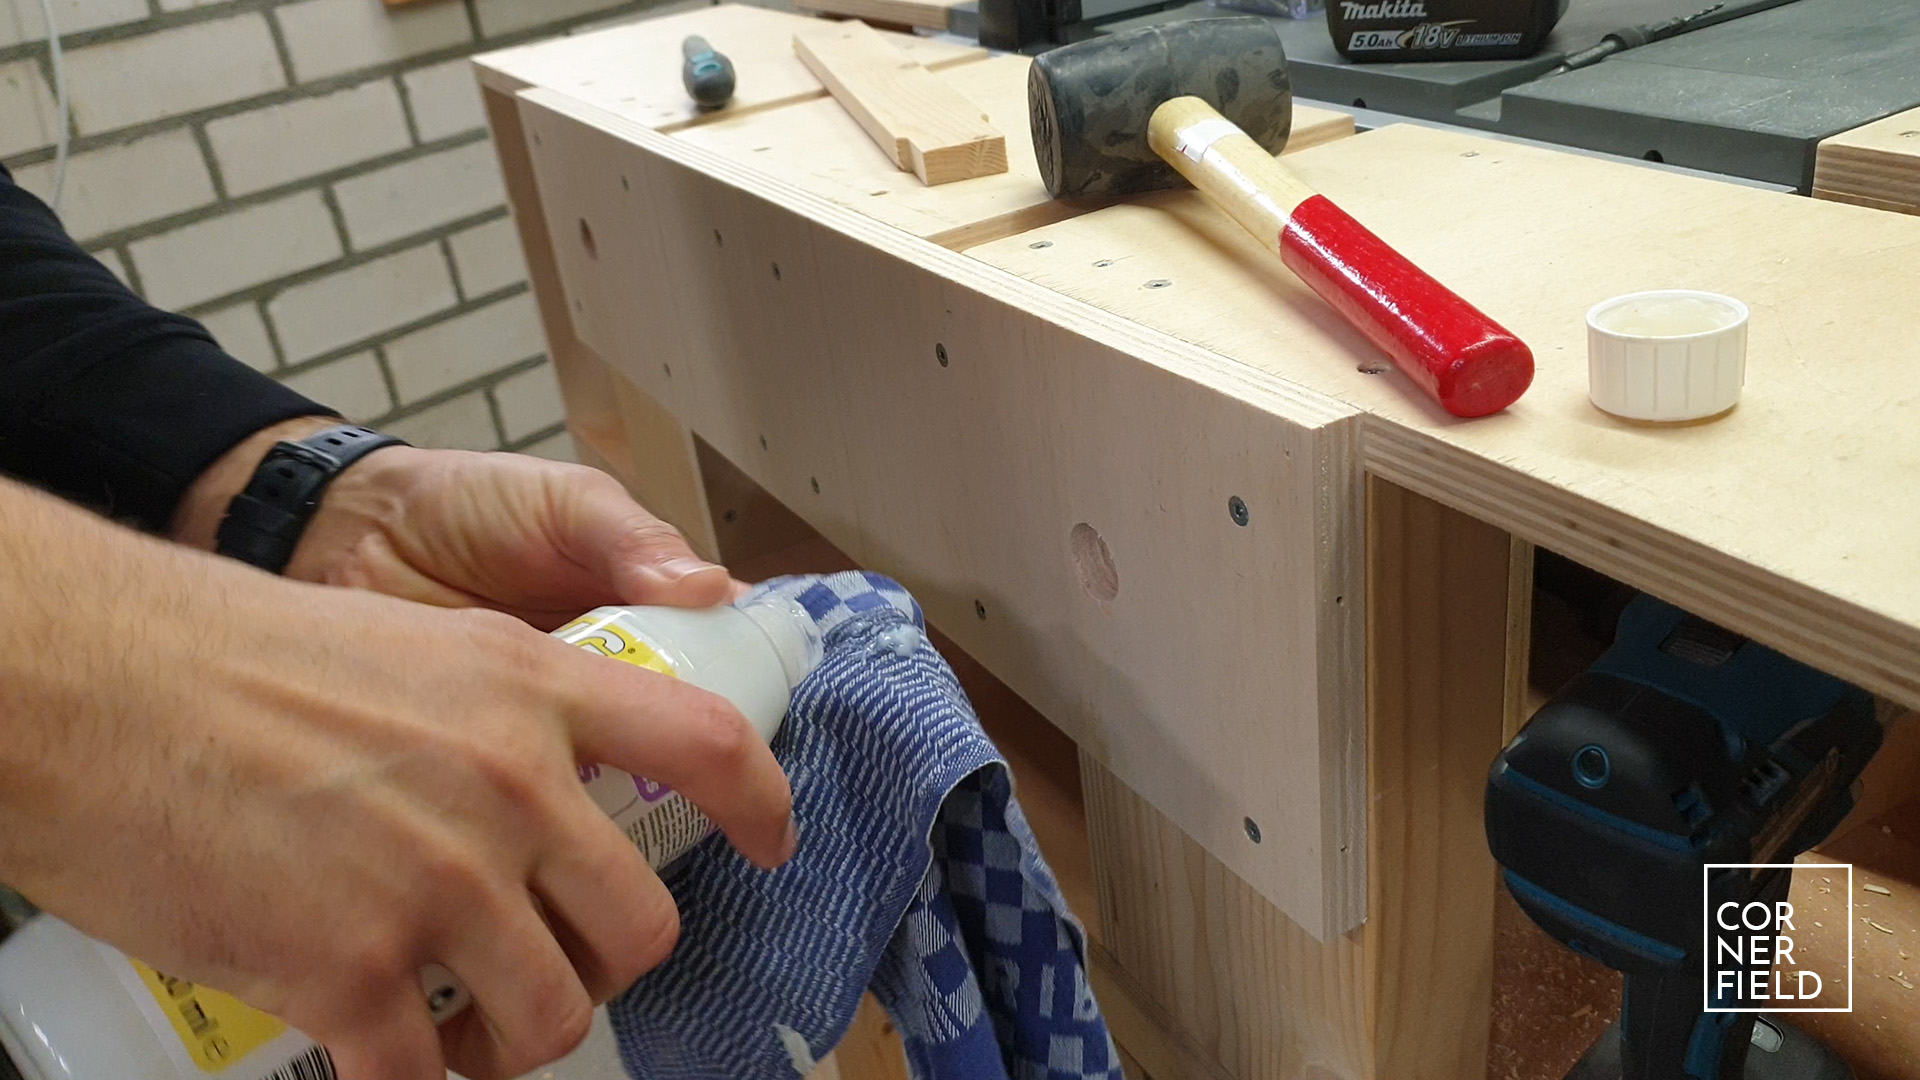
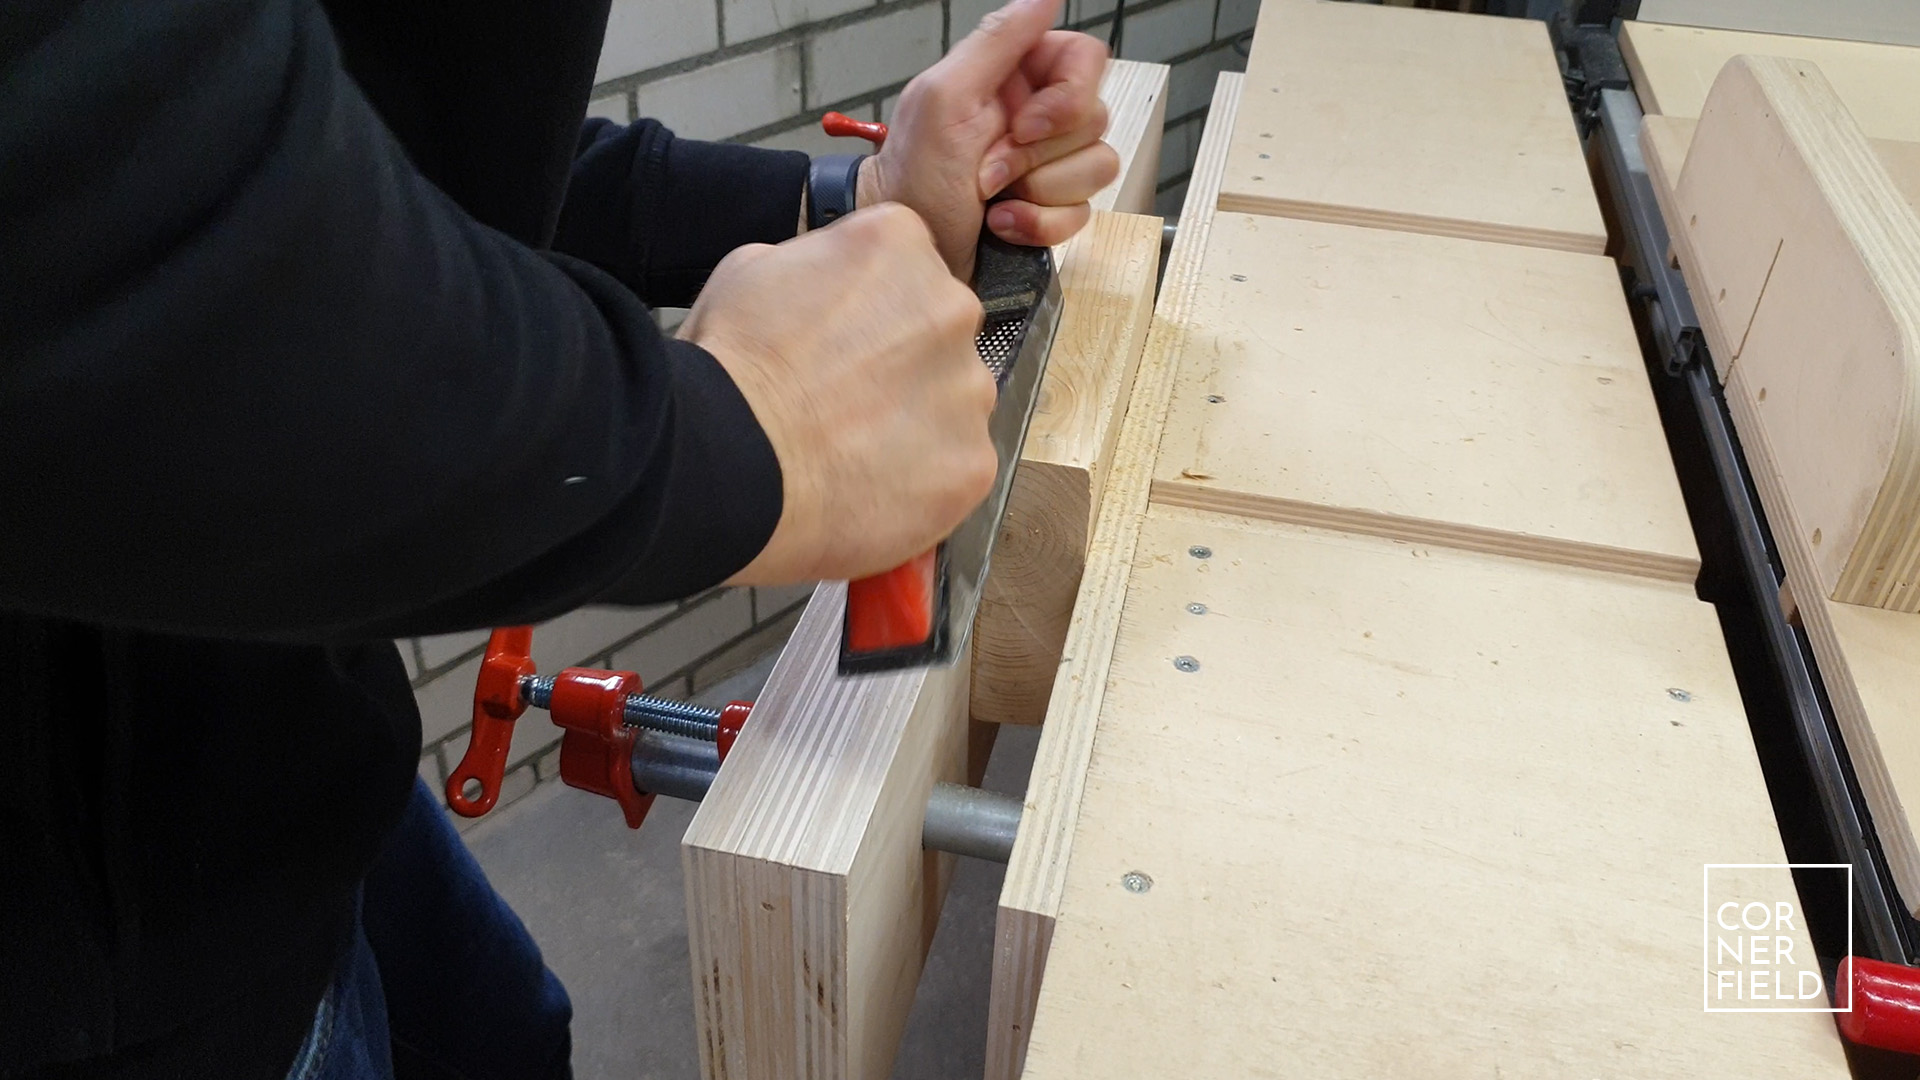
After these steps are completed I had some issues with friction and binding. The pipes didn’t slide very smoothly and were binding. To fix that I sanded the pipes with wet sandpaper and applied some oil/grease I had laying around. Also, I enlarged the holes a little bit with a rasp. If I had used the proper size drill this wouldn’t be needed. Lastly, I applied wax to smoothen out the holes in the wood. For durability, you should consider adding a finish to the vise itself. However, keep in mind that making it smooth will decrease the grip it has when clamping. Since the jaws are so easy to make I decided to leave it as it is for now.
Additional
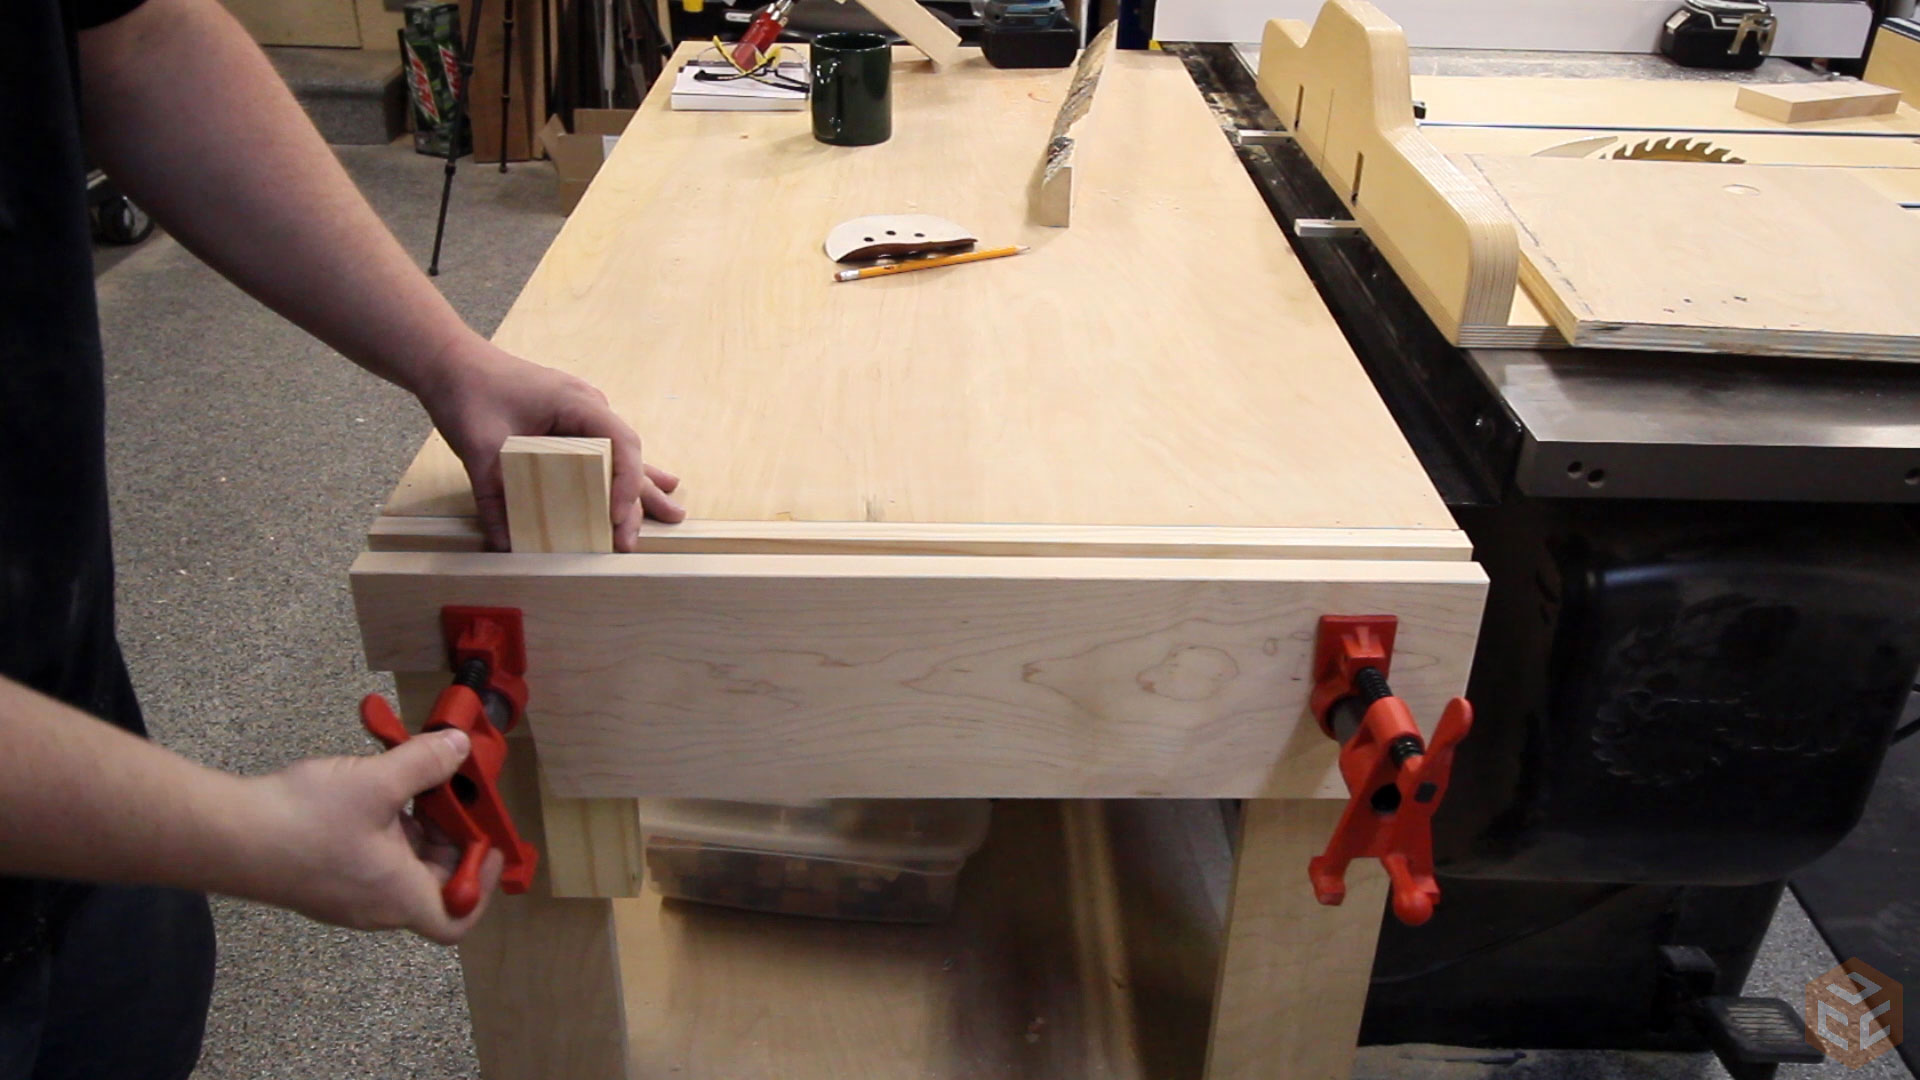
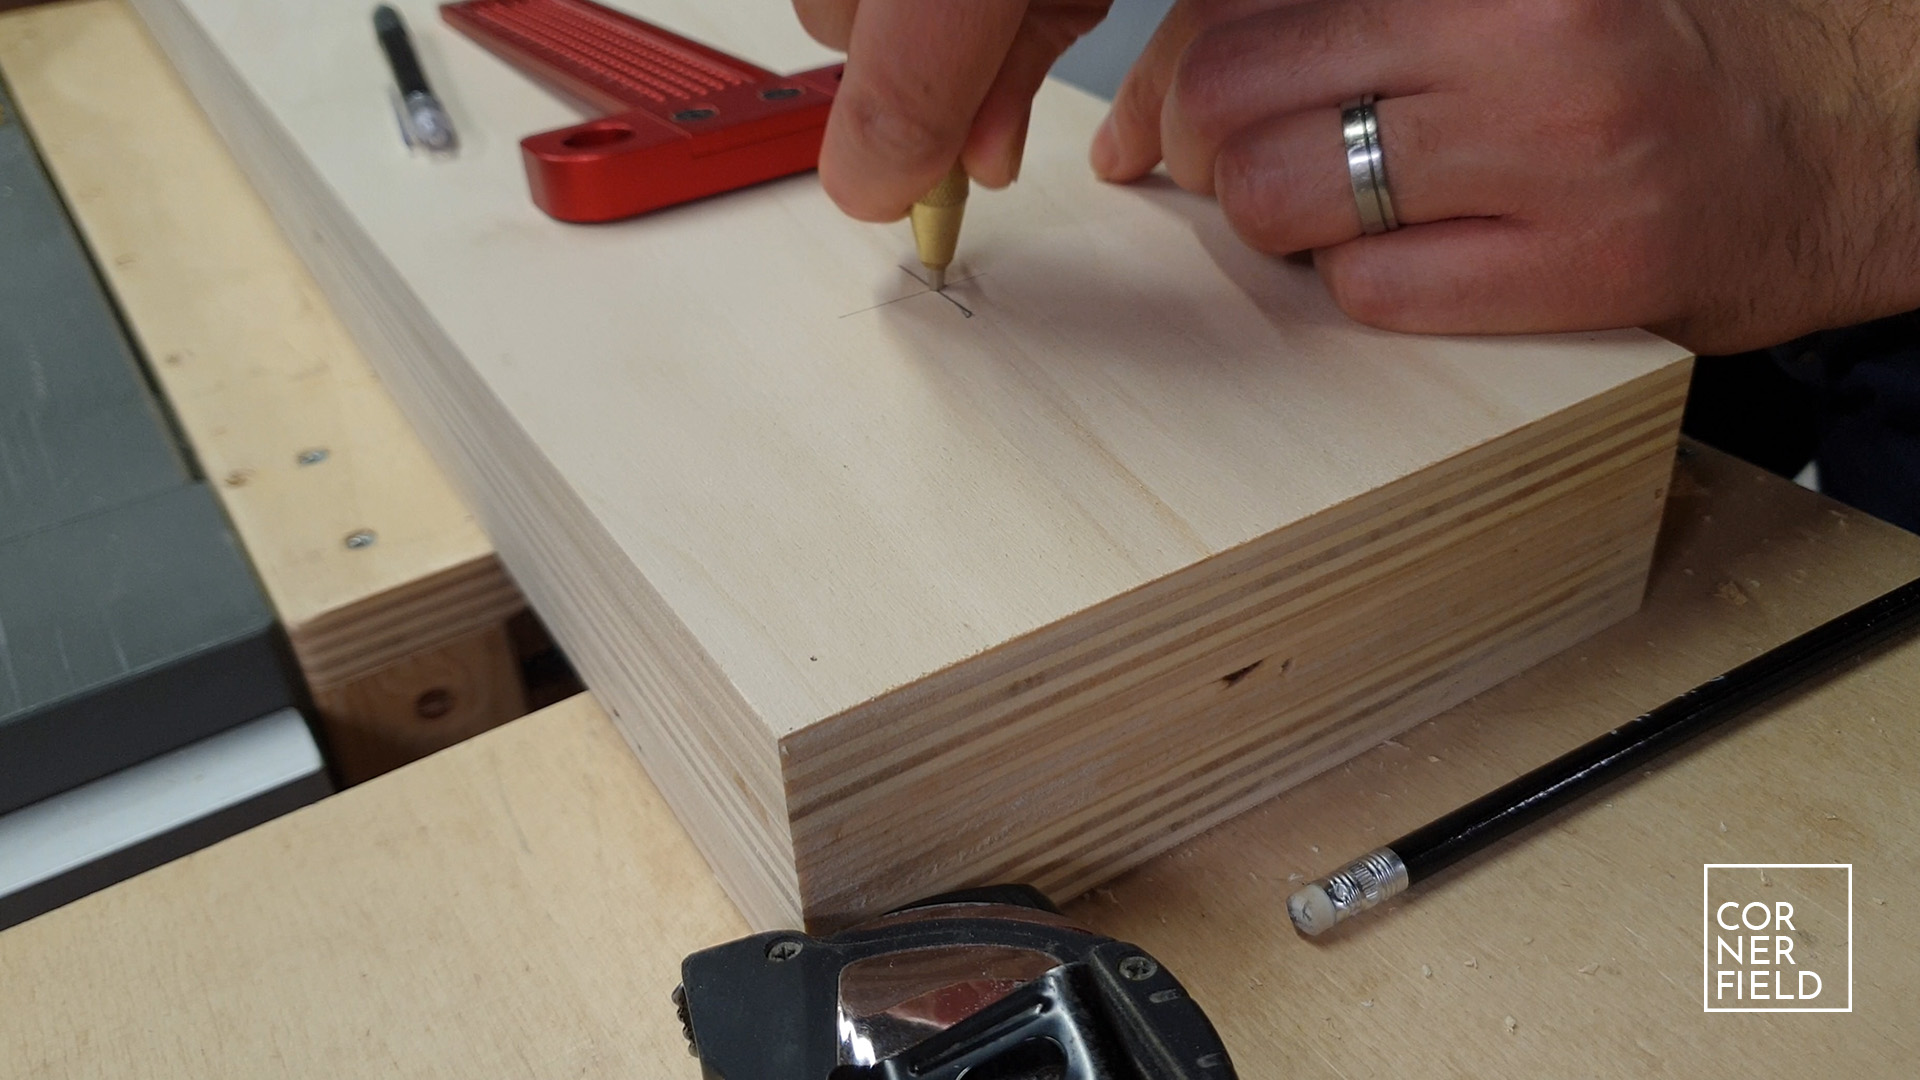
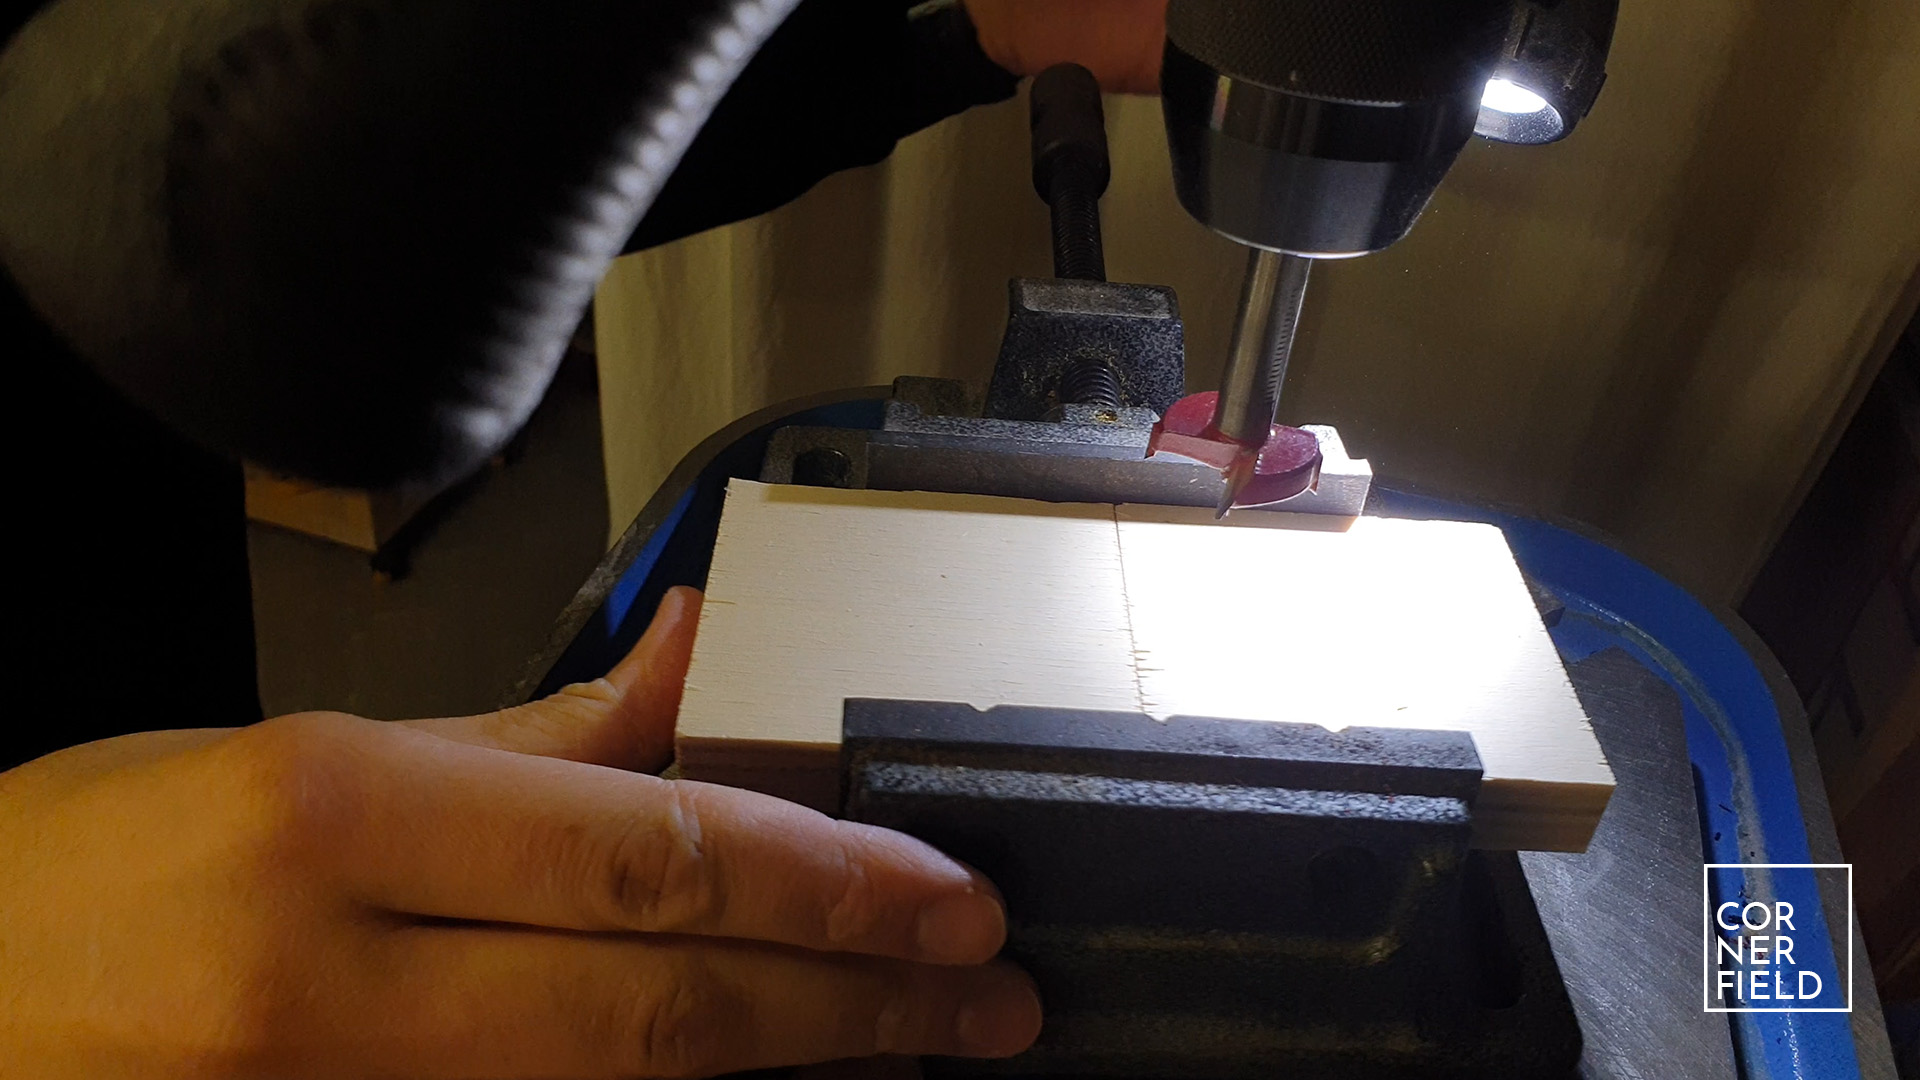
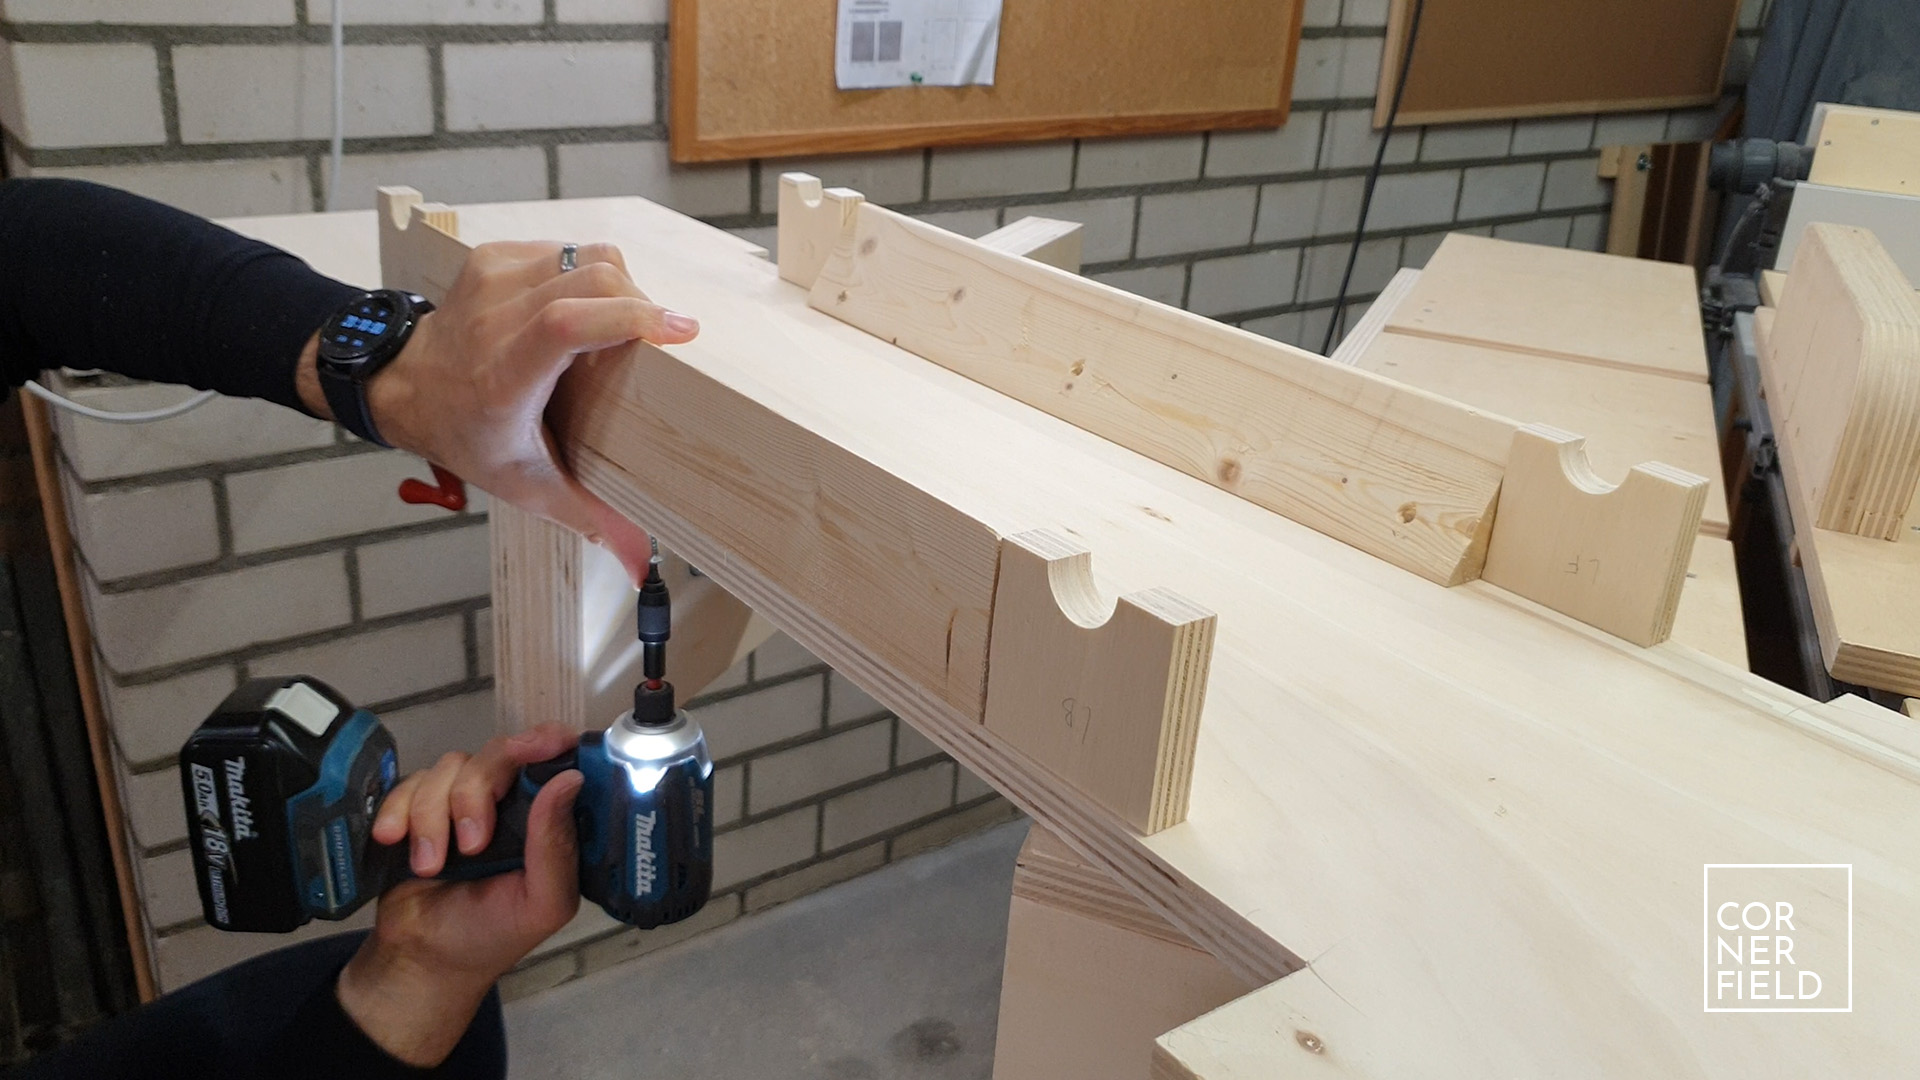
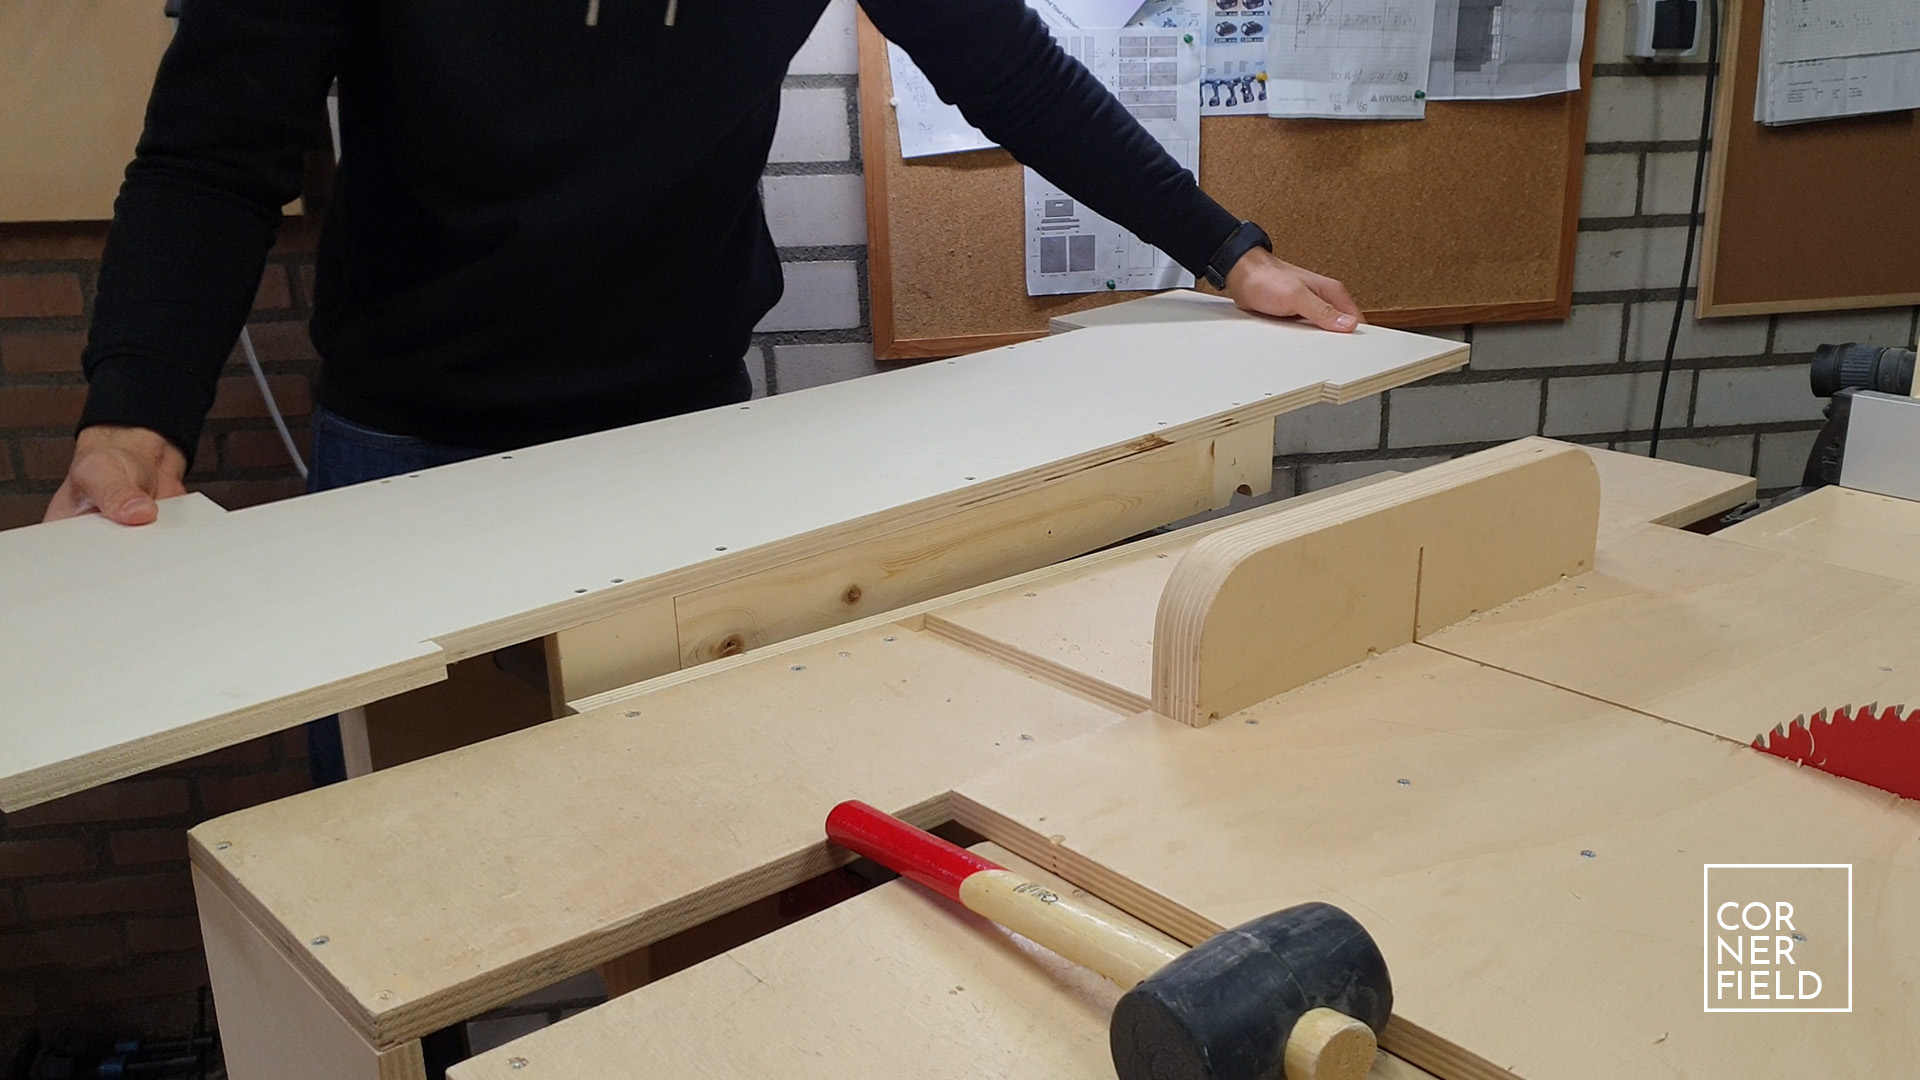
Since my vise is attached to a mobile workbench I came up with an additional feature; a removable surface. Think of it as a small table that you clamp in your vise. This will serve as an outfeed table and a working surface. To make this only a few steps are required. First, you need to make some blocks that rest on the pipes. I sandwiched two rough-cut blocks in my drill press vise and made a hole. This way I had two half circles that fit over the pipes.
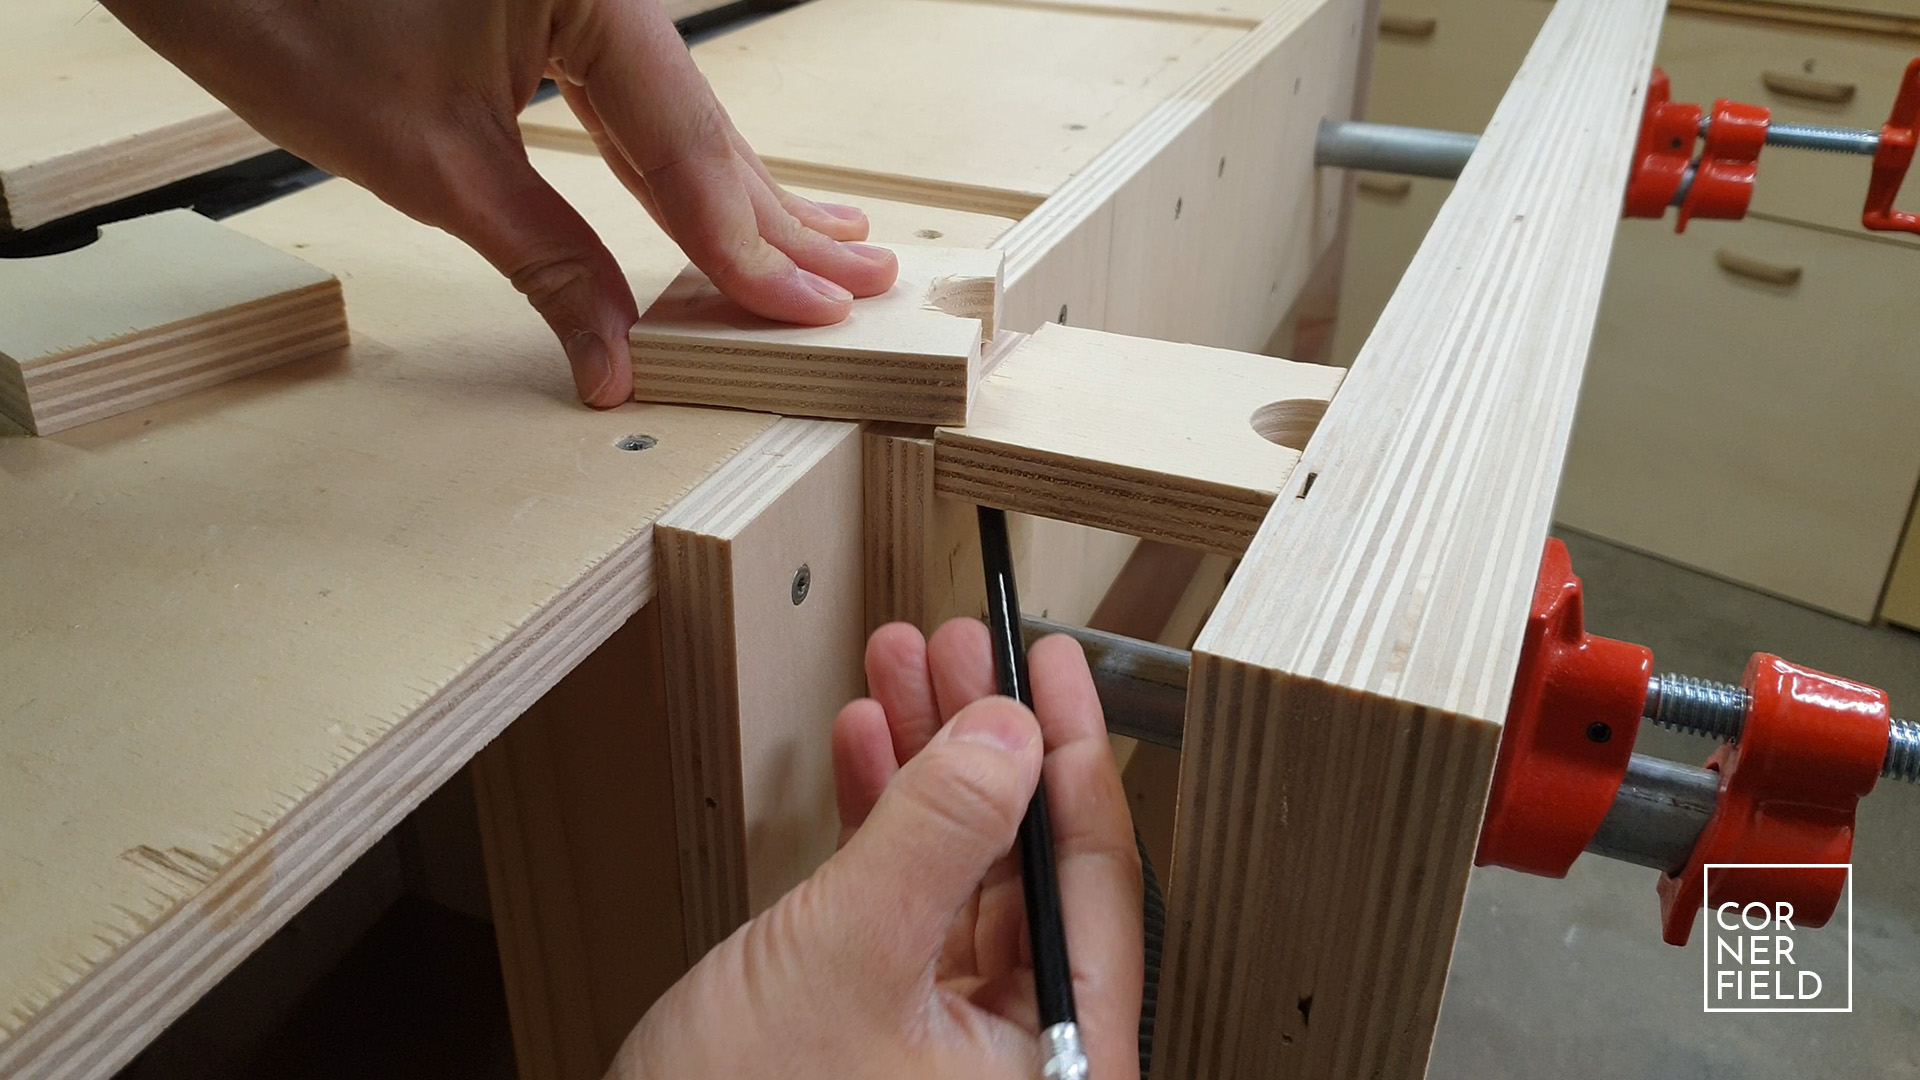
Next, I cut them to the exact size. For the height take into account that the block plus the top surface are flush with the workbench. With that done you fasten your surface to the blocks. For strength and to make sure the surface can take some abuse I added some supports to the bottom. I will be adding more at a later date but for now, what I have will do just fine. And you’re done. Since this will also be used as an outfeed table it will be sanded and finished.

Result
Like I said at the beginning, a project that was long overdue! I love this vise and can’t wait to start using it. Maybe I can give those dovetails joints everyone making a go.

Links
I have no downloads available for this project since I didn’t make a 3D model. I do have some links for you to check out!
Jay Bates – Twin Screw Vise – Article
Jay Bates – Twin Screw Vise – Video
Instagram 1 | 2 | 3 | 4
Hope this post has inspired you to make something!
And don’t forget to follow your excitement 
Add comment