


Looking for an easy way to make a floating frame? I was too; here’s what I came up with.
Design
Choosing a design for your floating frame is very difficult. There is an abundance of options available online.
So what do you do? How do you determine what works for you?
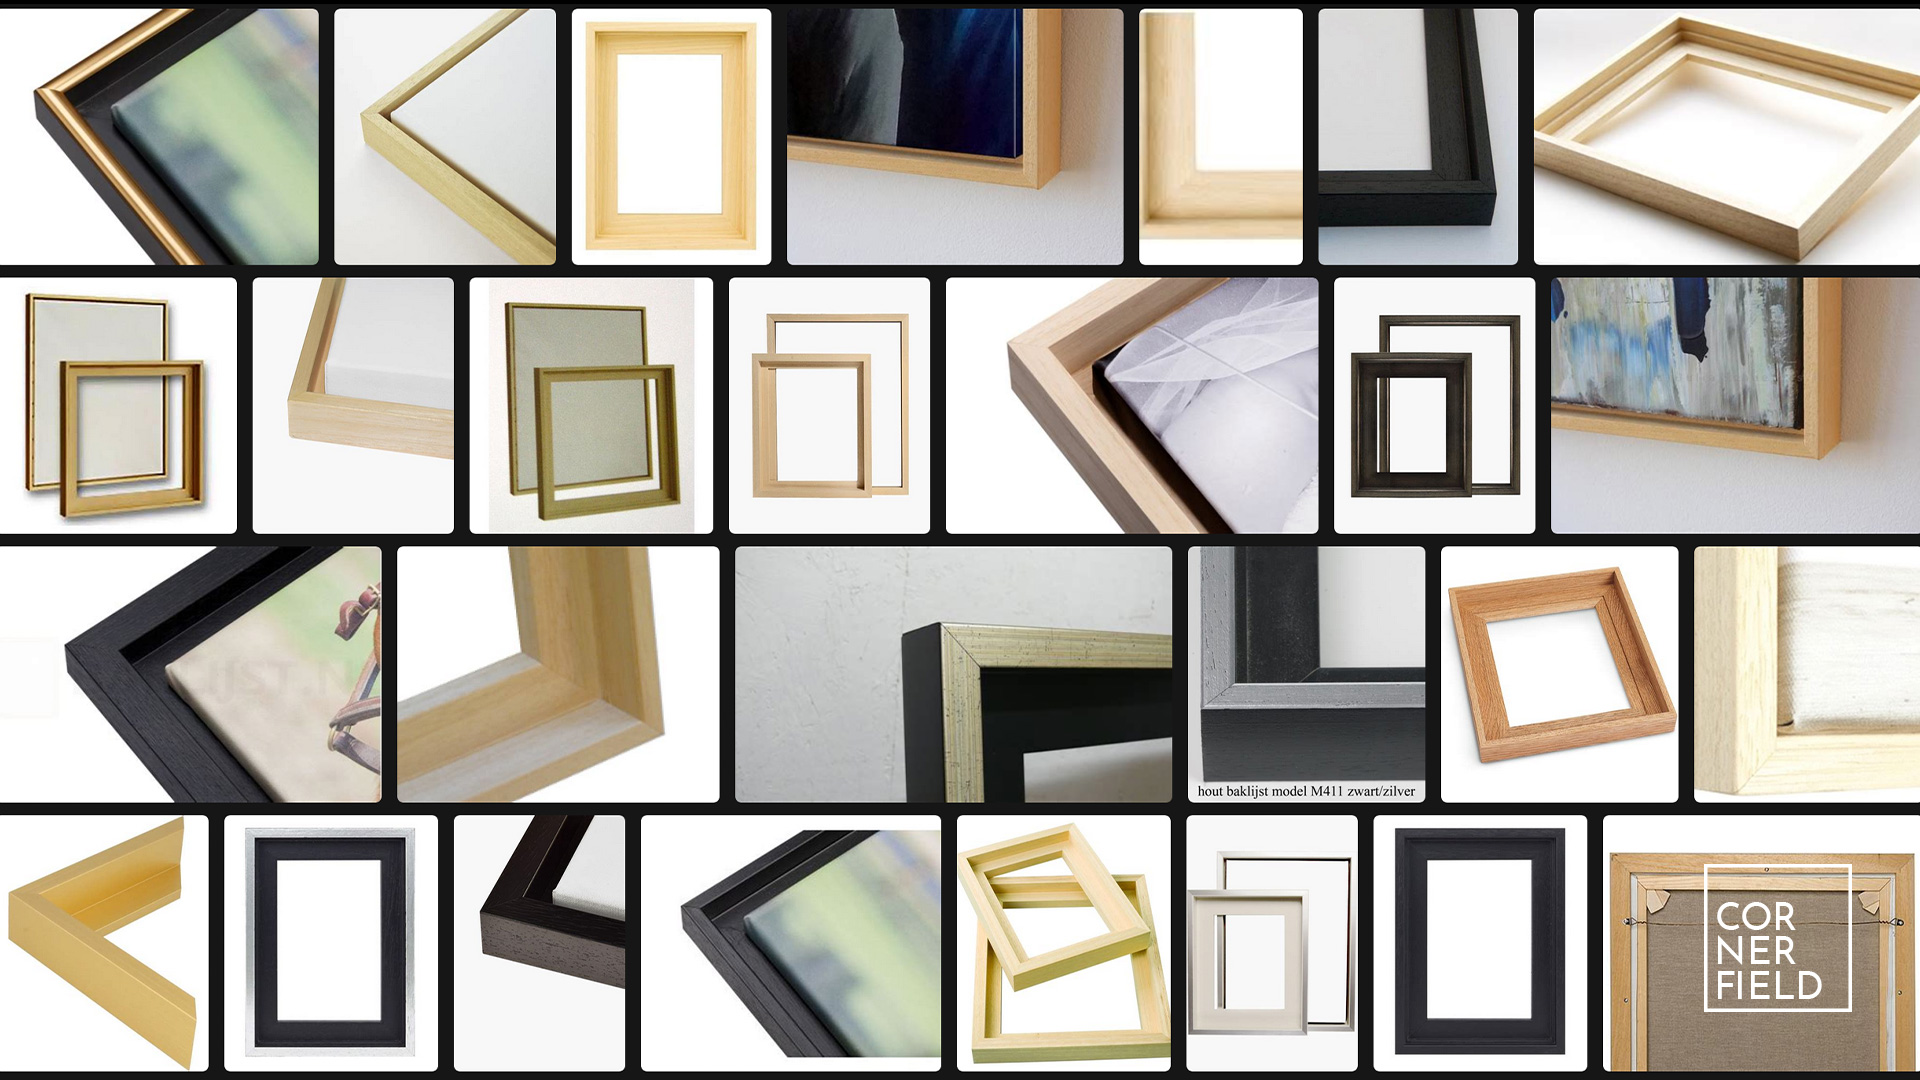
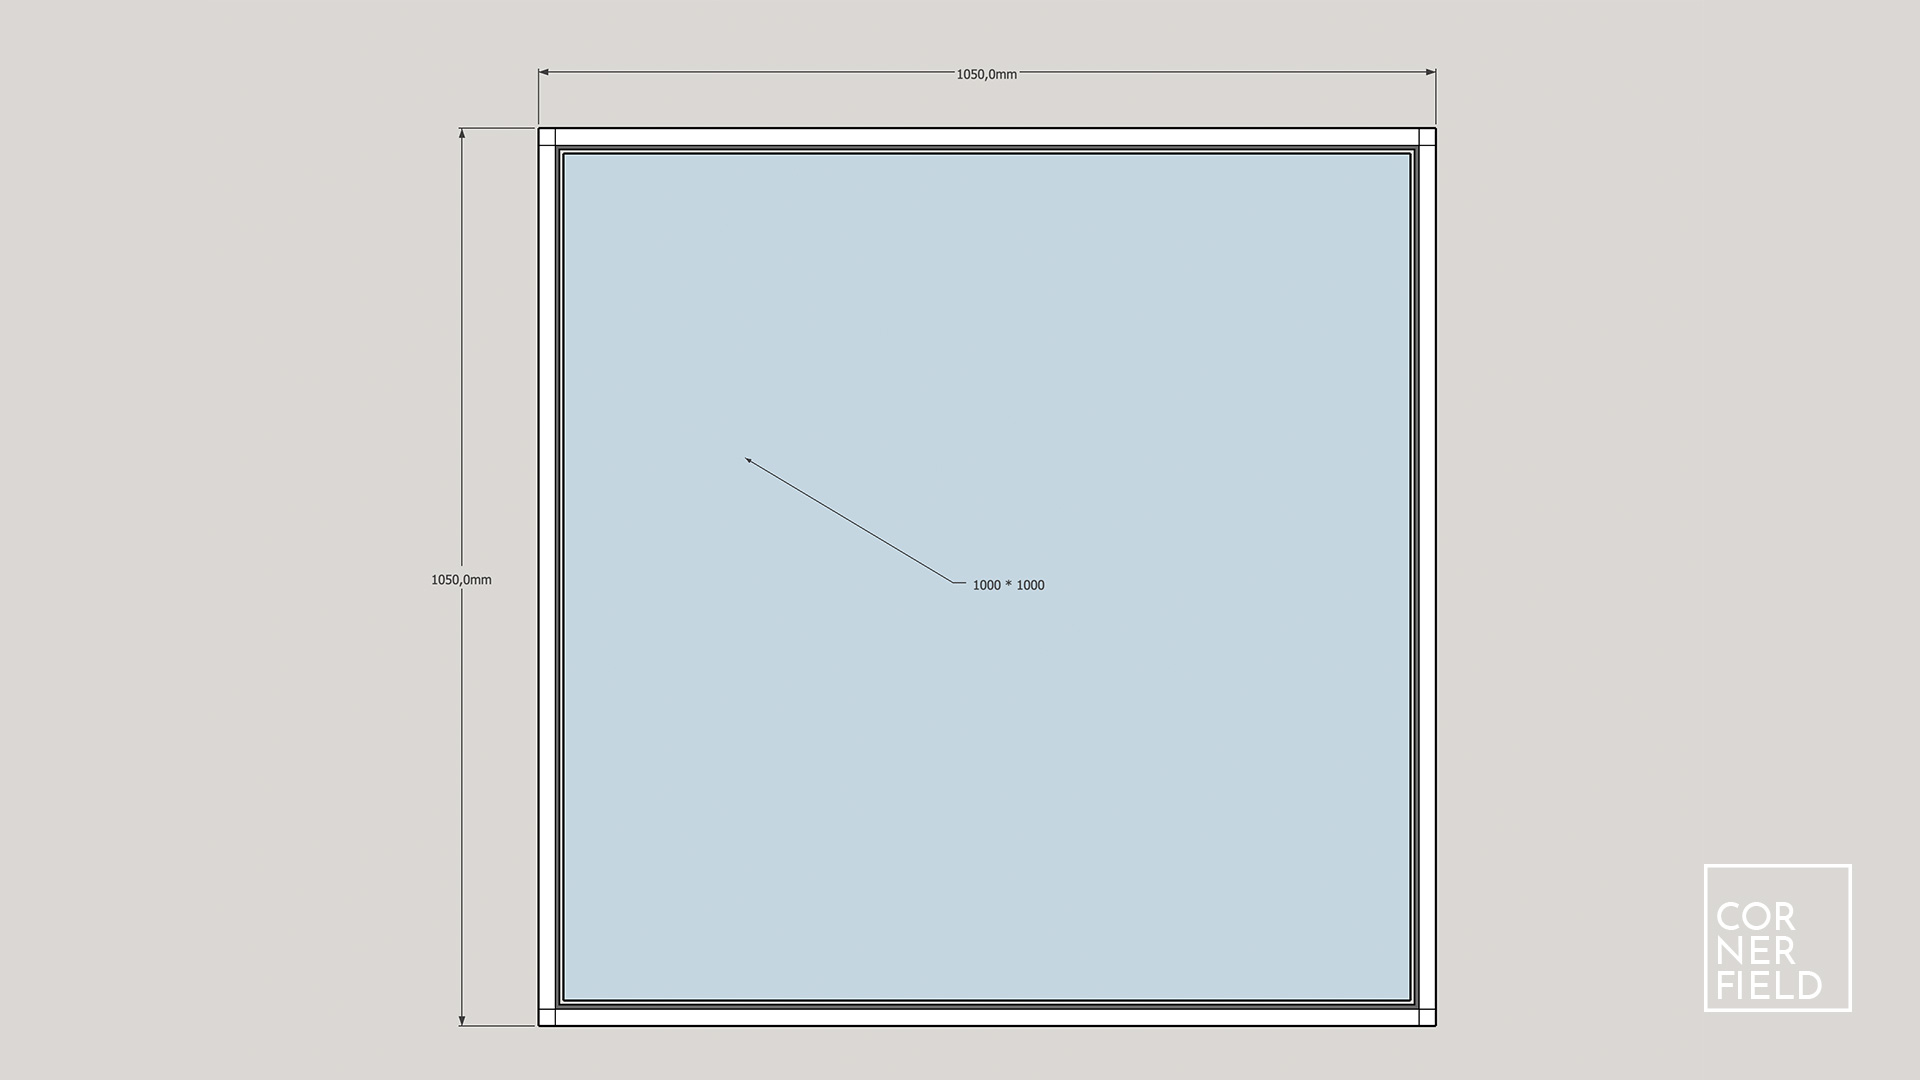
Here is a question that isn’t answered anywhere. What dimensions do you use? Do the sides stick out beyond the painting? How big is the gap between the frame and the painting? How thick are the walls of the frame? I searched for a long time and I found the same answer almost everywhere. It comes down to personal preference. So I went and made a few versions before I found what worked for me.
This is what I think works best.

Build
There are a lot of ways you can make a floating frame. Most of the methods that I found were made from multiple pieces or had complicated joinery. Since I was set on making these frames quickly I had to come up with a way to avoid all these things. What I found was that you can make four identical pieces from one larger piece that; when put together, instantly form the frame.
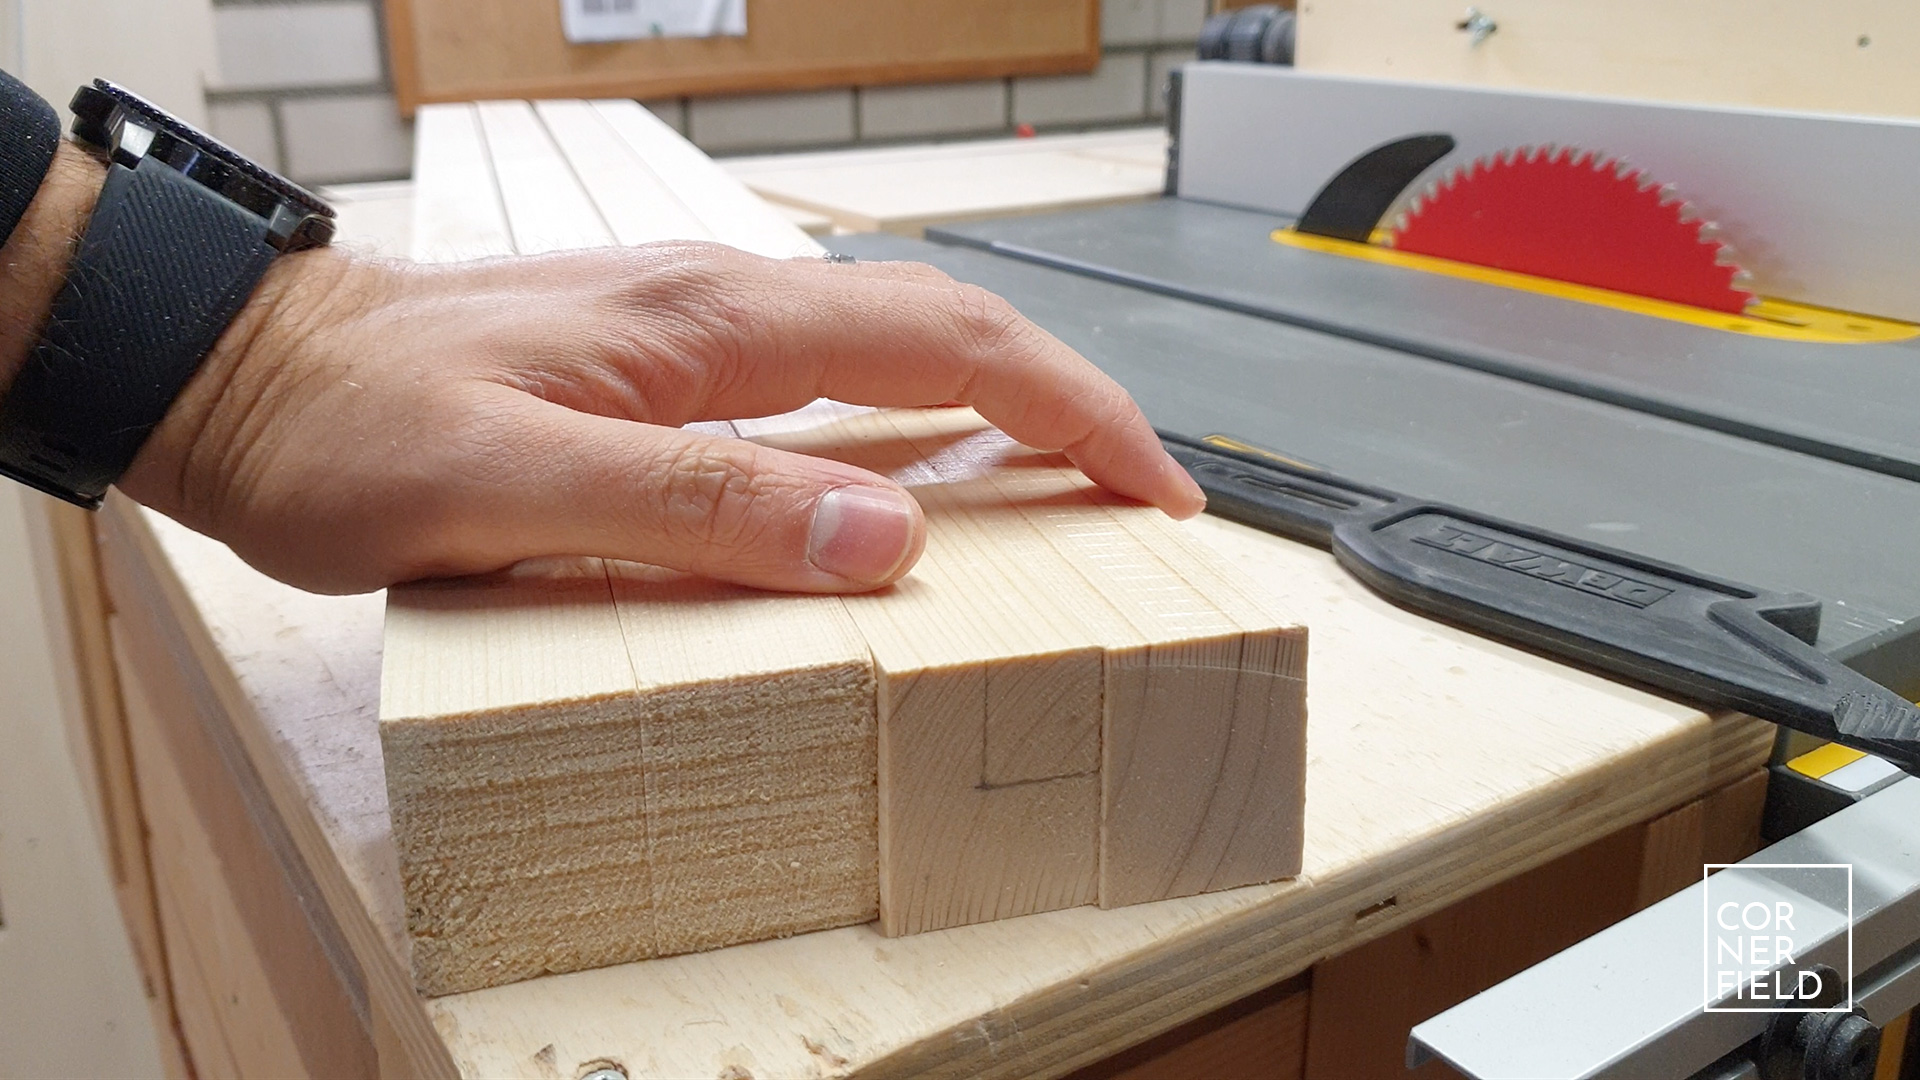
Step 1 – Four identical pieces
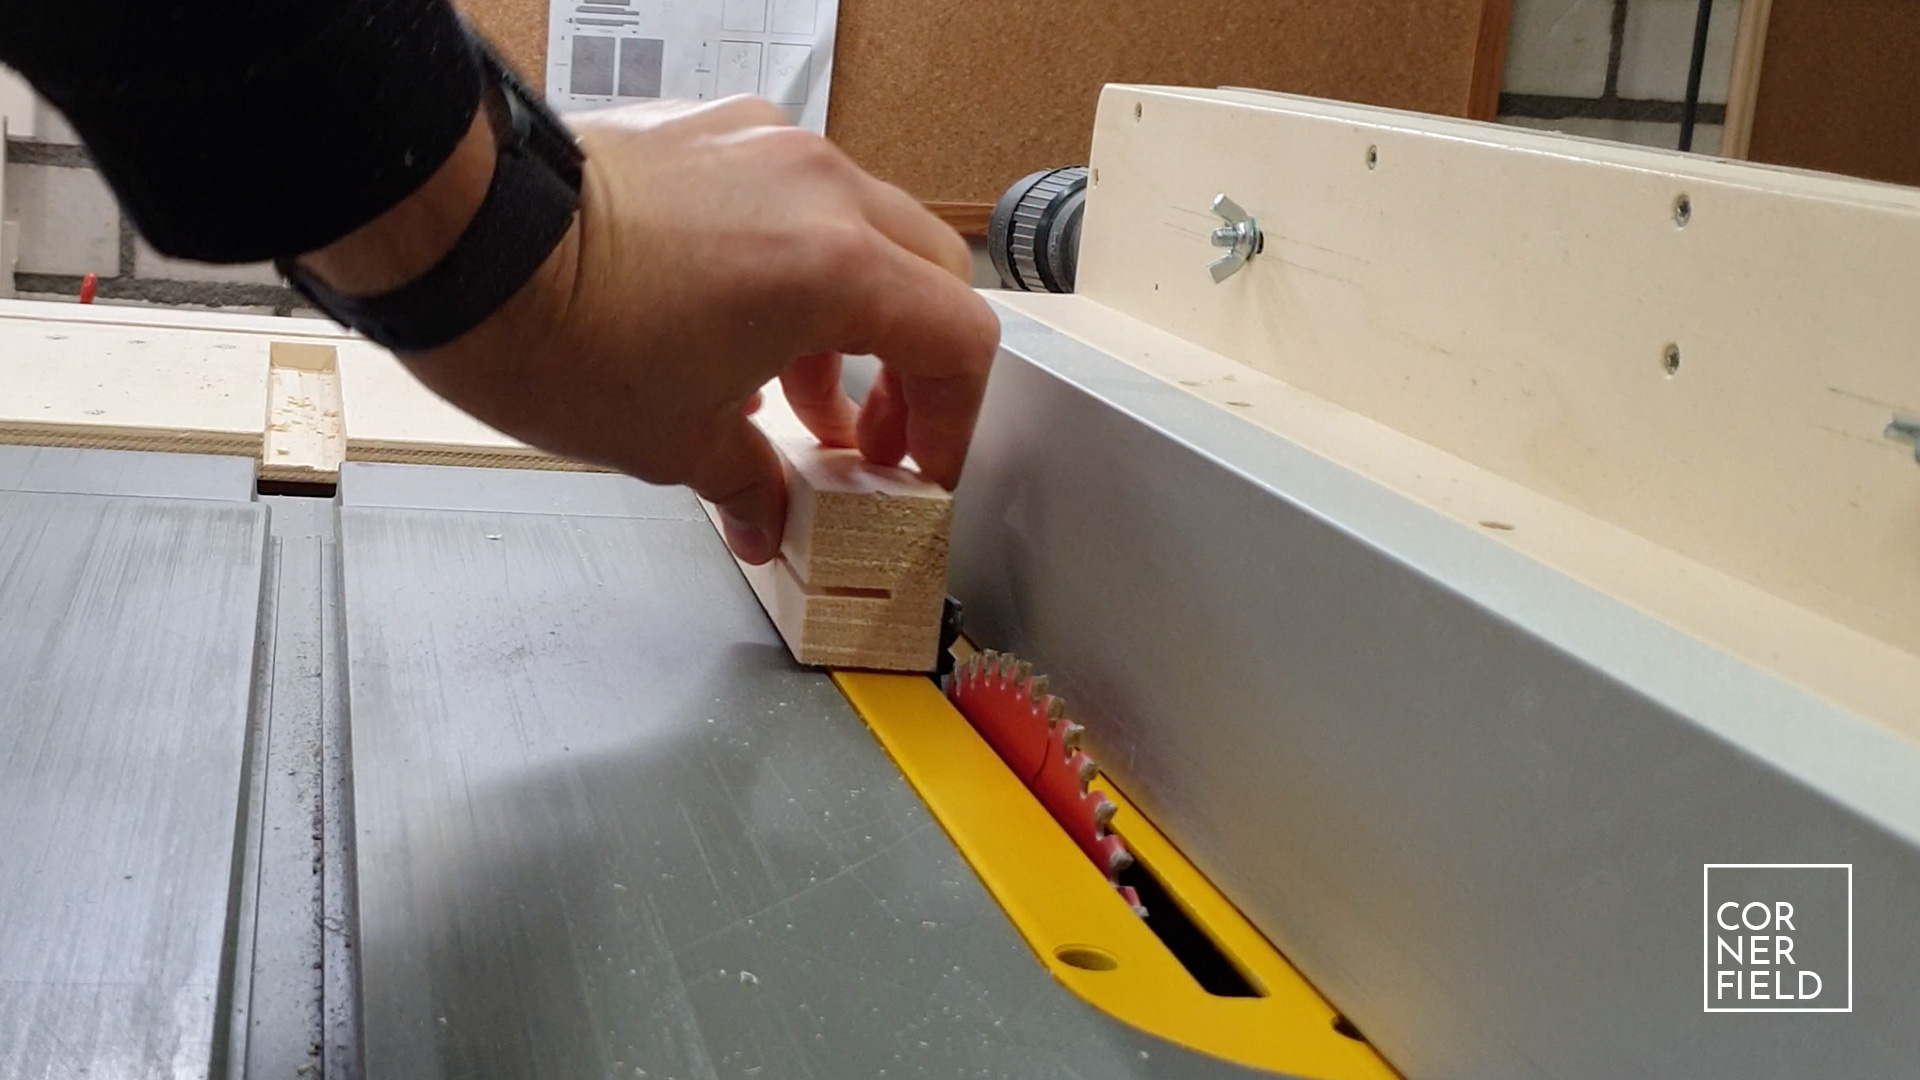
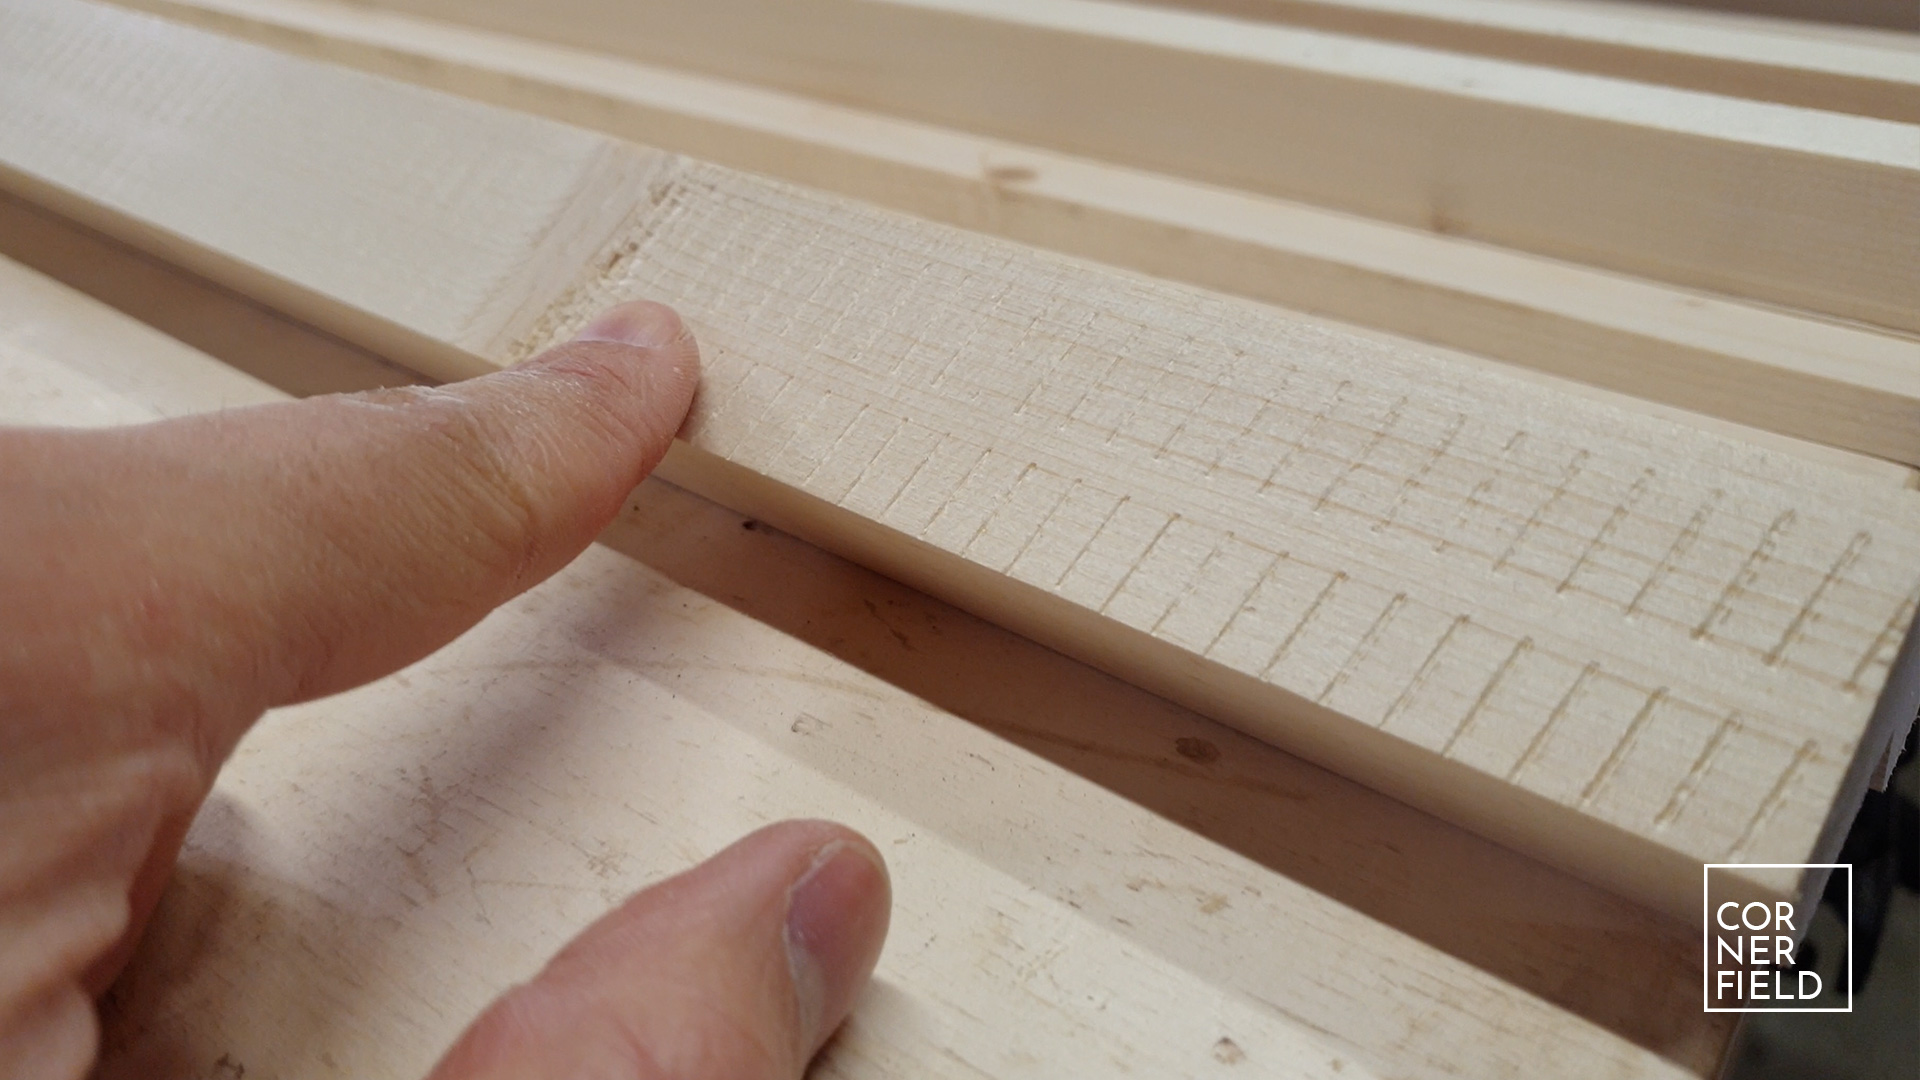
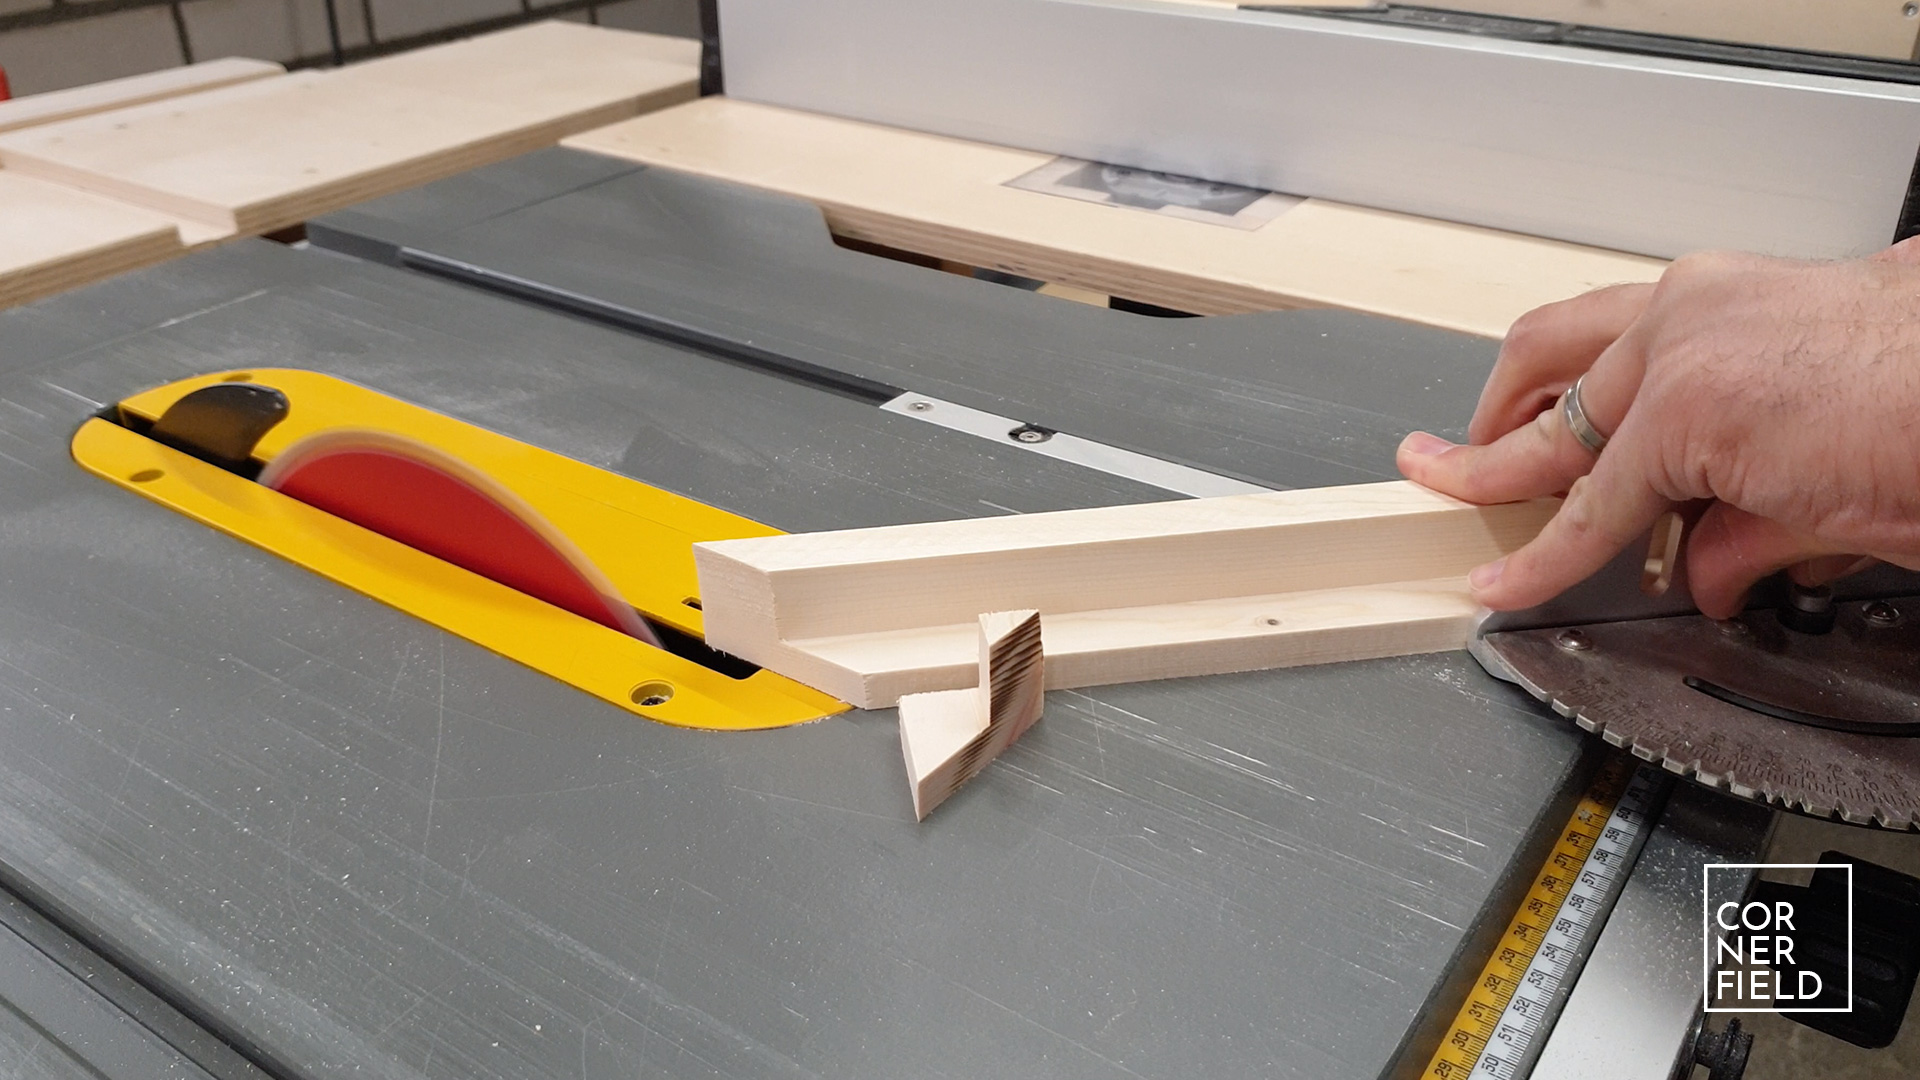
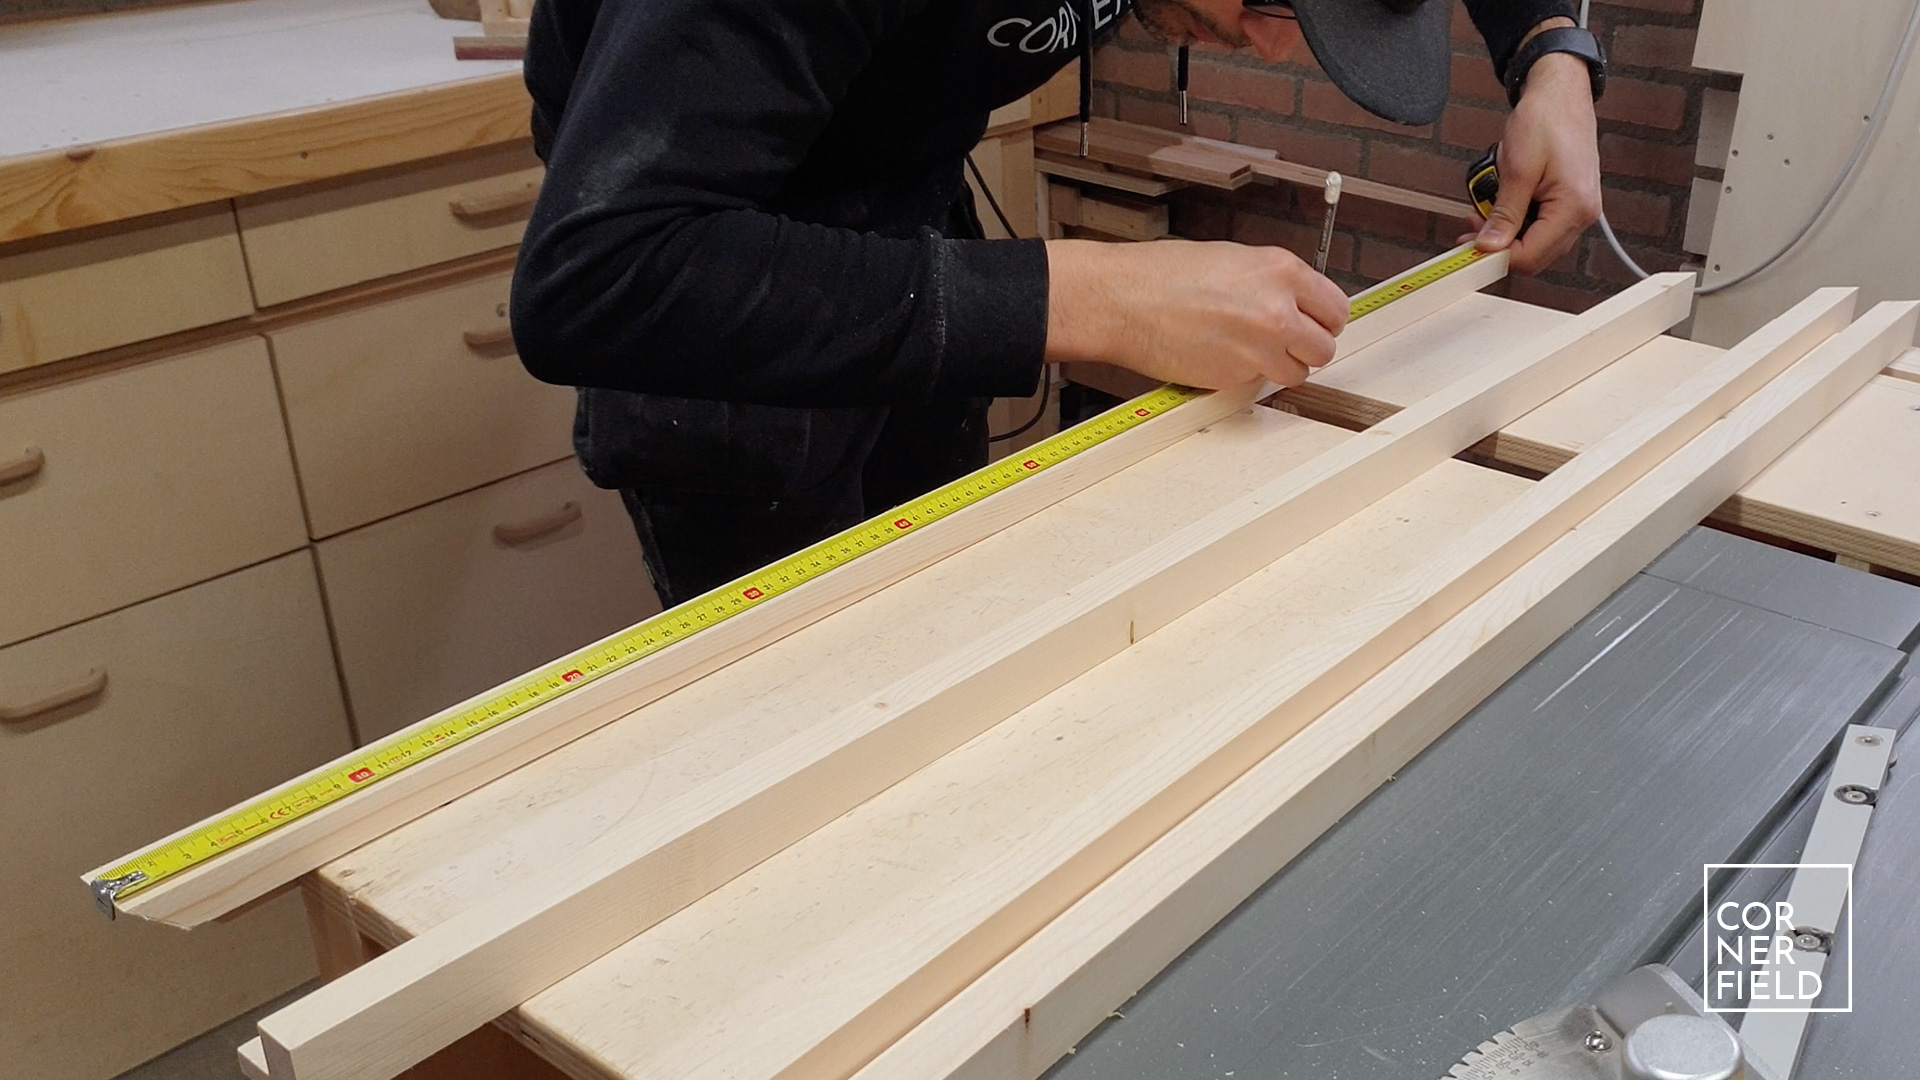
First I start by finding a piece of wood that I can use to cut all four pieces from. Keep in mind that some extra material is no luxury. From that piece, I cut four identical pieces to rough size. Once that is done, the excess material that needs to be removed is marked out and cut on the table saw. Keep in mind that your material is cut to rough size at this point so you don’t have to be exact (yet).


Once you have all four pieces cut to the correct shape, go back and cut everything to the exact dimensions. Also, this is a good time to sand all the pieces.
Step 2 – Mitered corners
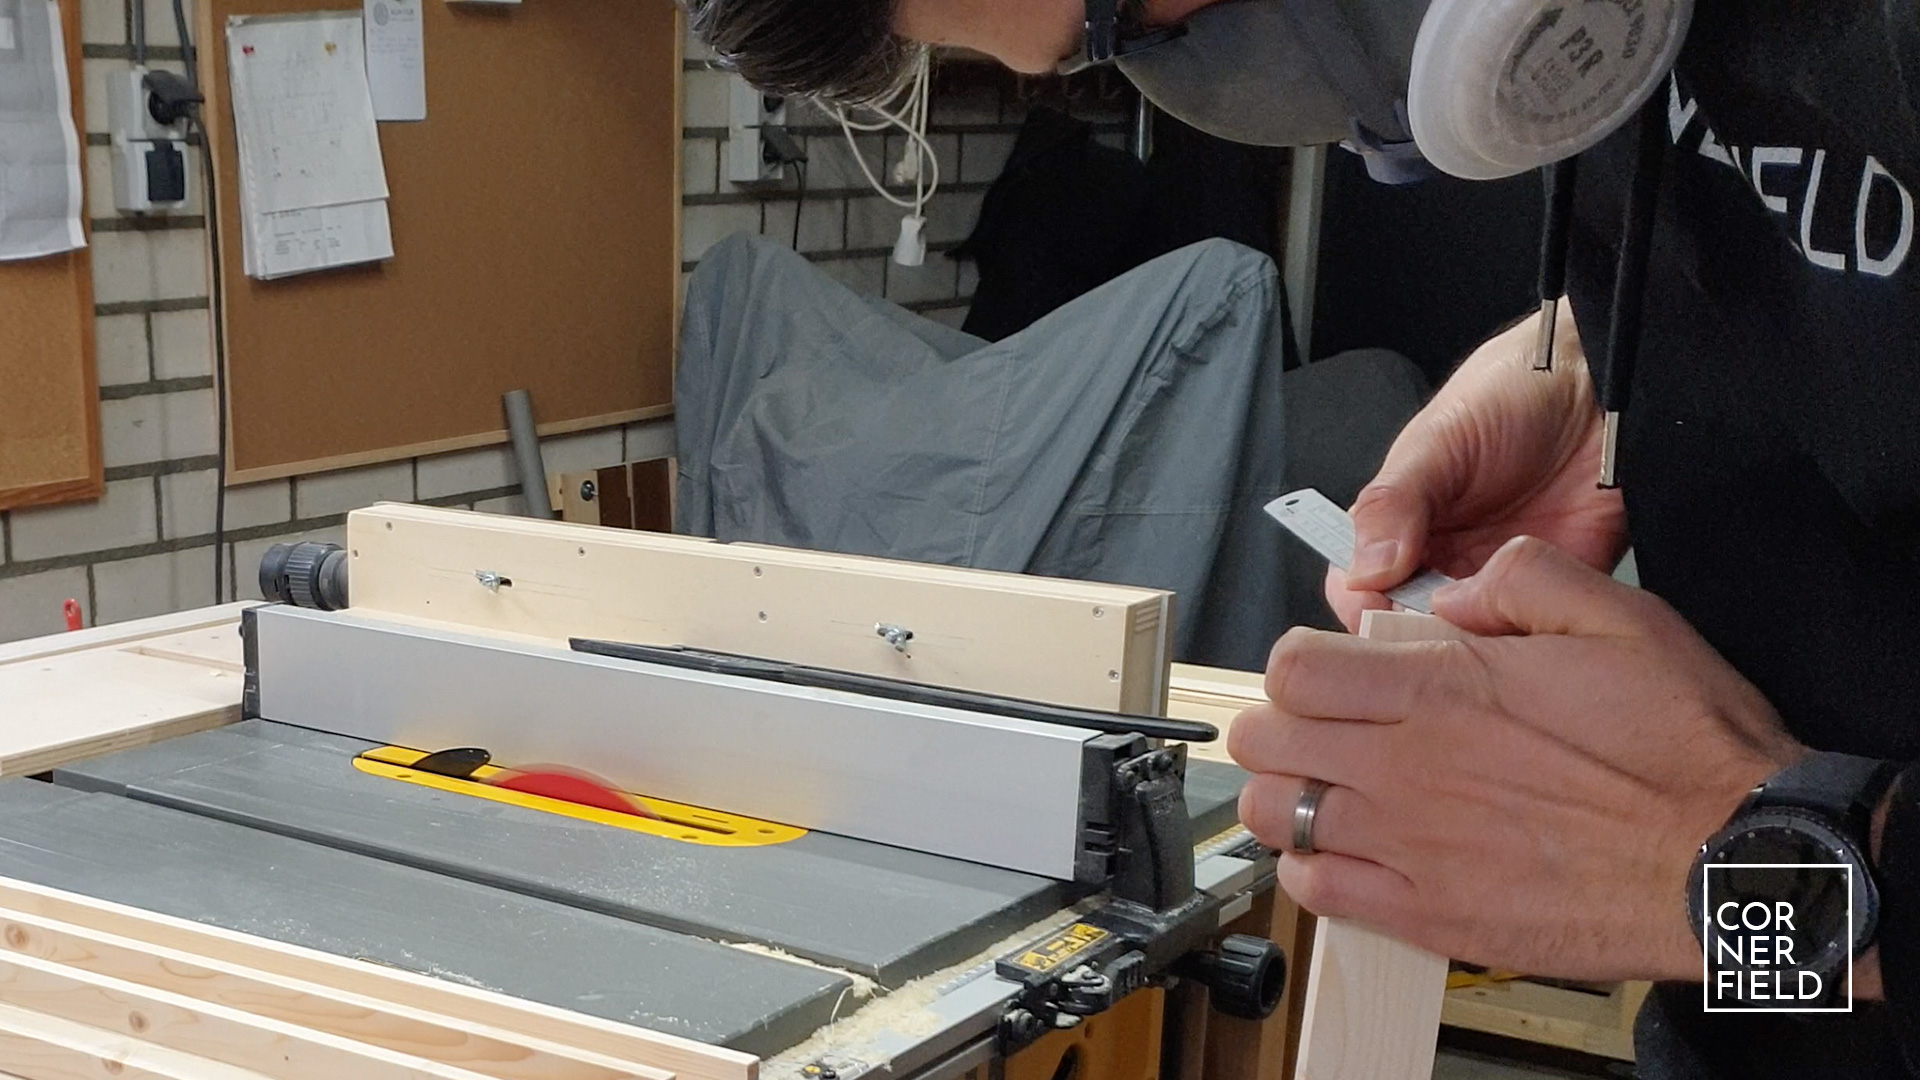
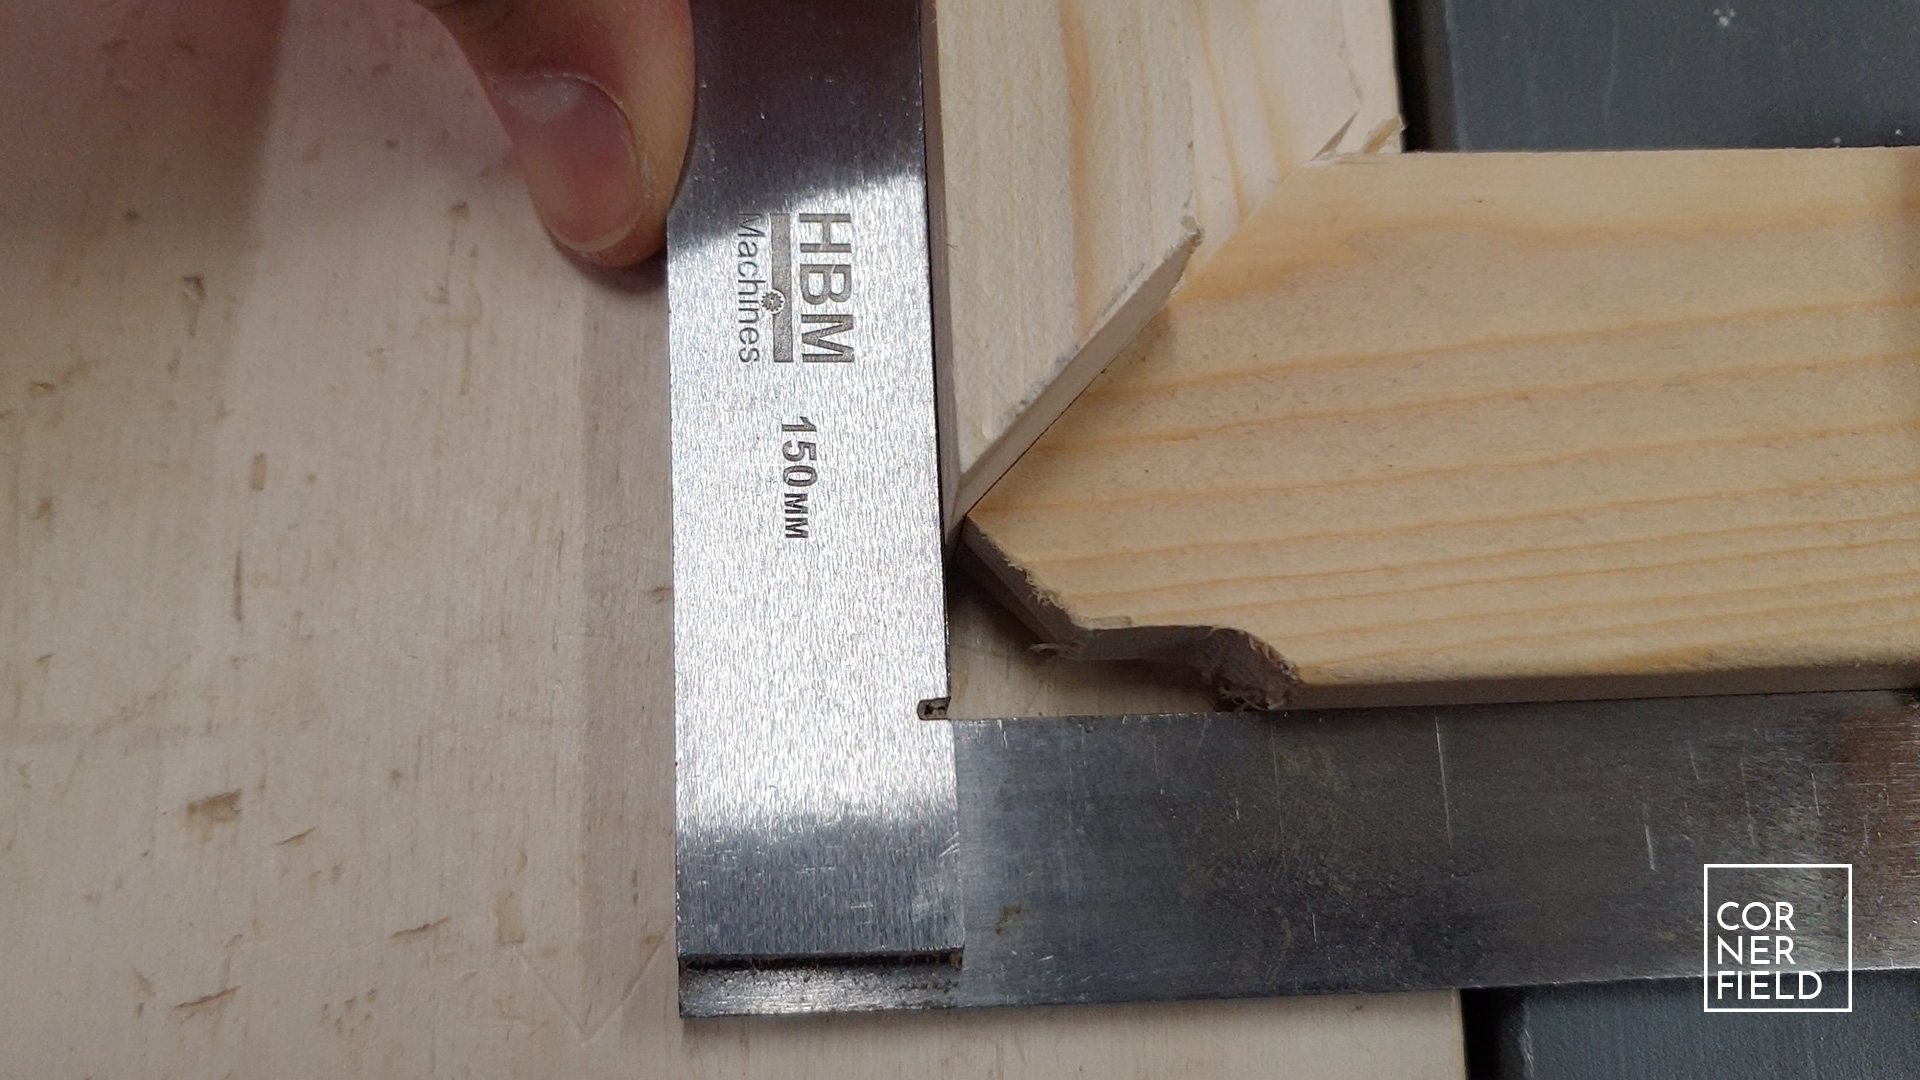
The next step is to cut the mitered corners. My procedure for doing this is to first cut all the pieces on one end. Once that is done, you measure the outside of the piece to the required length. When I switch the angle on my miter gauge I always do a test cut to see if my angles match up.

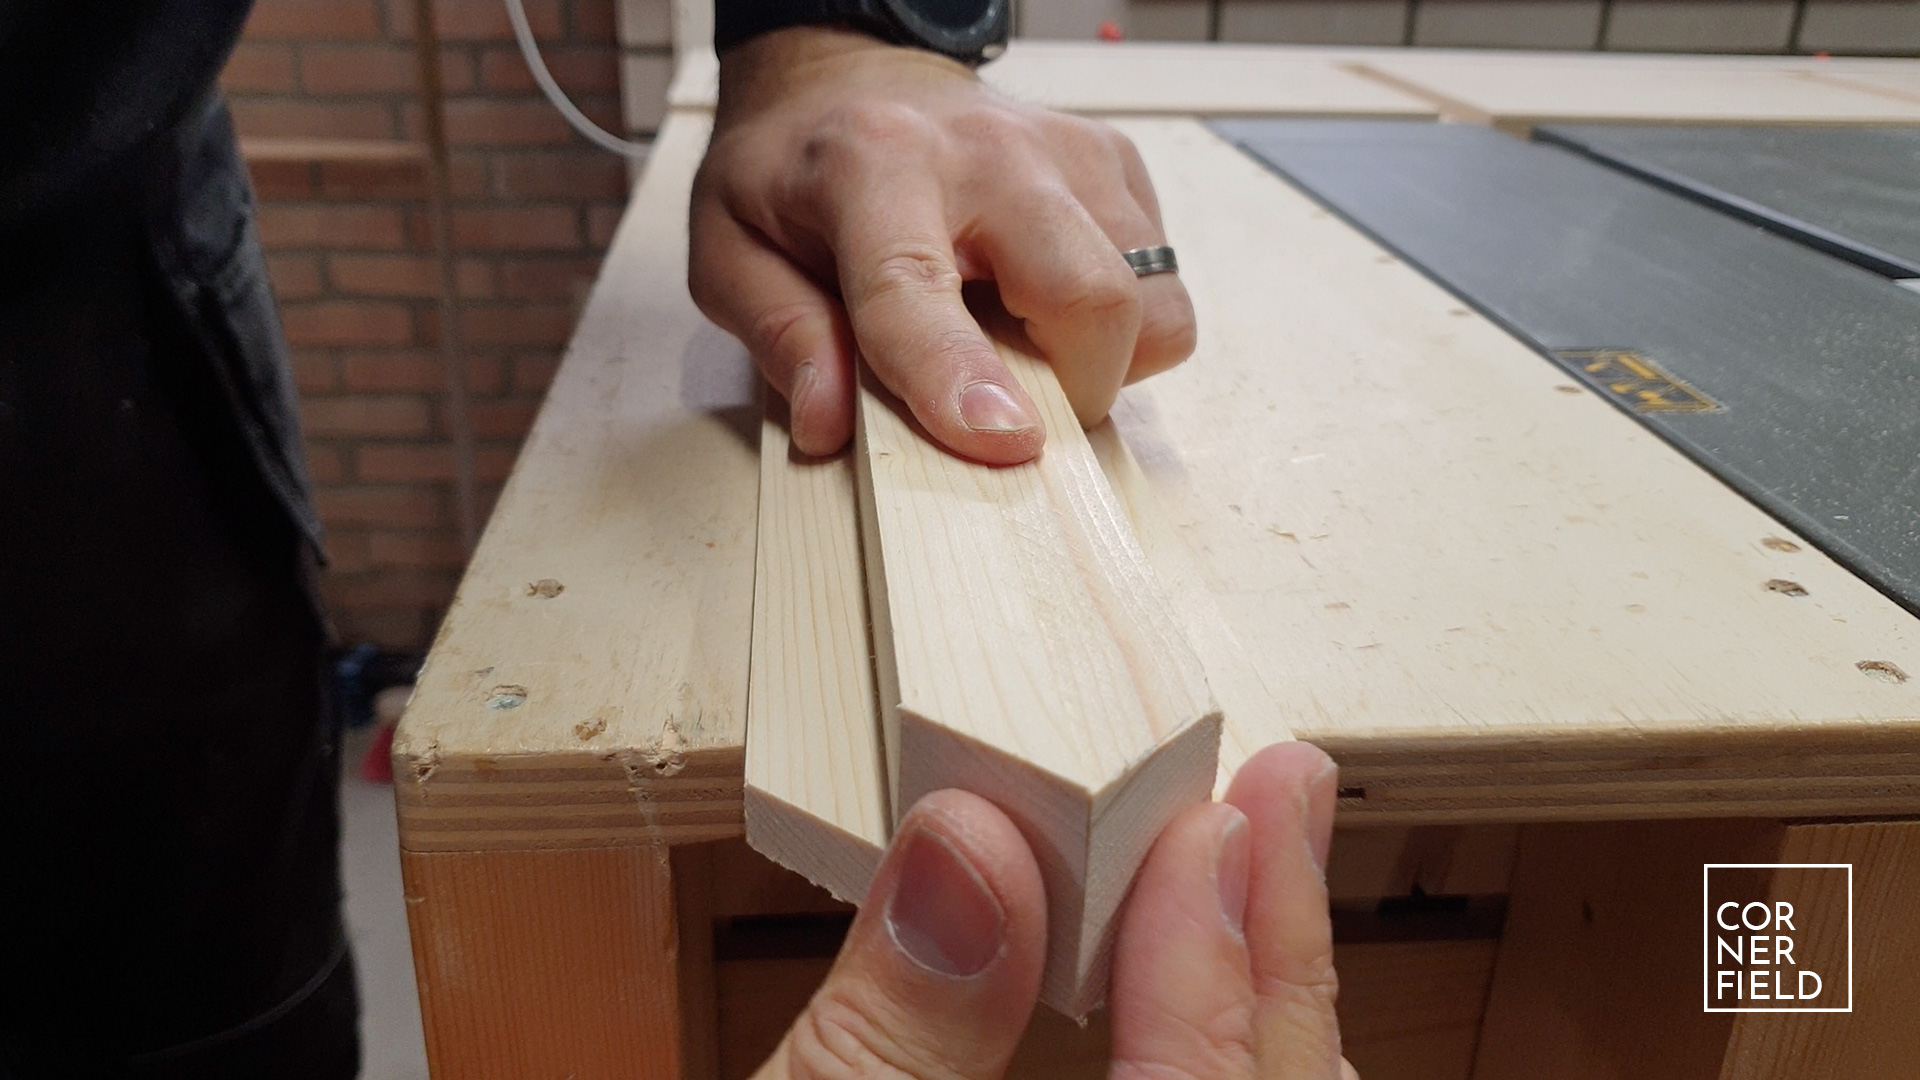
It helps to mark out the angle of the miter when you want to cut it to length. After this cut, you can check if both pieces are the same size by putting them back to back. The ends of the pieces should match up.
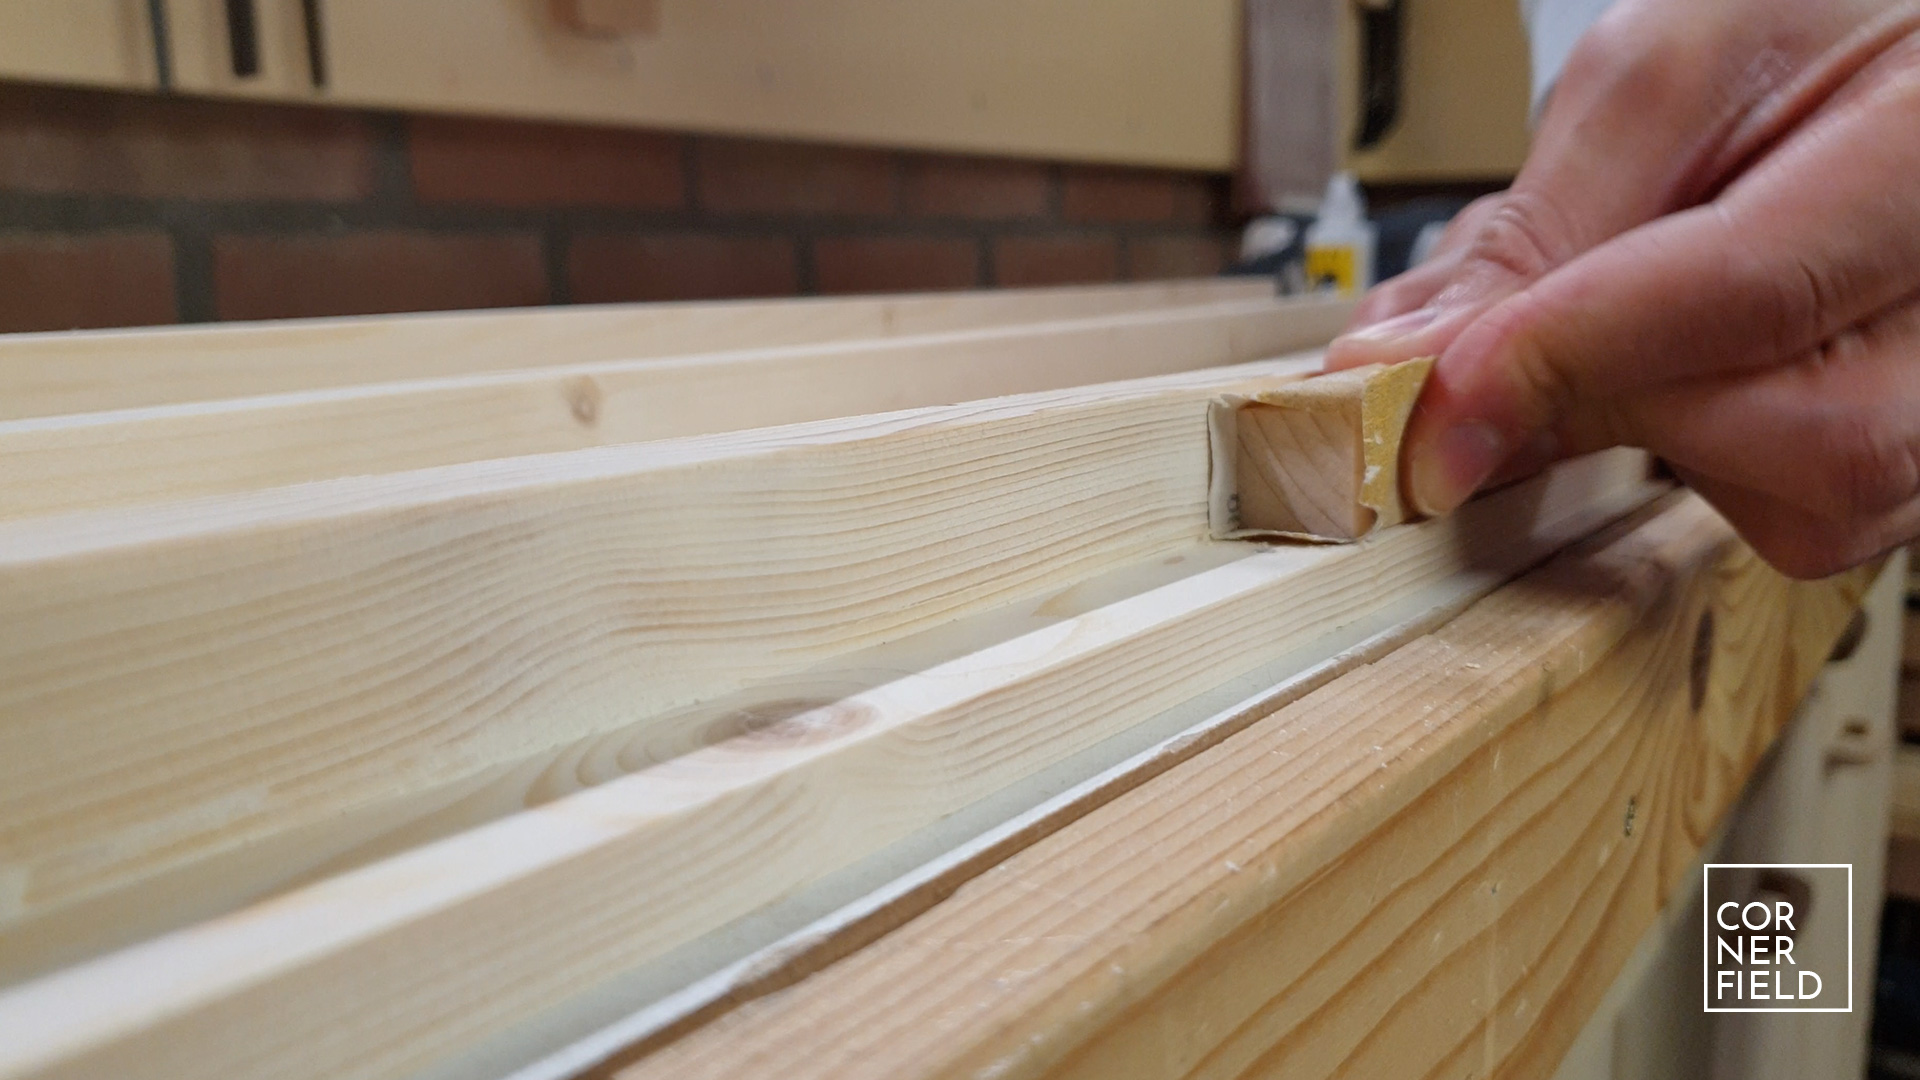
Step 3 – Assembly
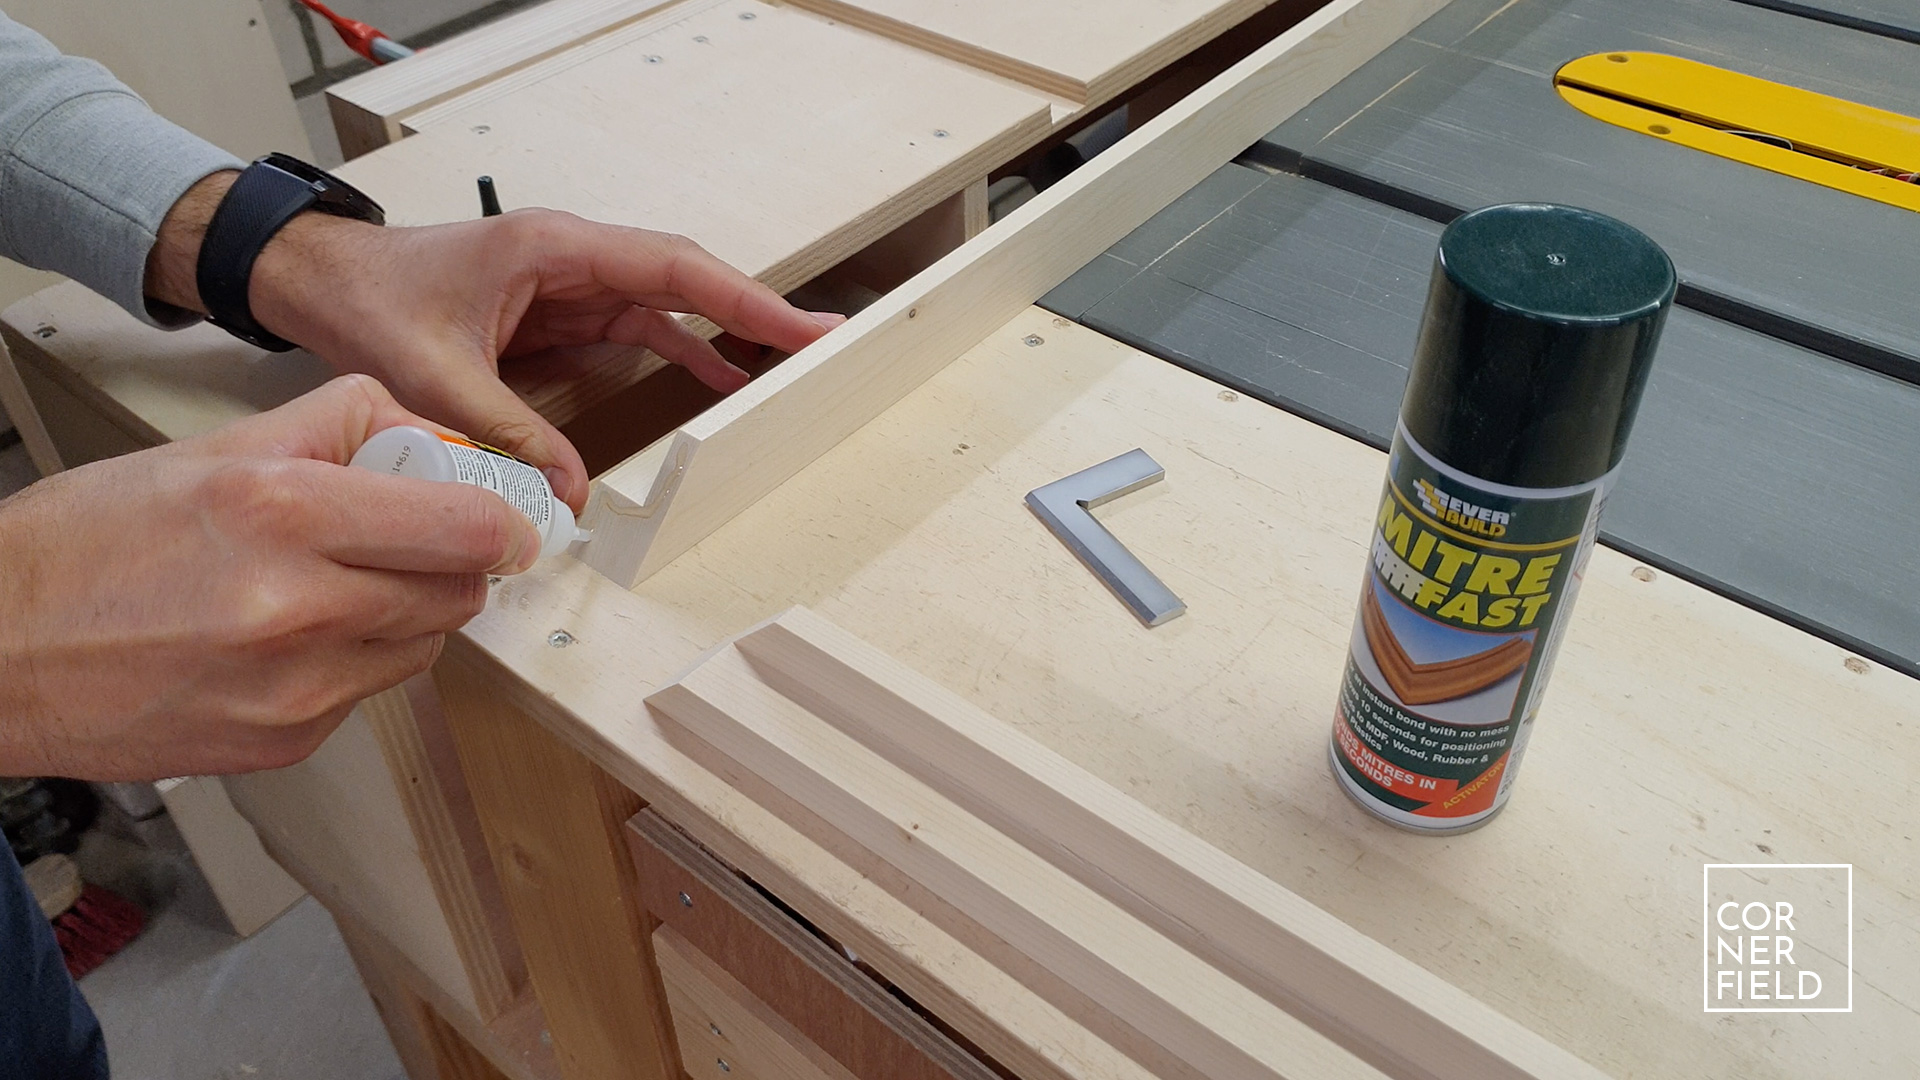
The last step is assembly. Before you move on to this step you should check if the entire assembly is nice and square. Any corrections can now still be made, so make sure it all lines up. For the glue-up, I’m using a two-component glue that sets up super fast and is intended for this use. You have about 1 second of correction time so make sure you have your square ready.
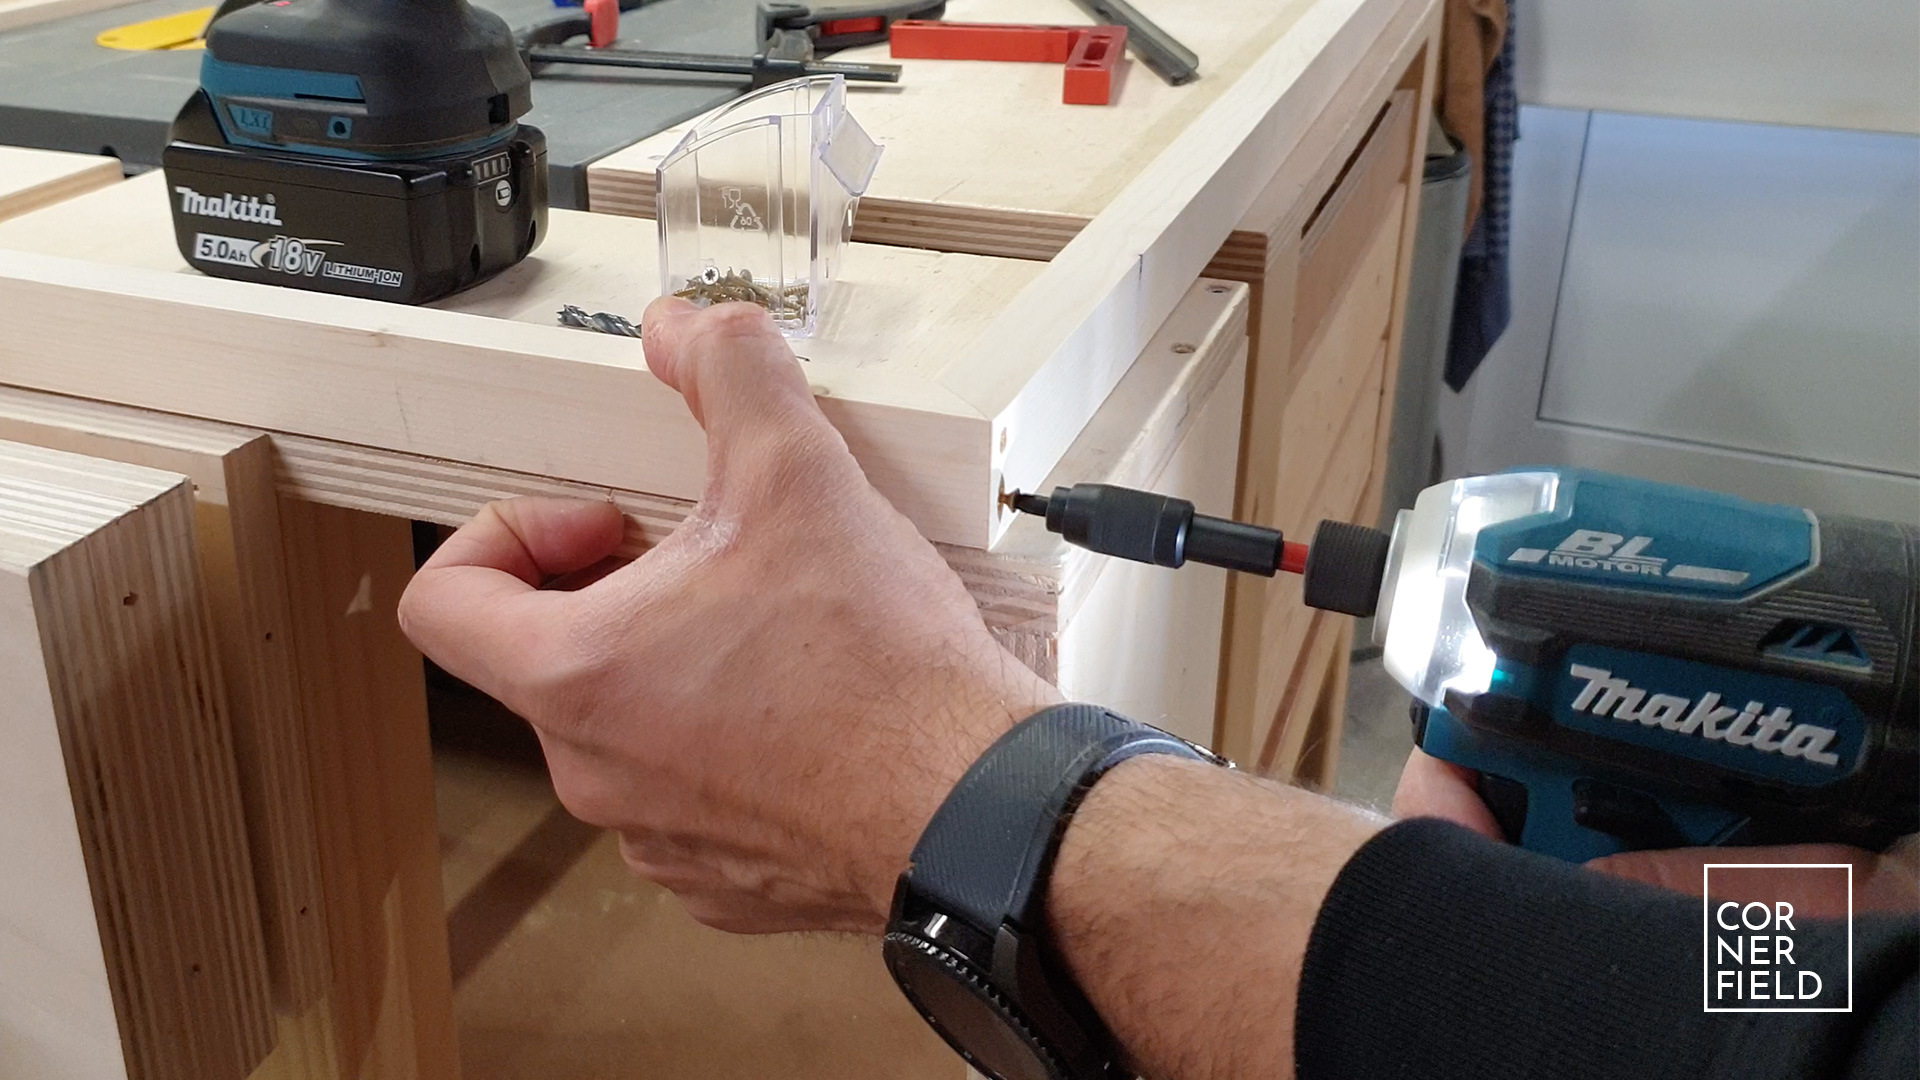
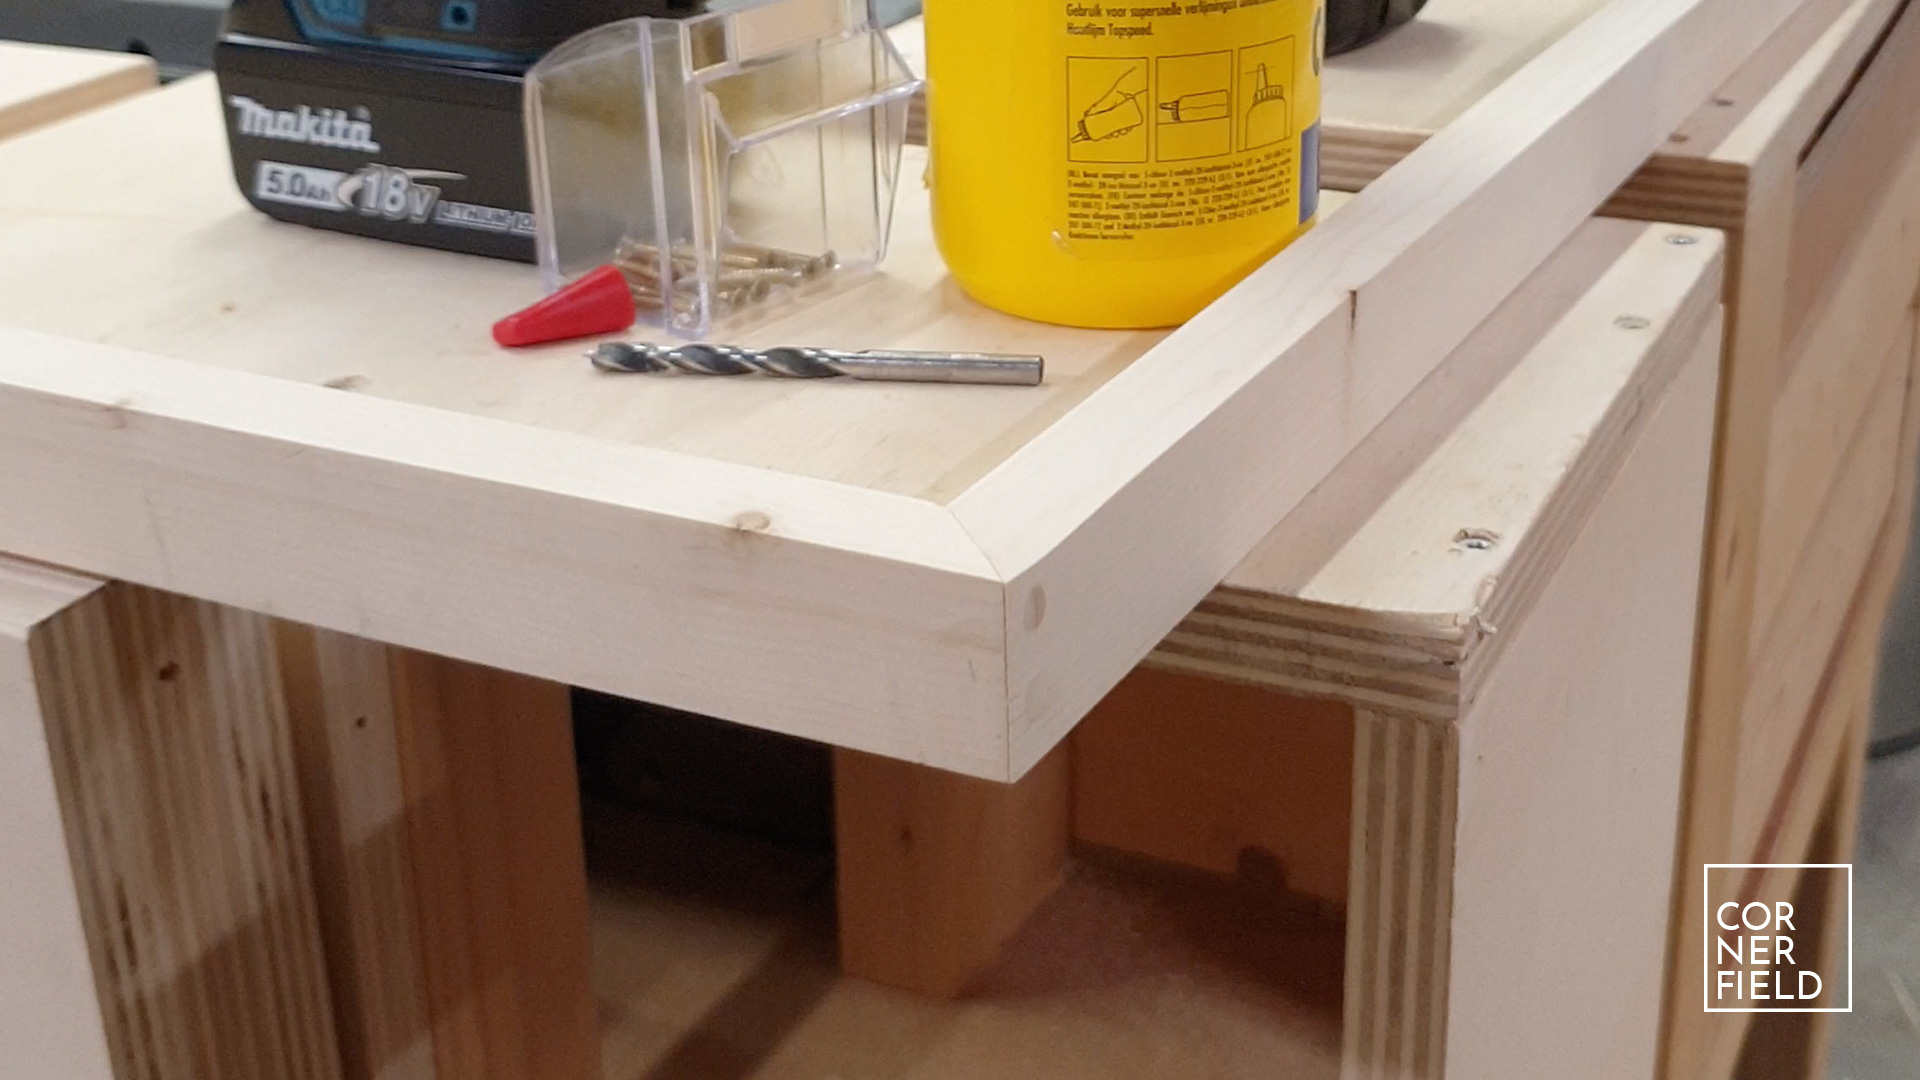
With the parts glued together, I’m adding strength to the corners by adding some hidden screws. Drill a shallow 6mm hole, pre-drill with a small drill, put in the screw and plug the hole with a plug or dowel. This plug or dowel should match the oversized hole you drilled first. If you use a dowel I recommend putting in a little sawdust with the glue to hide any cavities. And that’s it. You can now sand and paint the frame however you like and put in the painting.

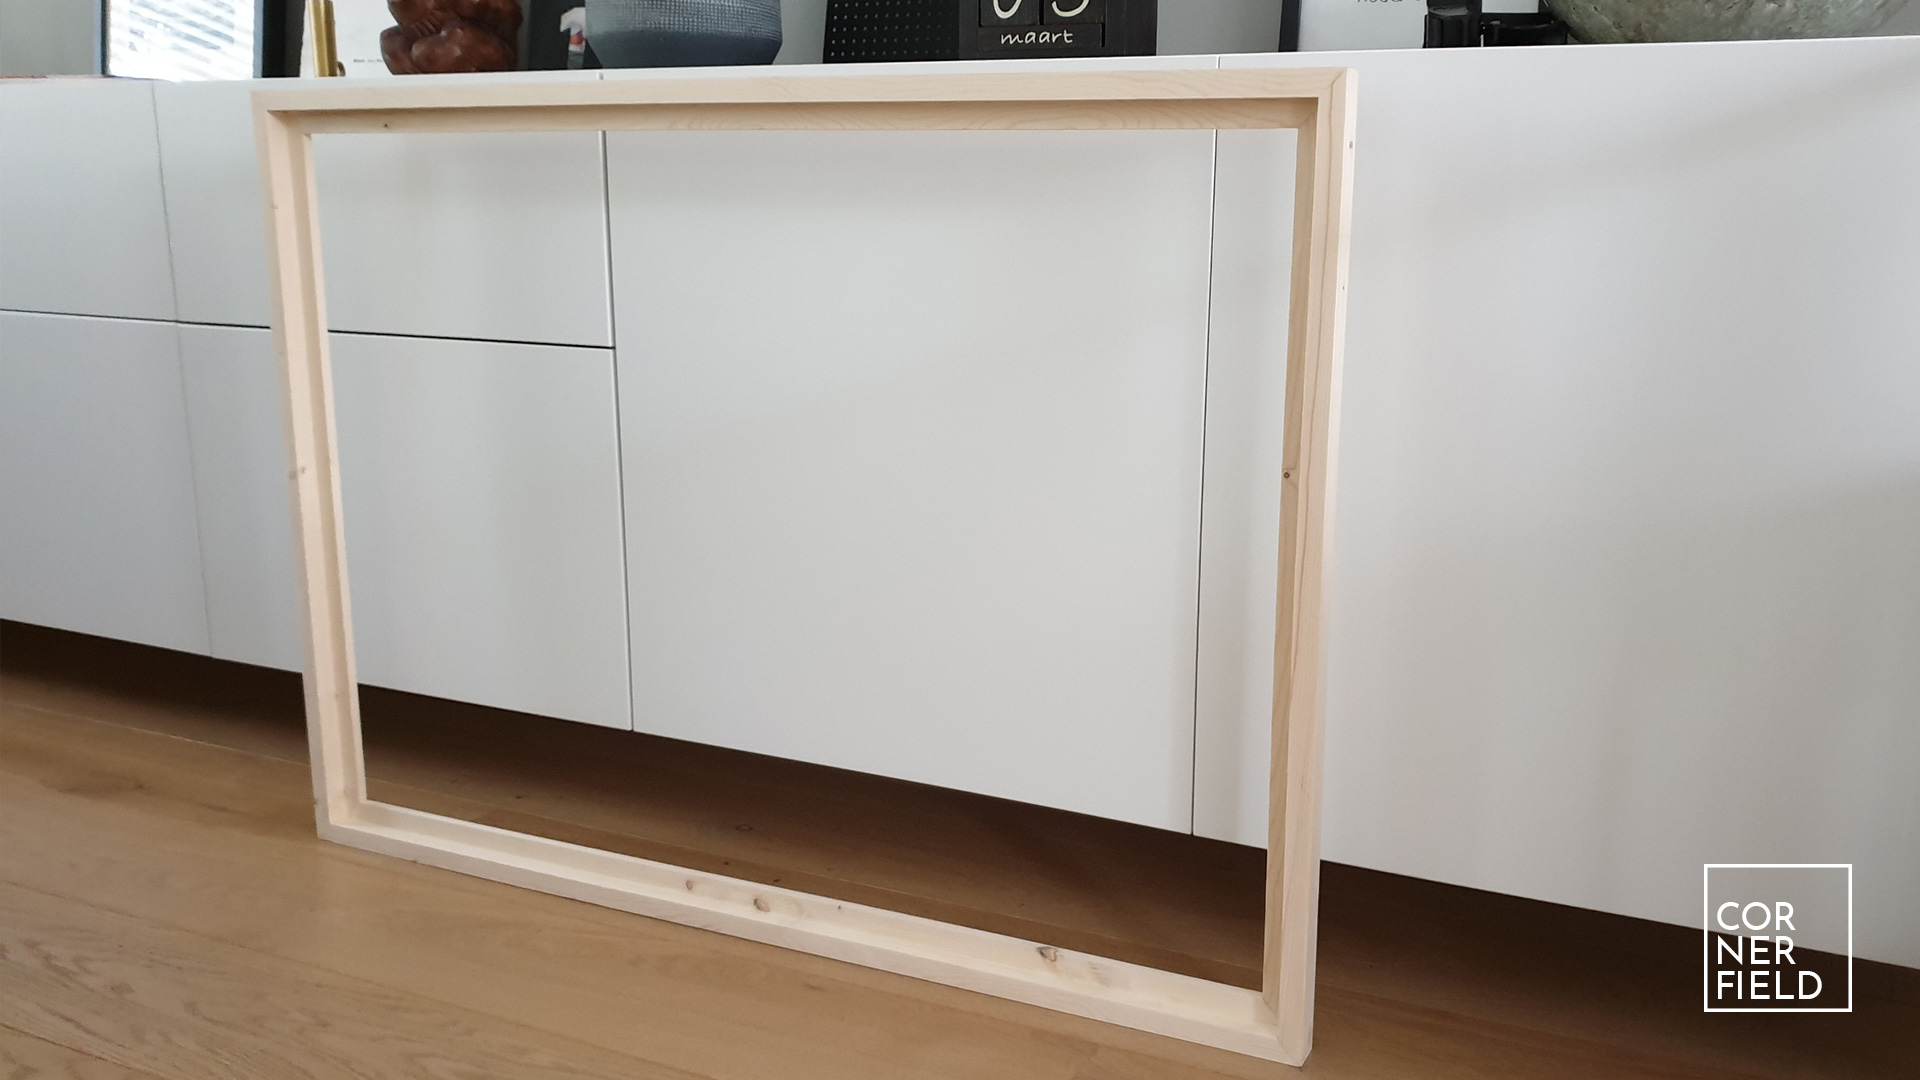
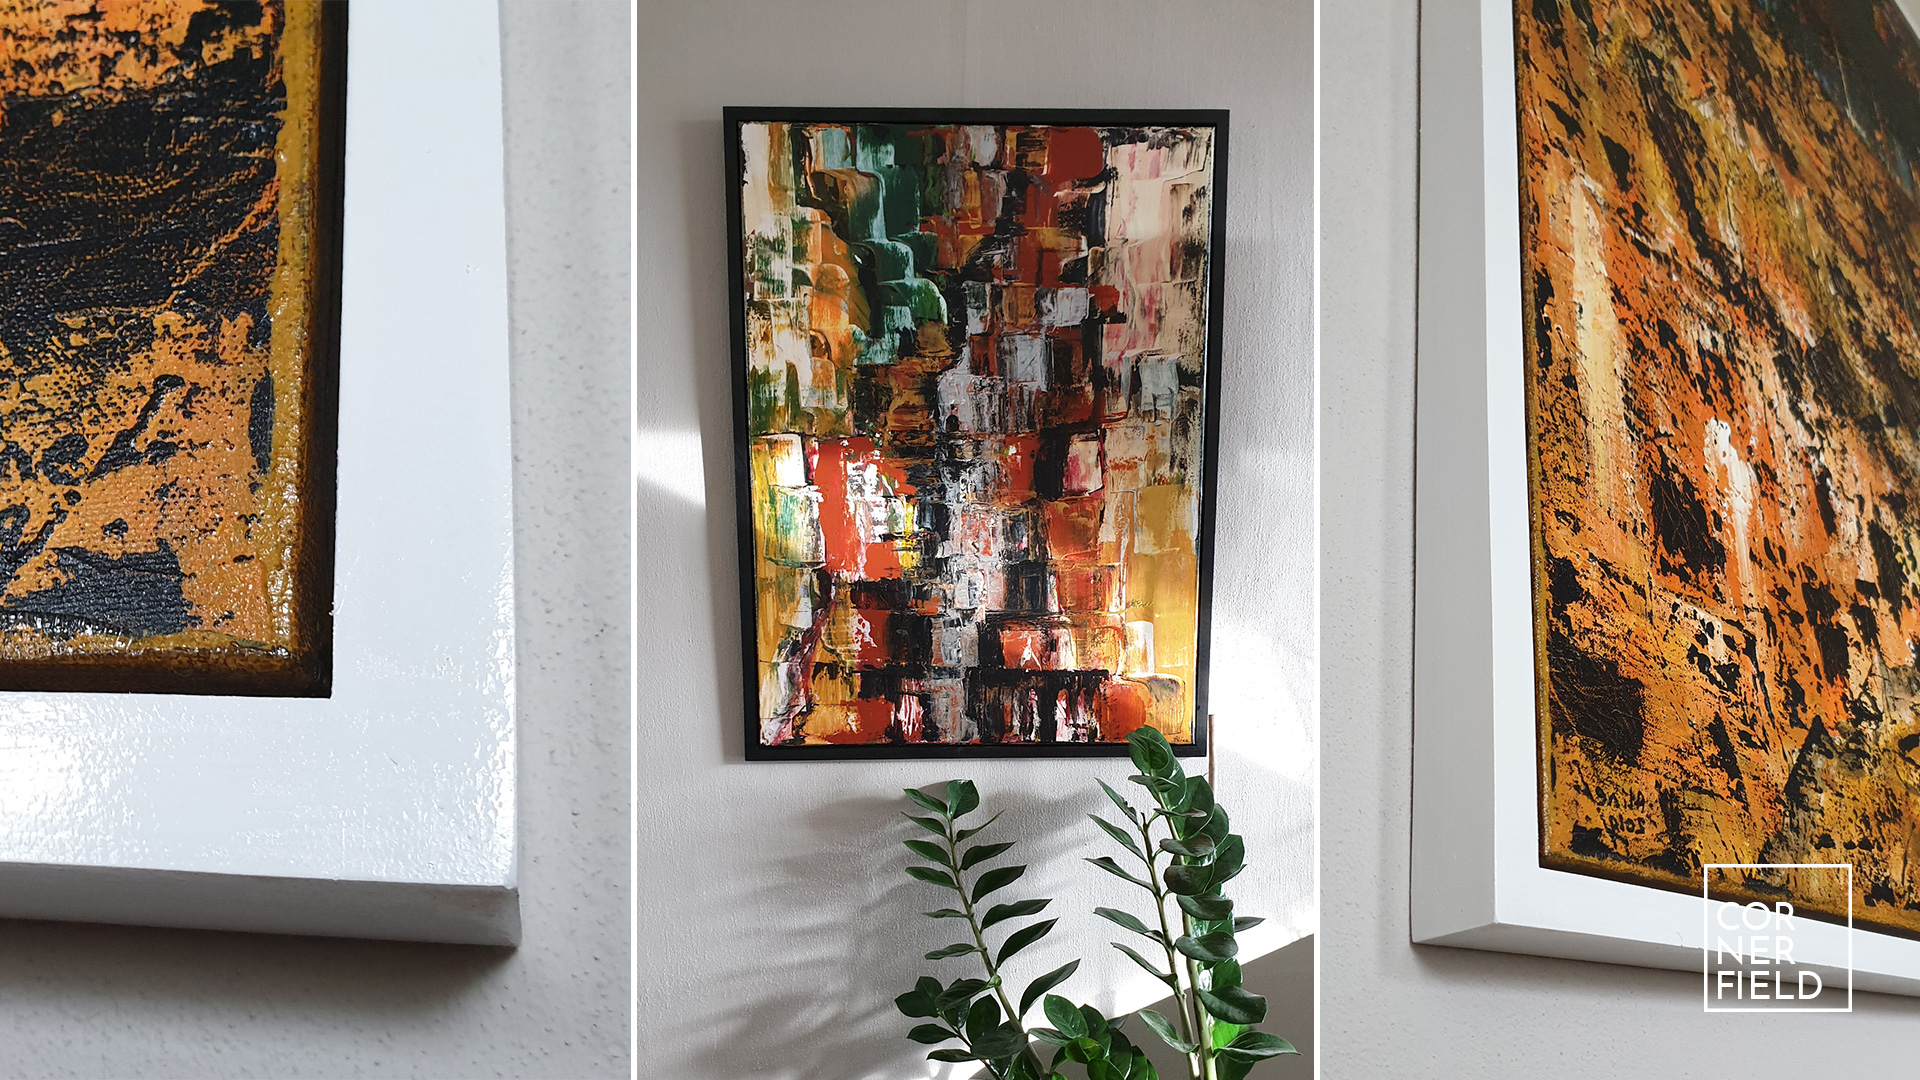
Result
I think this method works really well and I love the look of these frames. If you want to make one of those I highly recommend trying this construction.
Links
Check out my Instagram for some final shots.
I hope this post has inspired you to make something!
And don’t forget to follow your excitement 
Add comment