


This build is made by my wife who has very little experience making things. If she can do it, so can you!
Design
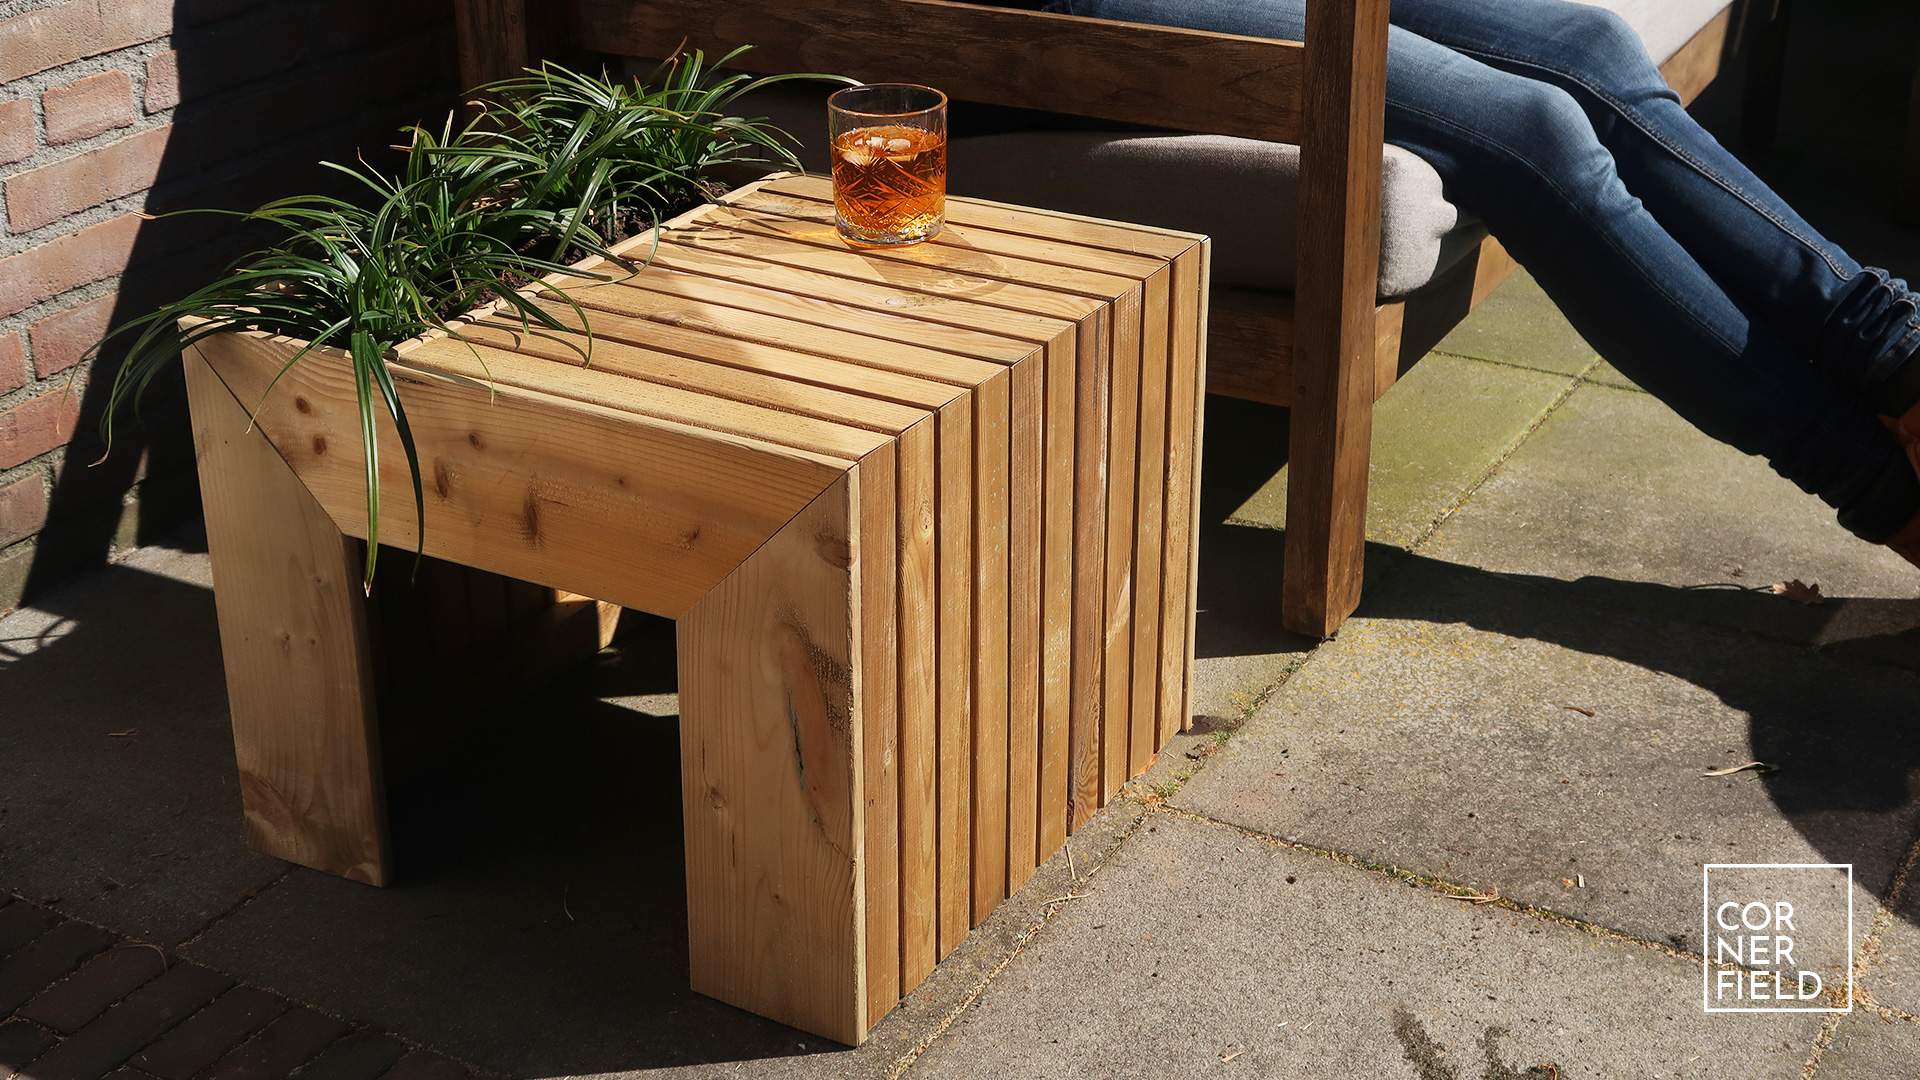
The design for this planter box & end table combination came from the idea that we wanted more plants in our lounge area. But also could use an end table. My wife thought that combining a table and planter box would be the easiest way to solve both those things, so I made her design something. This is what she came up with.


Build
This project starts like many other projects, with gathering tools and materials.
Tools & materials
We used leftover wood but if you’re buying new material, this is what you need.
- Pressure-treated wood:
- 44mm x 12mm, approximately 12 meters,
- 120mm x 15mm, approximately 5 meters,
- 44mm x 69mm, approximately 2 meters,
- Stainless steel screws,
- Soil & plants.
If you only have access to basic tools you can make this project with a hand saw or jigsaw and a drill. We, however, used the following tools:
- Table saw & mitre sled,
- Pin nailer & compressor,
- Clamps,
- Spacers (business or playing cards),
- Drill & driver,
- Square,
- Measure & marking tools.
Parts
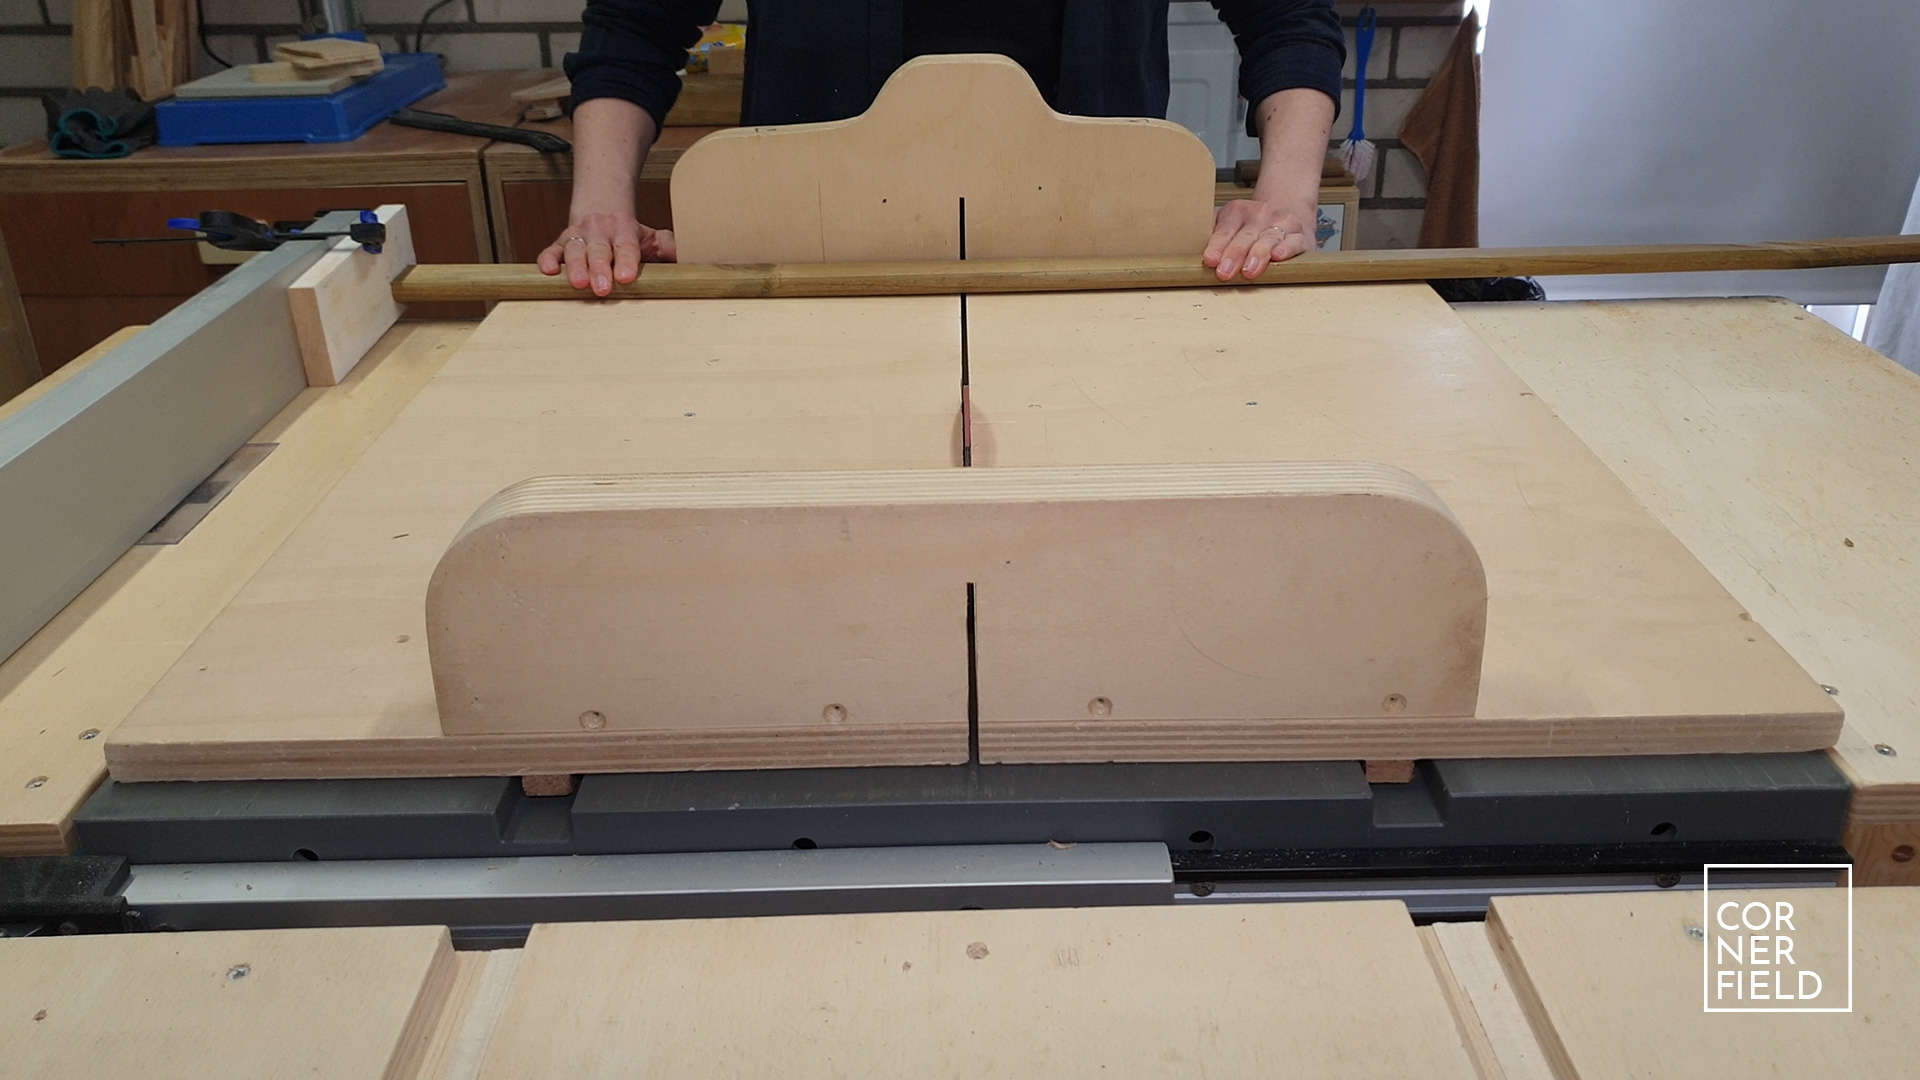
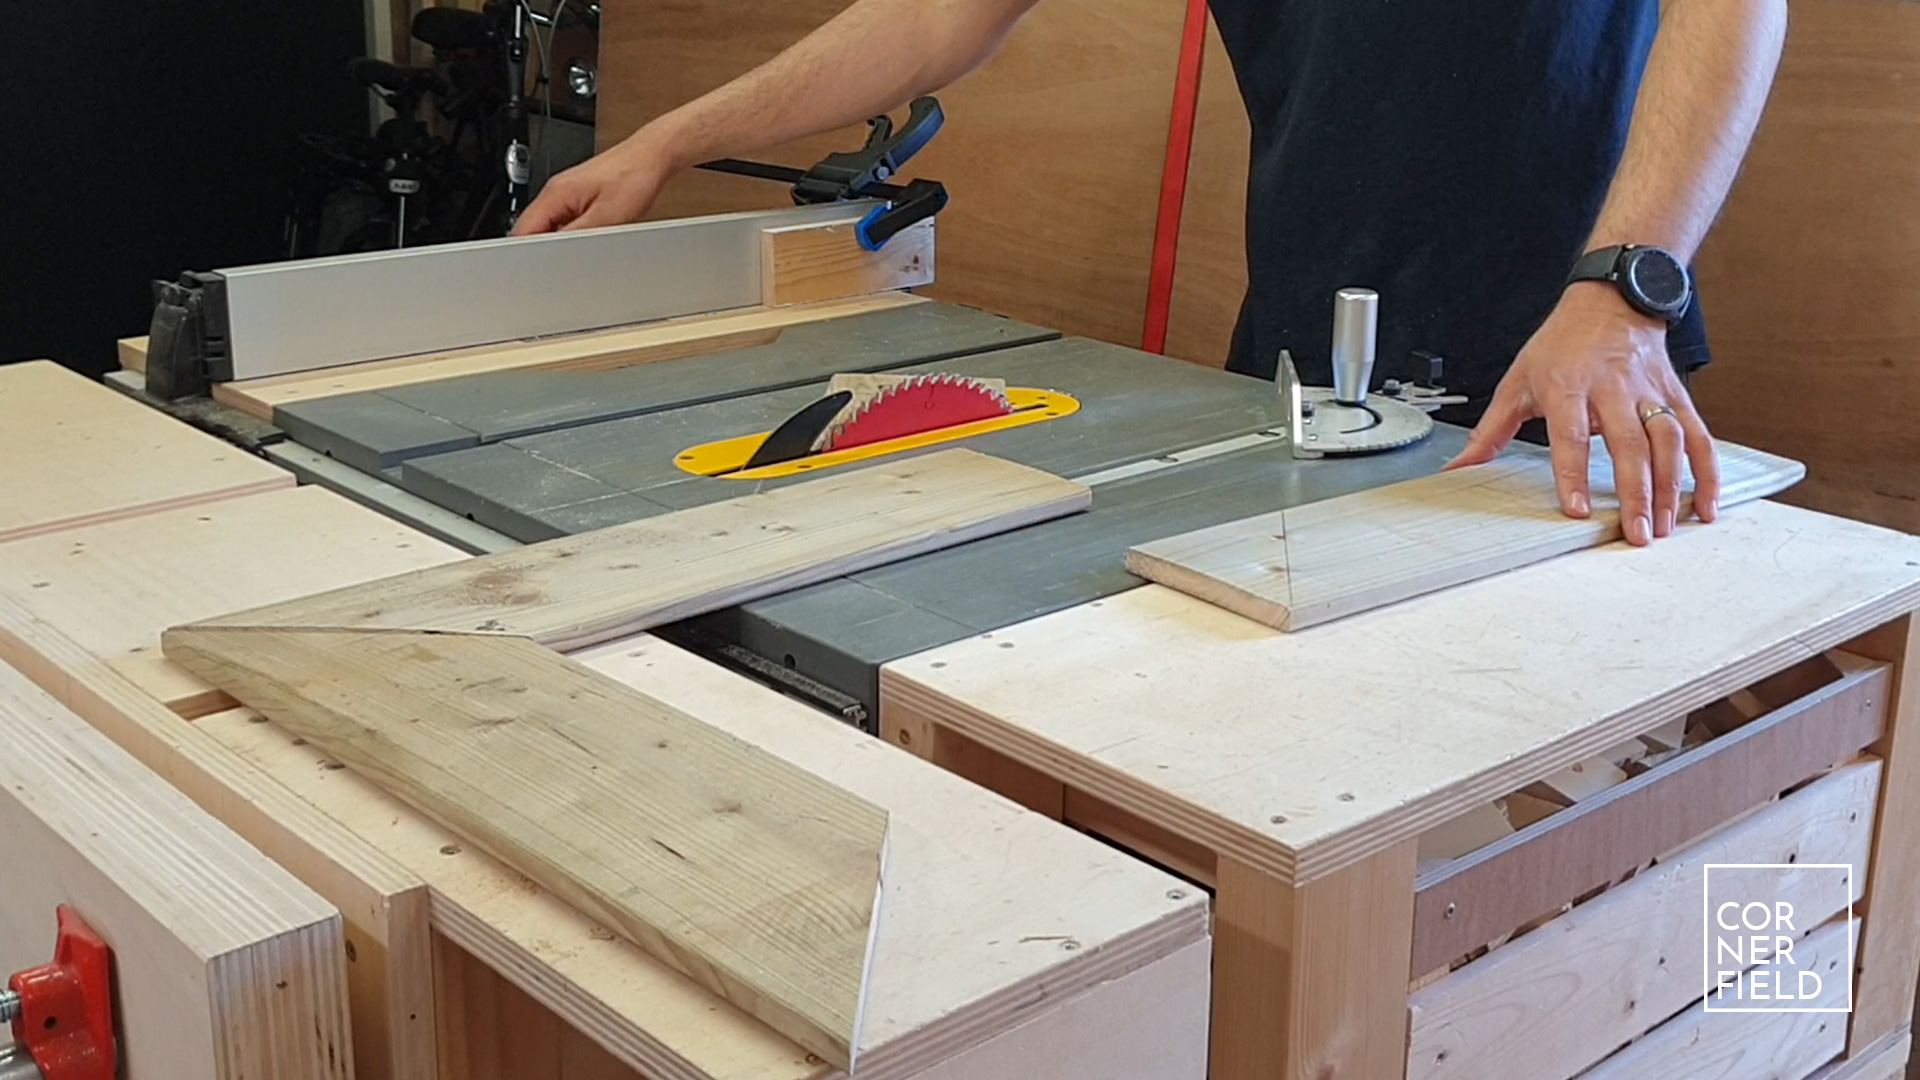
The first step is to cut down the strips to the required size. There are two sizes you need. The front and back are identical, the top is slightly shorter. Once you have these pieces cut, sort out the ones you want to use as the front and top. Take special consideration on which side you want facing outwards. This is important when cutting the mitres since you can’t switch sides once those are cut. With the pieces sorted out, cut a mitre on both the tops and fronts.
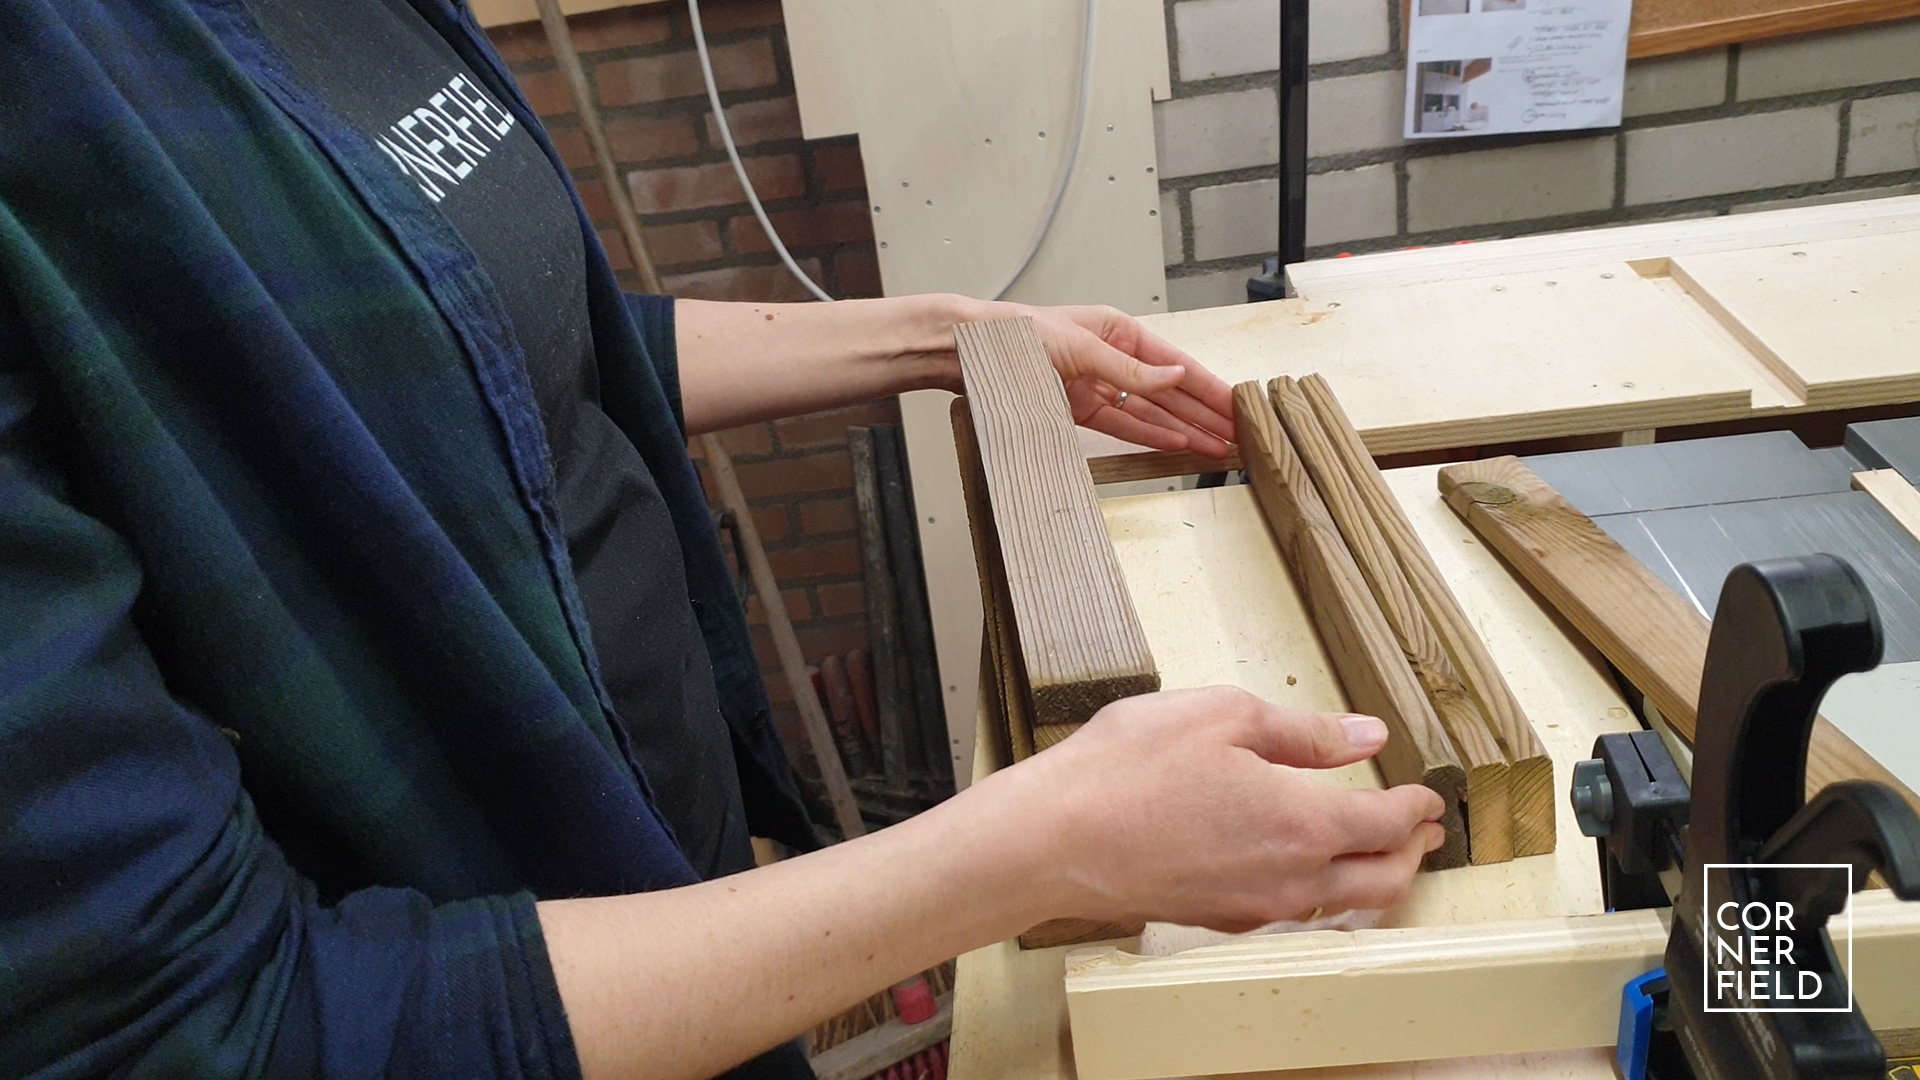
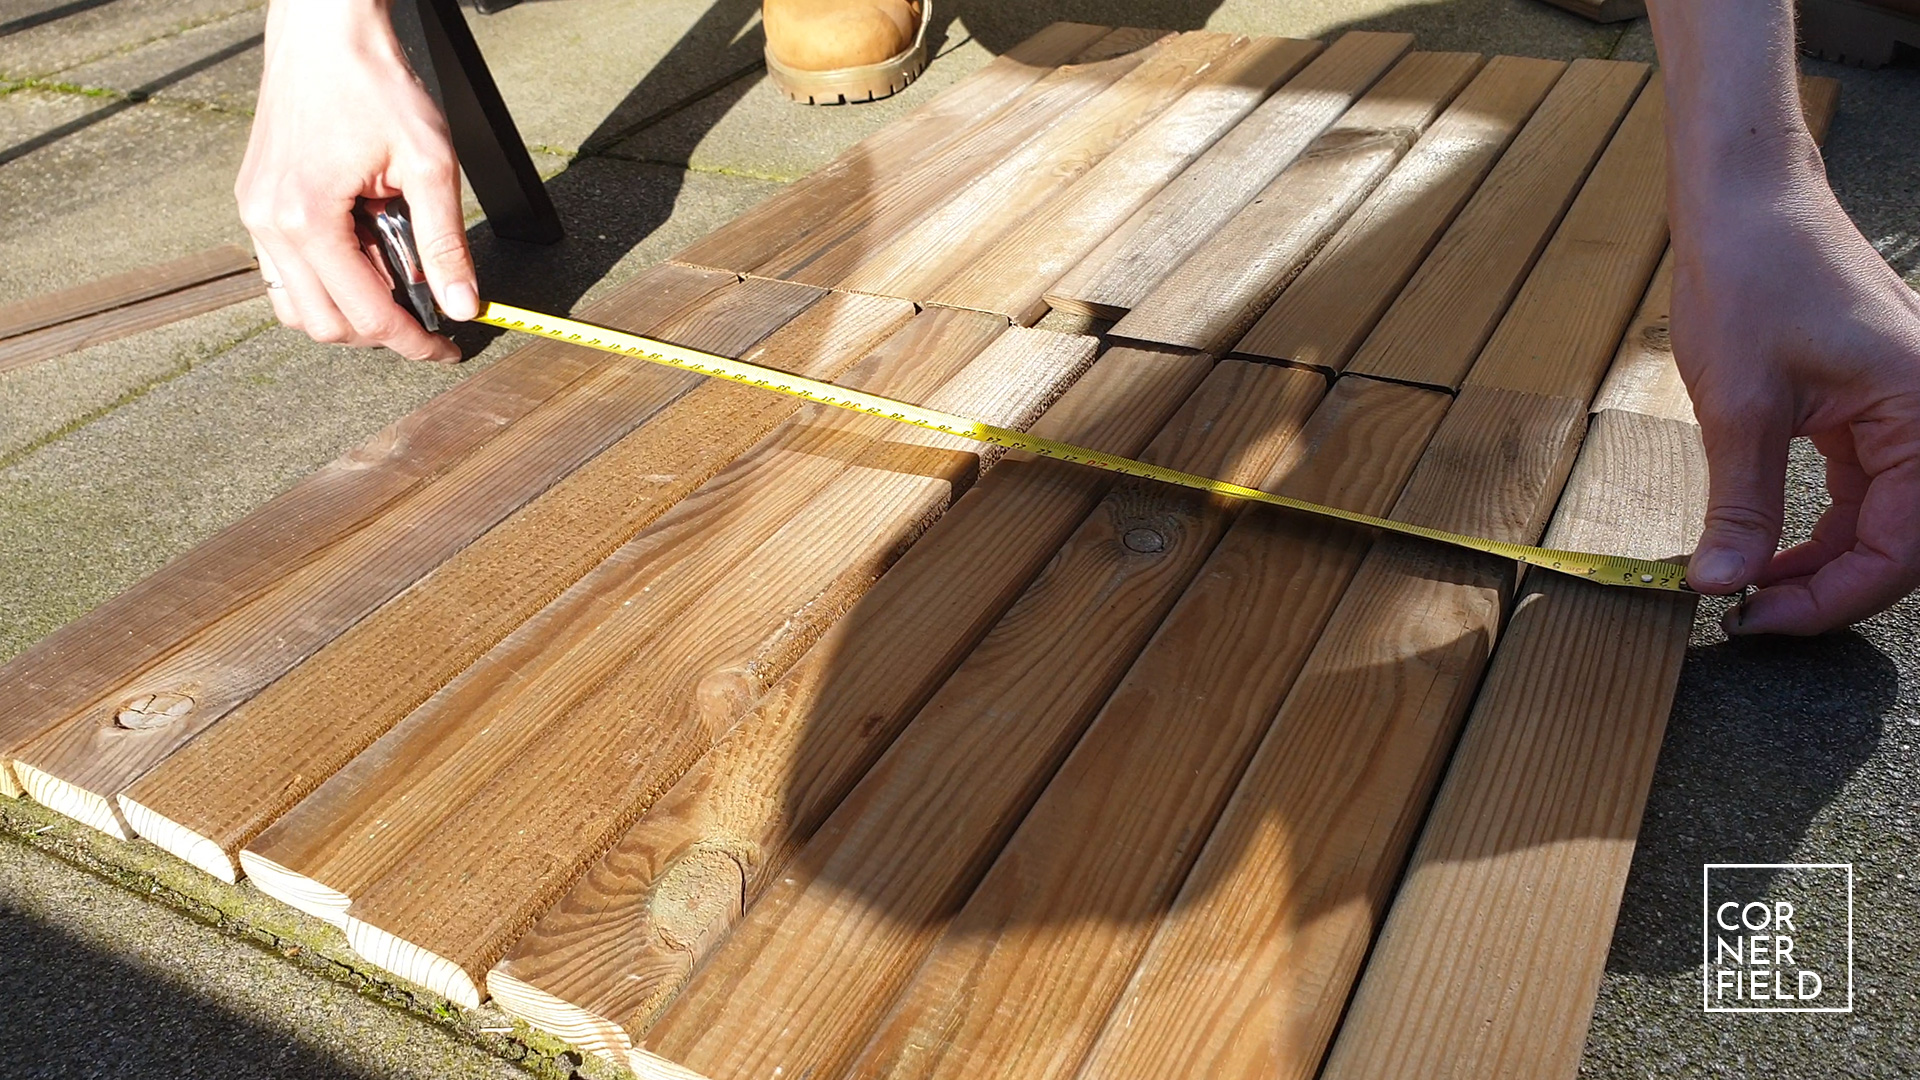
Next layout the pieces how you want them to go together. Take into account some spacing between the pieces and measure the width you have. This is the width for the support pieces that we are going to cut next. Once you have these cut (4 pieces in total), you can start assembling the top and front.

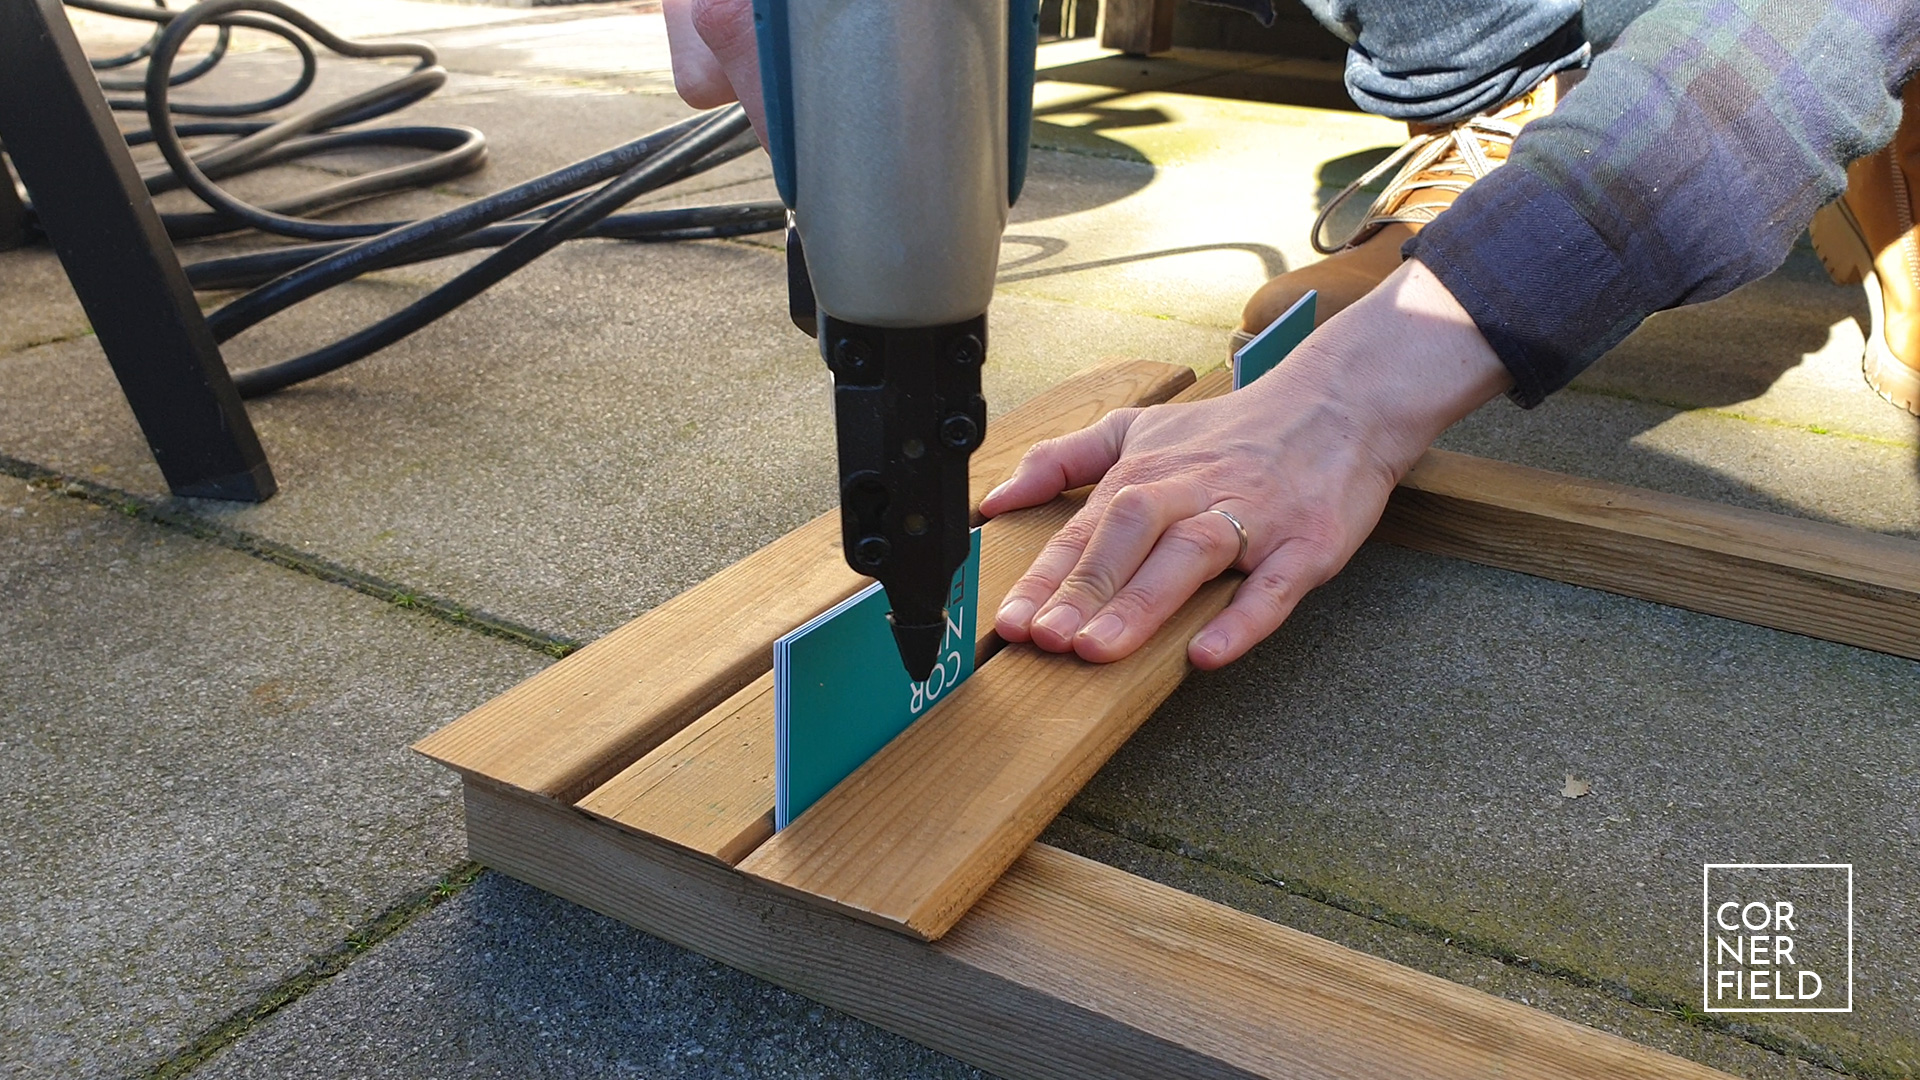
Assembling the strips
Take two support pieces and lay them on your workbench (or the ground). Put a strip for the front on it with the bottom flush with the support. Fasten that first strip, making sure it’s square. Next, you take the support that is at the top and line it up with the end of the mitred cut. Fasten that as well, again making sure it’s square. Now put 5 playing or business cards up against the side of the strip. Preferably two stacks, one at the top and one at the bottom. Slide the next strip against those cards and fasten the strip. Continue this until you have the entire front assembled. For the back, you can use this exact same procedure except that it is only attached to one support piece at the bottom. The top will be fastened to the planter box side.
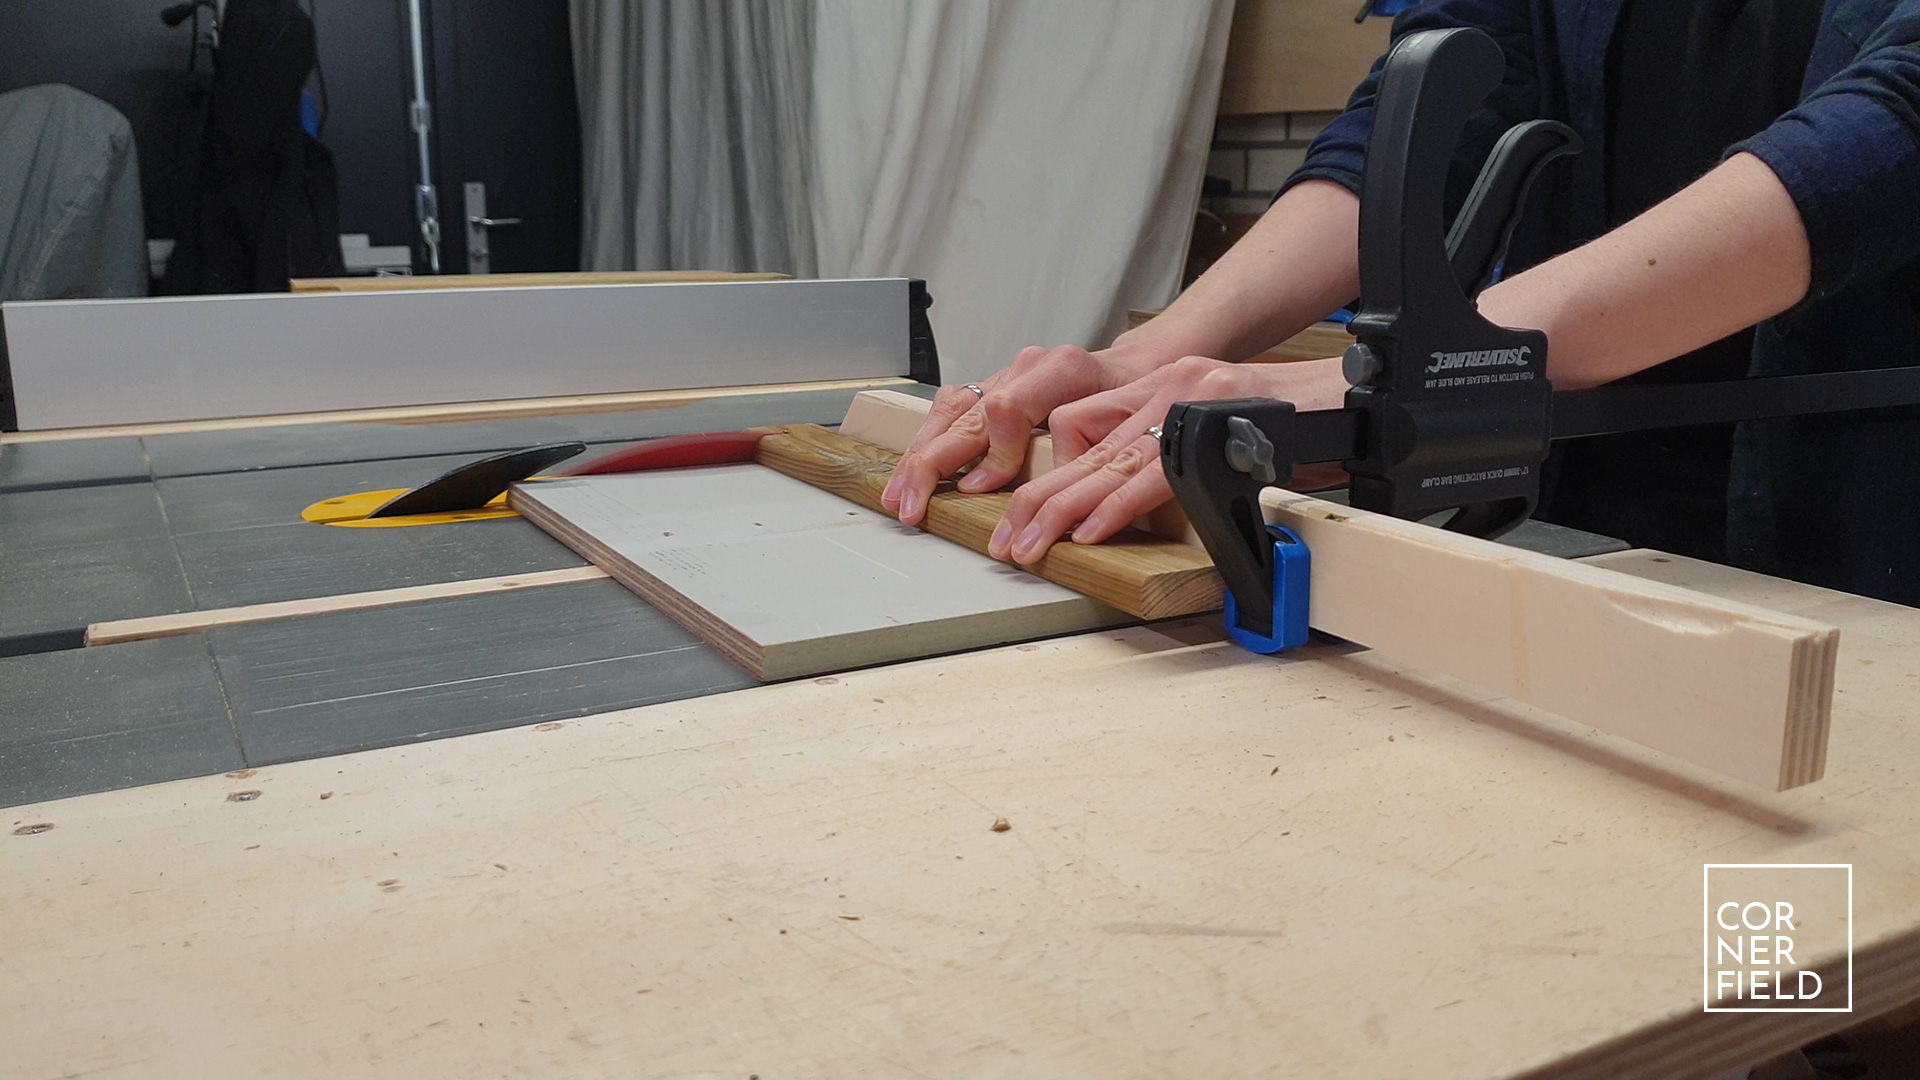
The top is a little trickier. You need to hold the front piece upright while you fasten the matching mitred strips for the top, to the front. We ended up clamping the front to an armrest, having the mitre flush with the top of that. This made it easy to fasten the strips. You could also use a vice or ask someone to hold the pieces on while you fasten them. Lastly, fasten another support piece to the other end of the top strips. Don’t forget to use the same spacers here, as you used for the front.


Planter box
For the planter box, you cut down three pieces of the same width as the support pieces. These can be assembled into a box using screws. Once you have this piece, lay it on its side so you can fasten the back strips to it. We stacked some scraps to lay the back piece on to make this easier.


Main structure
Now we should have two sub-assemblies. One with the top and front, and one with the back and a box. Lay both pieces upside down so you can fasten them with screws from the back. This is the main structure of the end table complete!

Sides & final assembly
The last step in completing this table is making the sides. These are made from 3 pieces per side, that are joined using 45-degree angles. You don’t have to cut these at 45-degrees though, these are purely esthetical. Attaching them is easiest when you lay the table on its side. We added some additional supports to the back of these sides because the boards weren’t very straight.

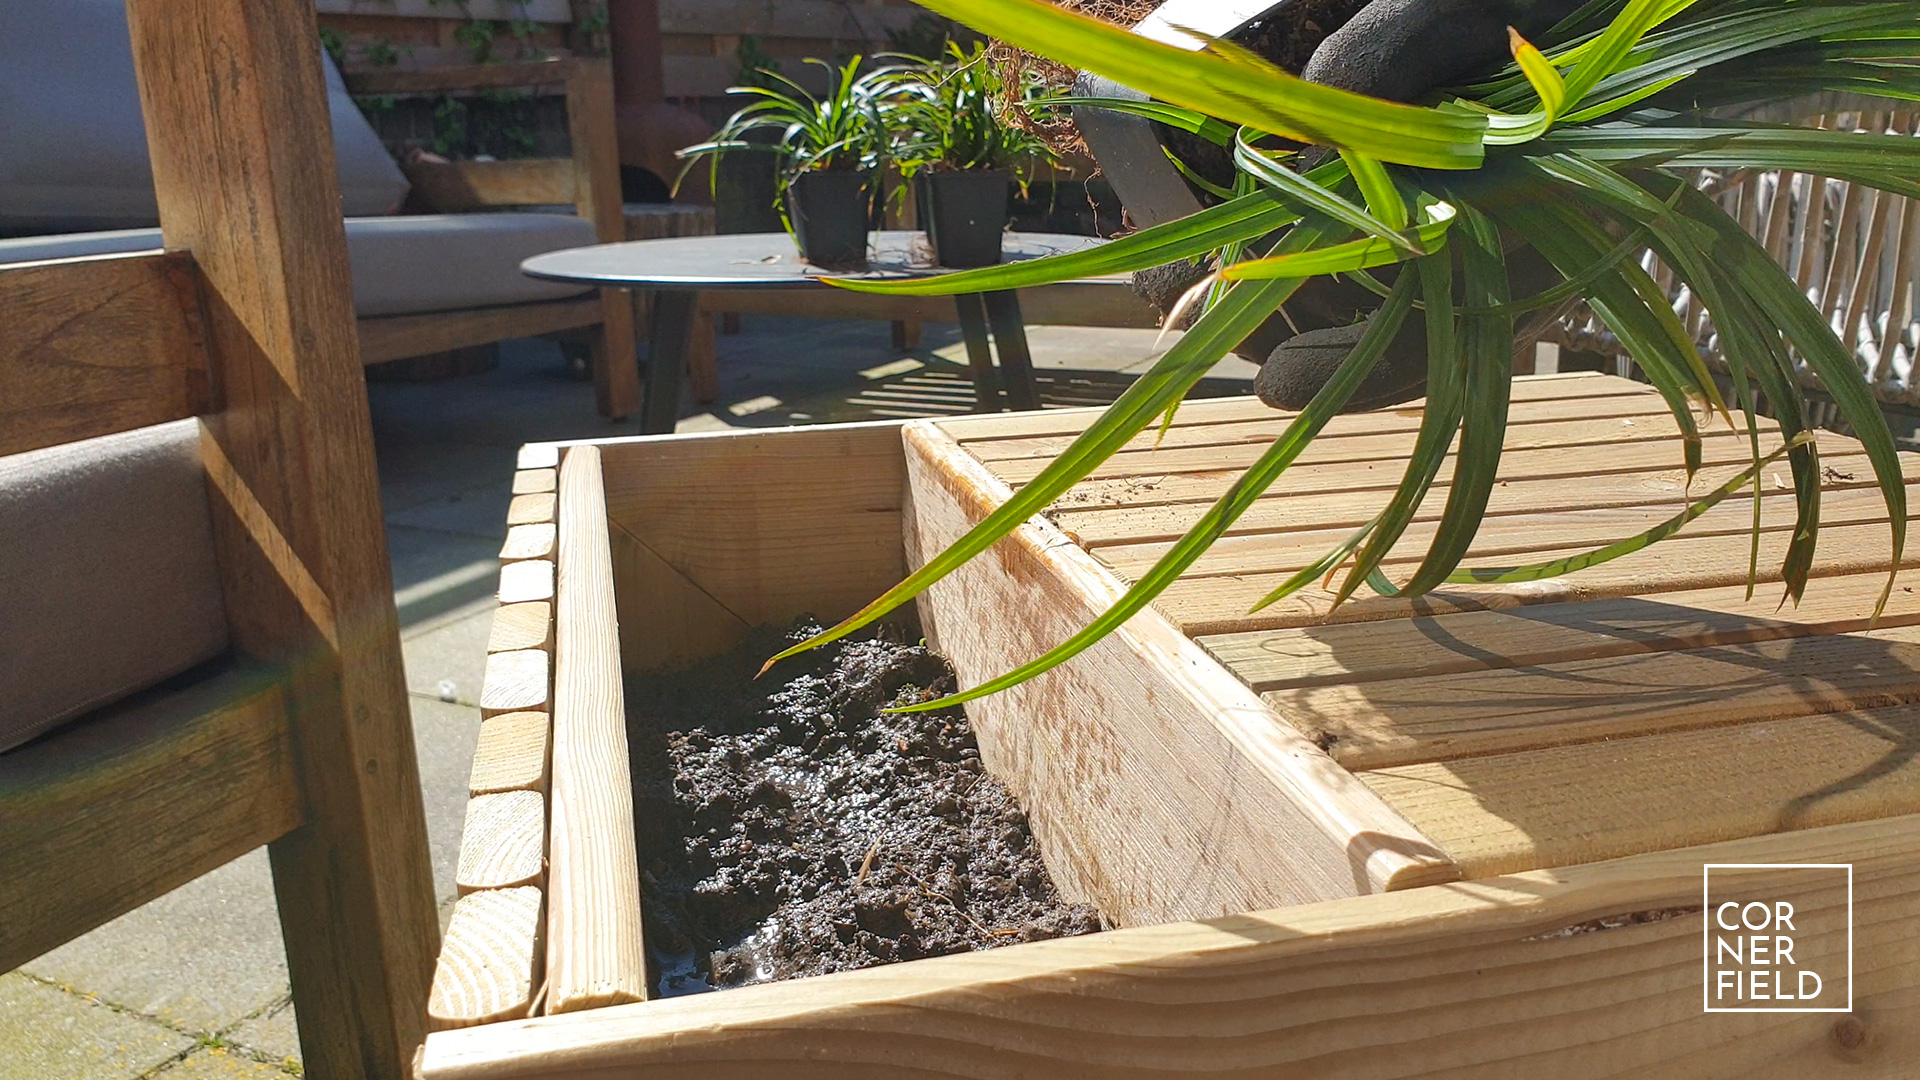
Once you have the sides on, it’s a matter of putting your plants in grabbing a drink because you are done!

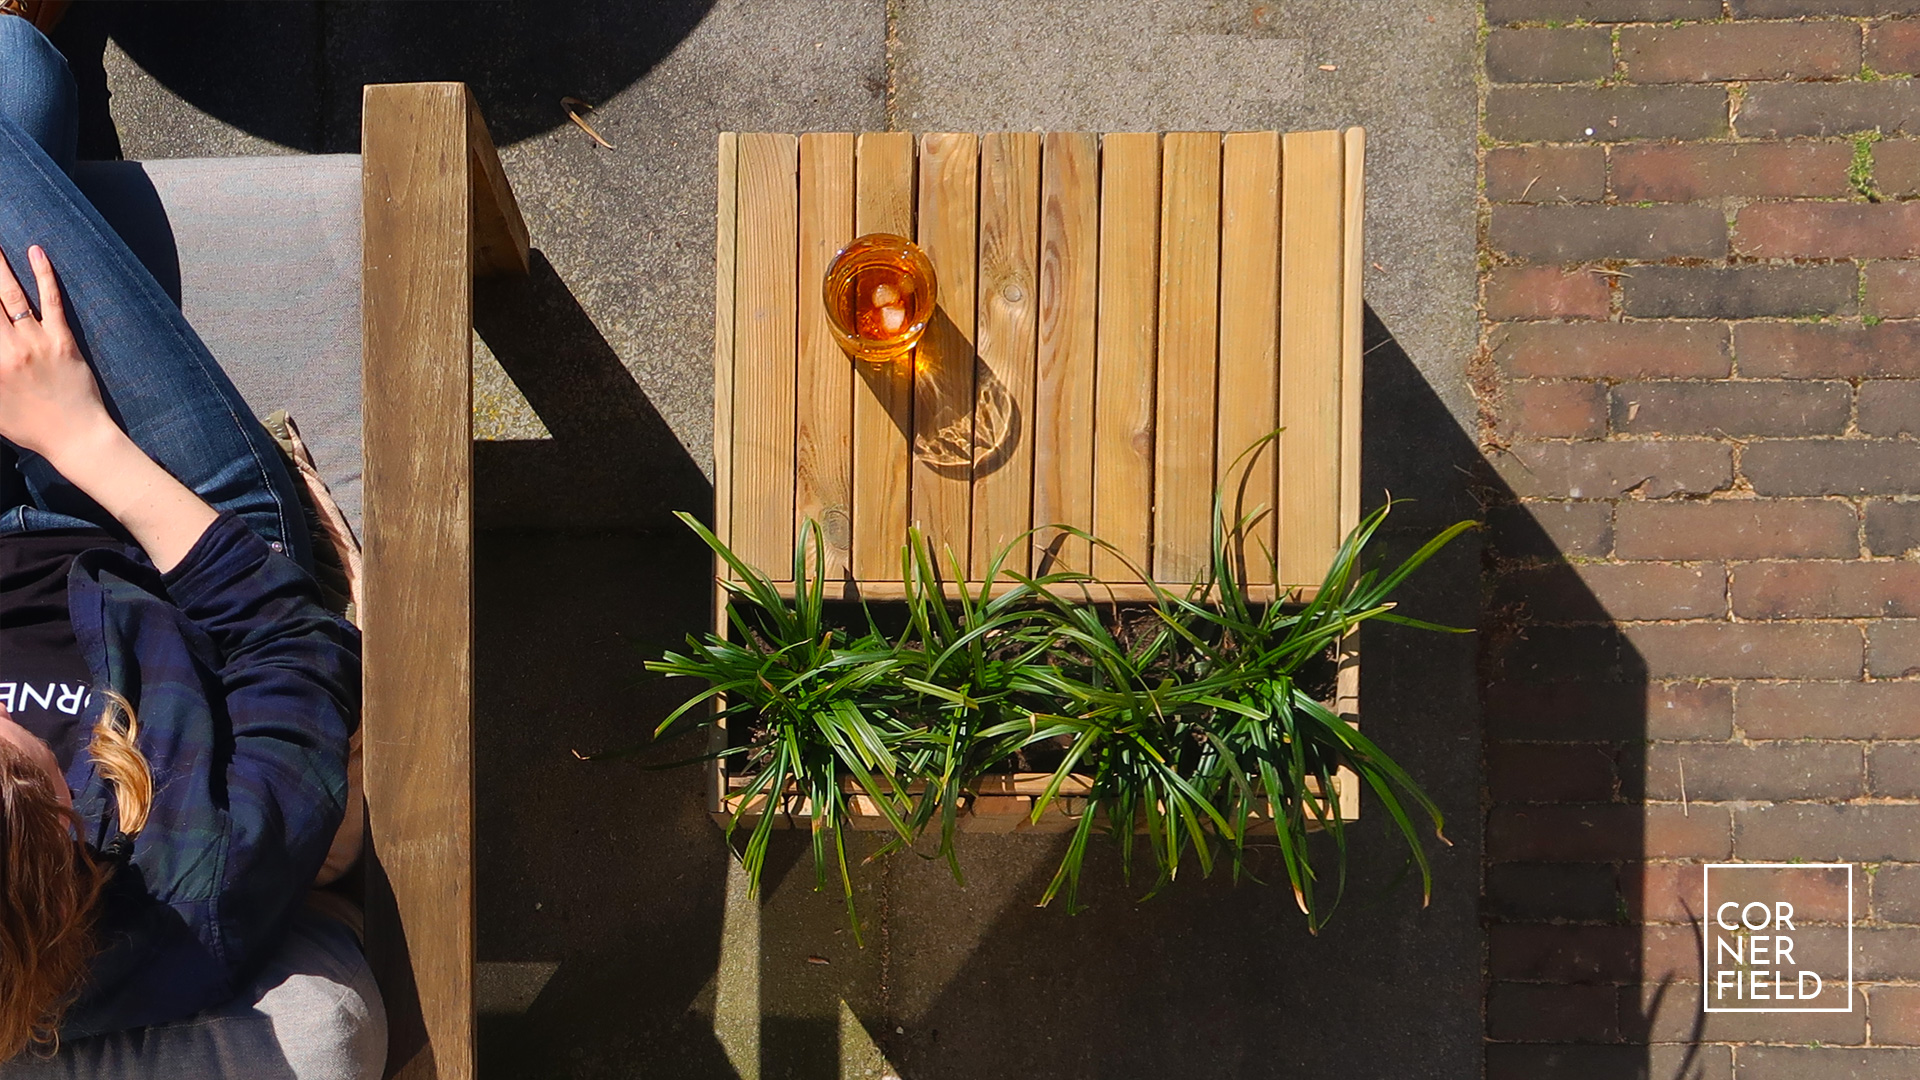
Result
To be honest, I’m really impressed with how this project turned out. Looking at the result you would never say it’s made by someone with so little experience in woodworking! I have no idea how long this withstand the weather but for now, it looks great and I’m looking forward to using it. It was a very fun build and I hope you will give it a go yourself! If you have any questions about this project or any other, don’t forget to leave a comment for me and I will get back to you as soon as I can.
Links & Download
If you want to build something similar I’ve linked my 3D model below as a download.
SketchUp 3D-model
Instagram 1 | 2
Hope this post has inspired you to make something!
And don’t forget to follow your excitement 
Can you share your cut list dimensions in inches? Also – can you use nominal product dimensions (the dimensions you would find in home depot or lowes)?
Thanks!
Hi Andrew,
Unfortunately I can’t. I’m not familiar with the use of inches especially not with nominal product dimensions as you call them. I’m from Europe and we don’t use that over here. Also, it’s quite a lot of work for me to do that. Since my time to work on shop projects is already very limited I simply can’t help with these type of request.
Hope you understand.
Kind regards,
Rico