


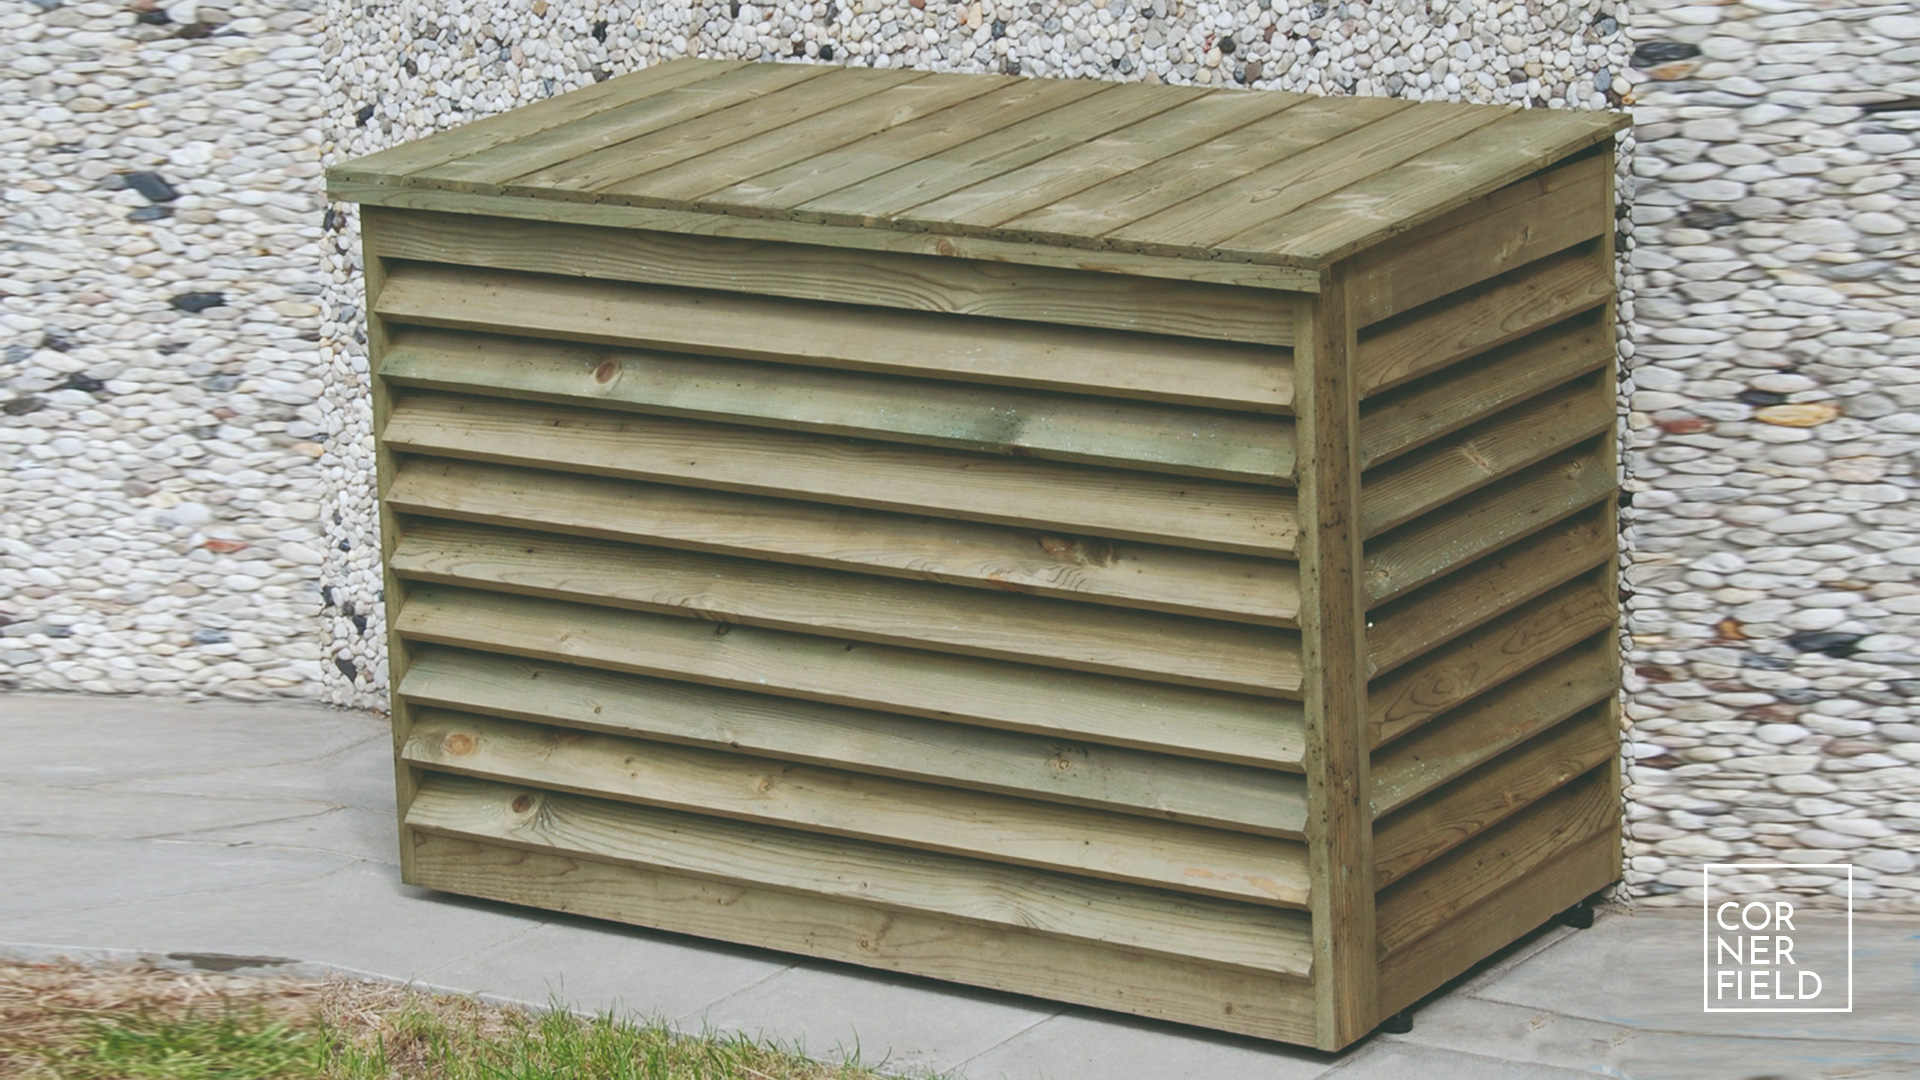
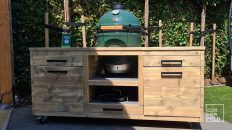
This airconditioning cover is a perfect weekend project! Let me show you how to build it.
Design
For the design of the airconditioning cover, there was little room for creativity. This was mostly because the angled slats were required for the proper airflow. The rest of the build was dictated by price, material, and other requirements. For a functional piece like this, I wanted to keep the cost to a minimum. The material needed to be able to withstand the elements for years to come. In addition to that, the green color was desired for the wood to blend in with its surroundings. All in all, not a lot of room for creativity in the design.
Build
Let’s start by going over the tools and materials for this project.
Tools & Materials
First a list of the tools I used:
- Measure and marking tools (combination square, roofing square, tape measure, pencil)
- Table saw with a cross-cut sled
- Jigsaw
- Drill press
- Countersink bit (3mm)
- 6mm drill (for T-nut)
- Drill & driver (with bit matching your screws)
The materials for the airconditioning cover:
- Douglas board (15 x 140 x 3000 mm)
- Douglas blocks for leveling feet (approx. 40 x 40 mm)
- Stainless steel screws (4.0 x 40 mm and 4.0 x 20mm)
- Leveling feet (4 pieces)
Preparation
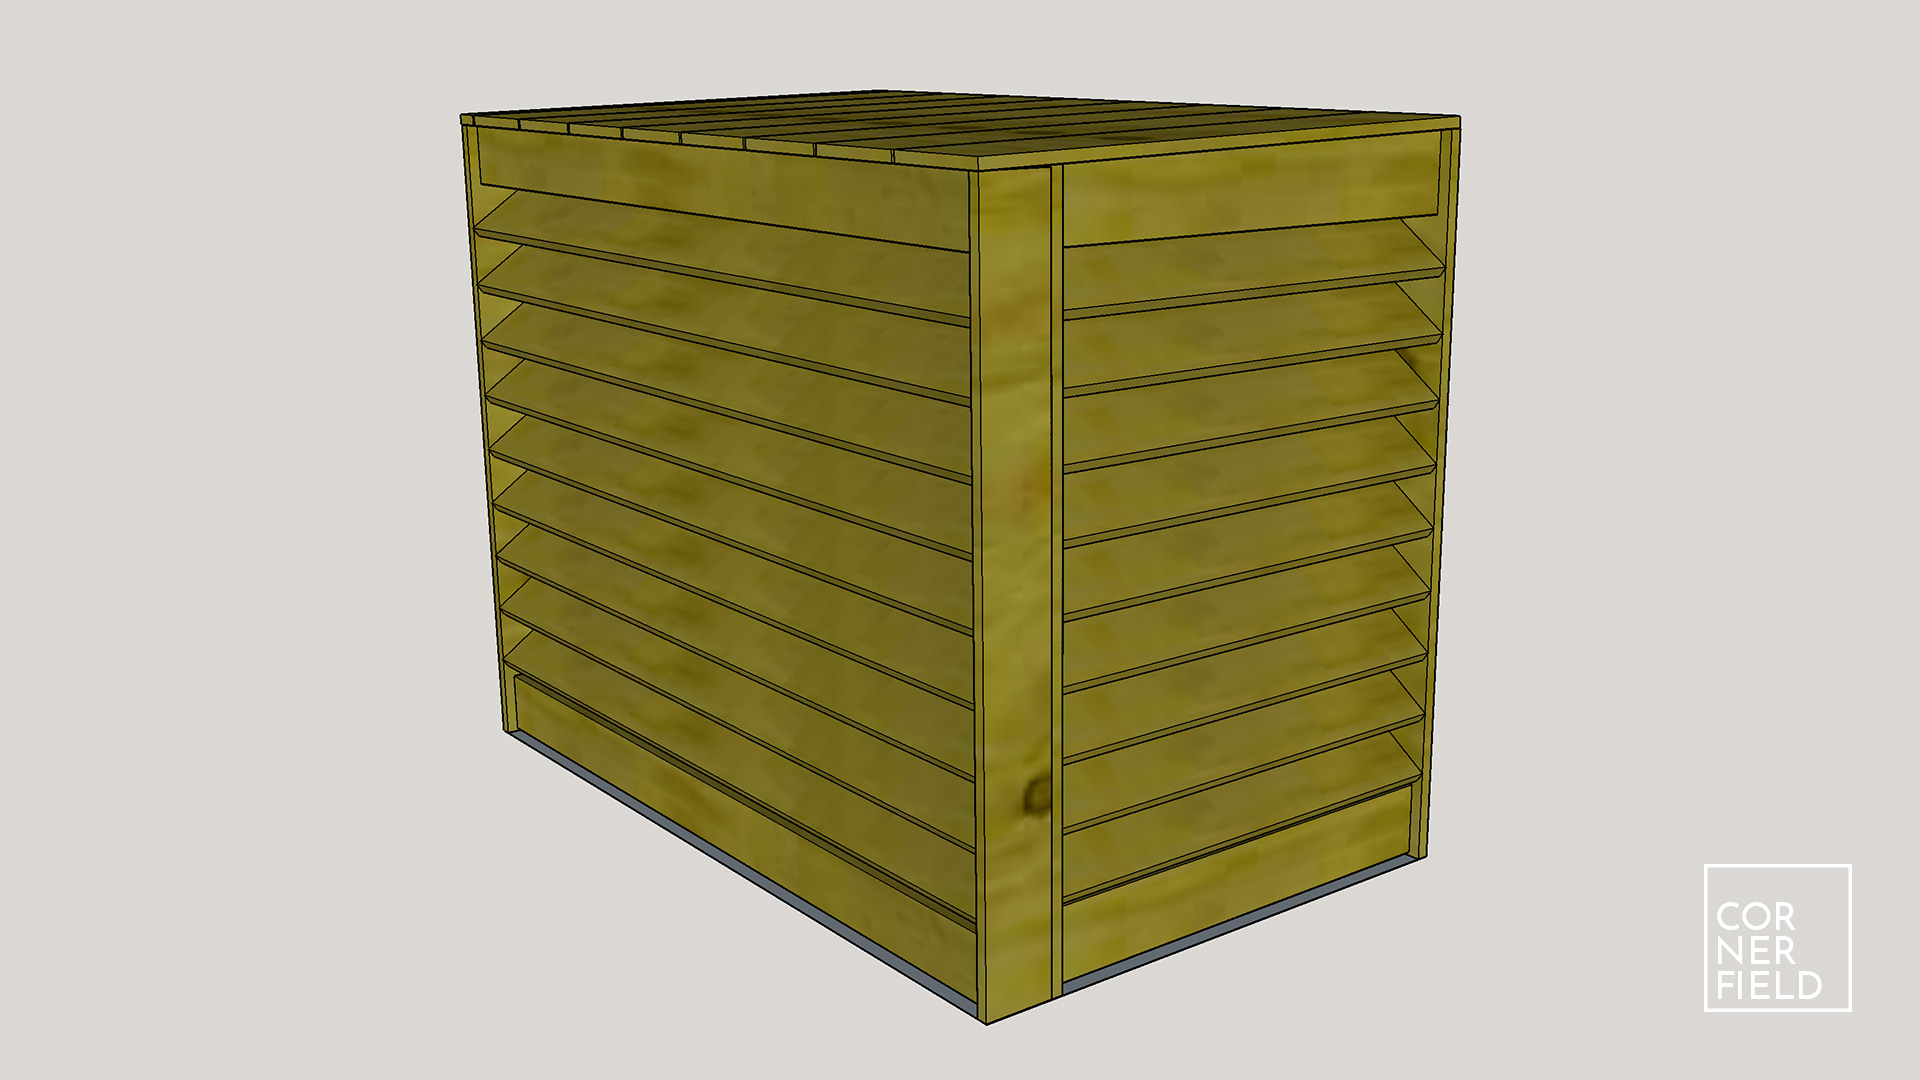
To build this project as efficiently as possible I started by making a 3D model. This gave the customer a better idea of what I’m building, it allowed me to optimize my cut list, and reduce waste. With the model complete I made my cut list and used that to cut all my pieces to size.
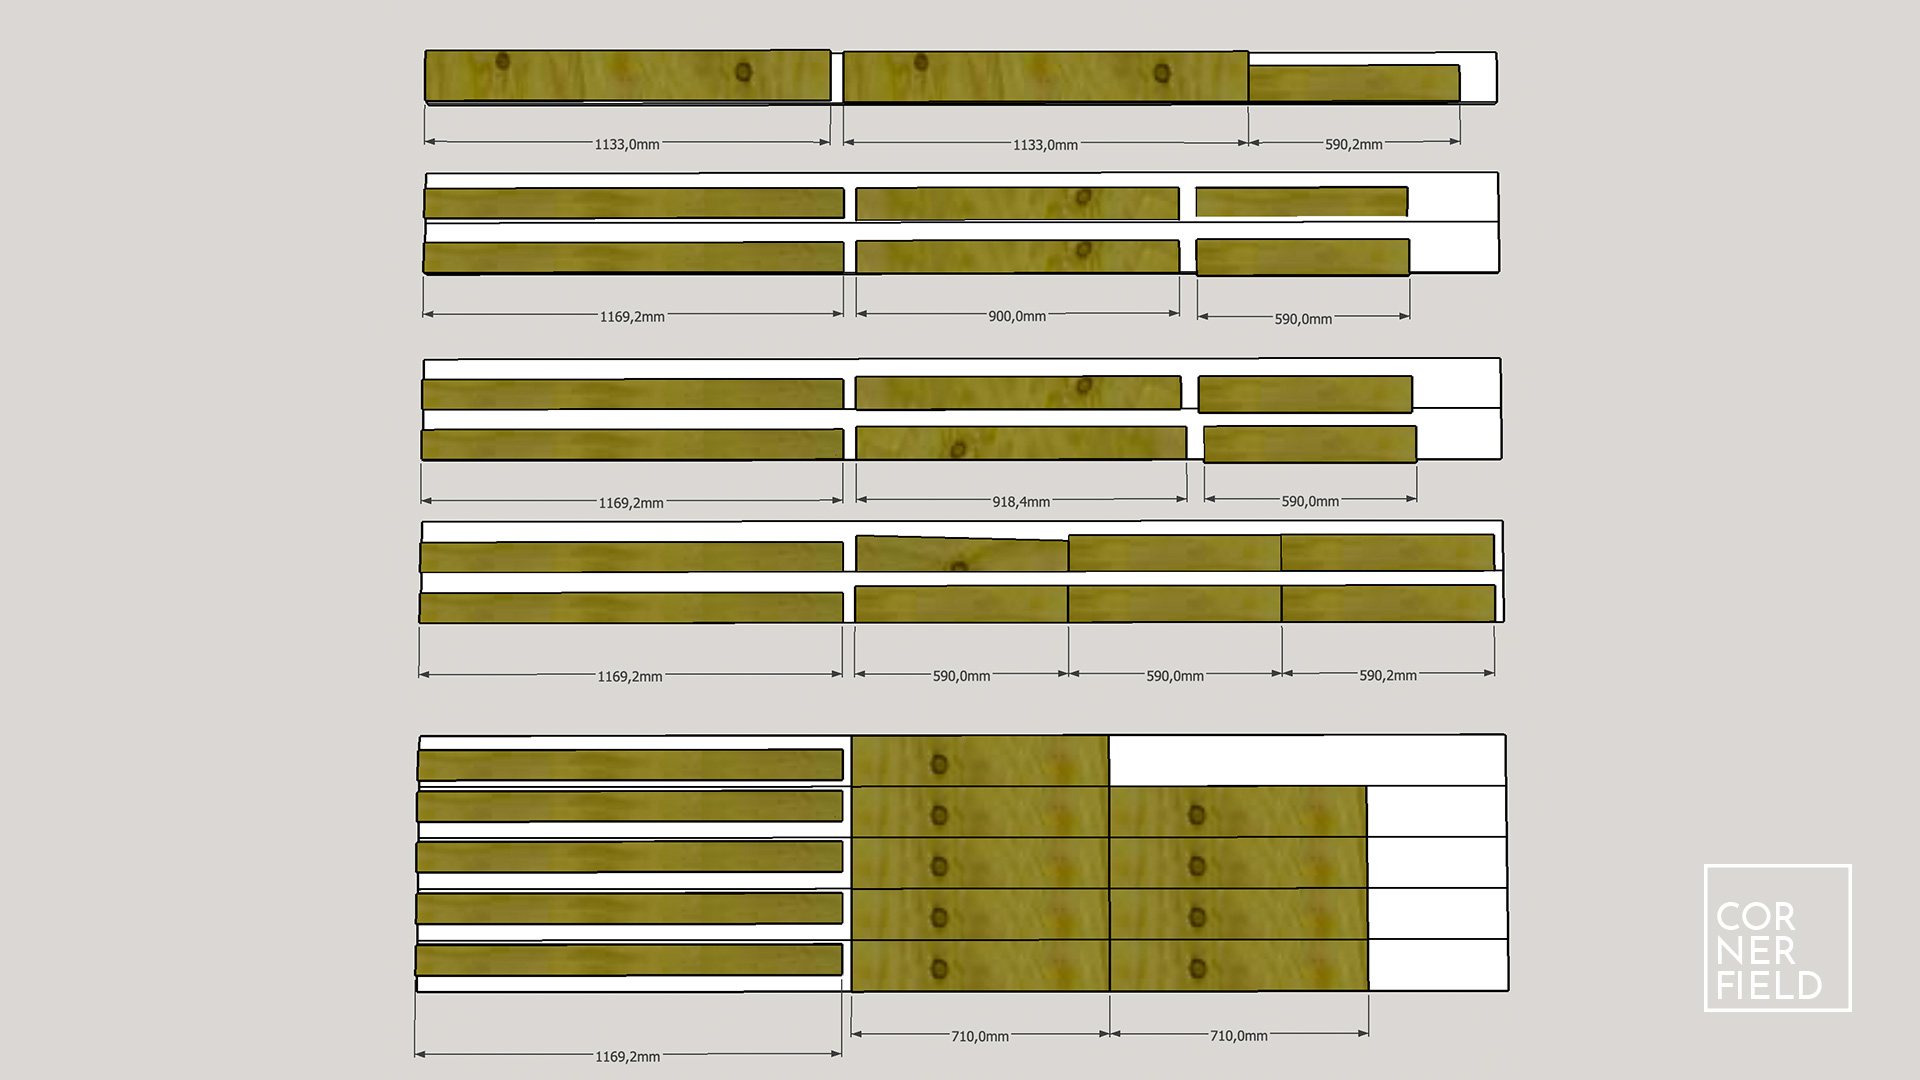
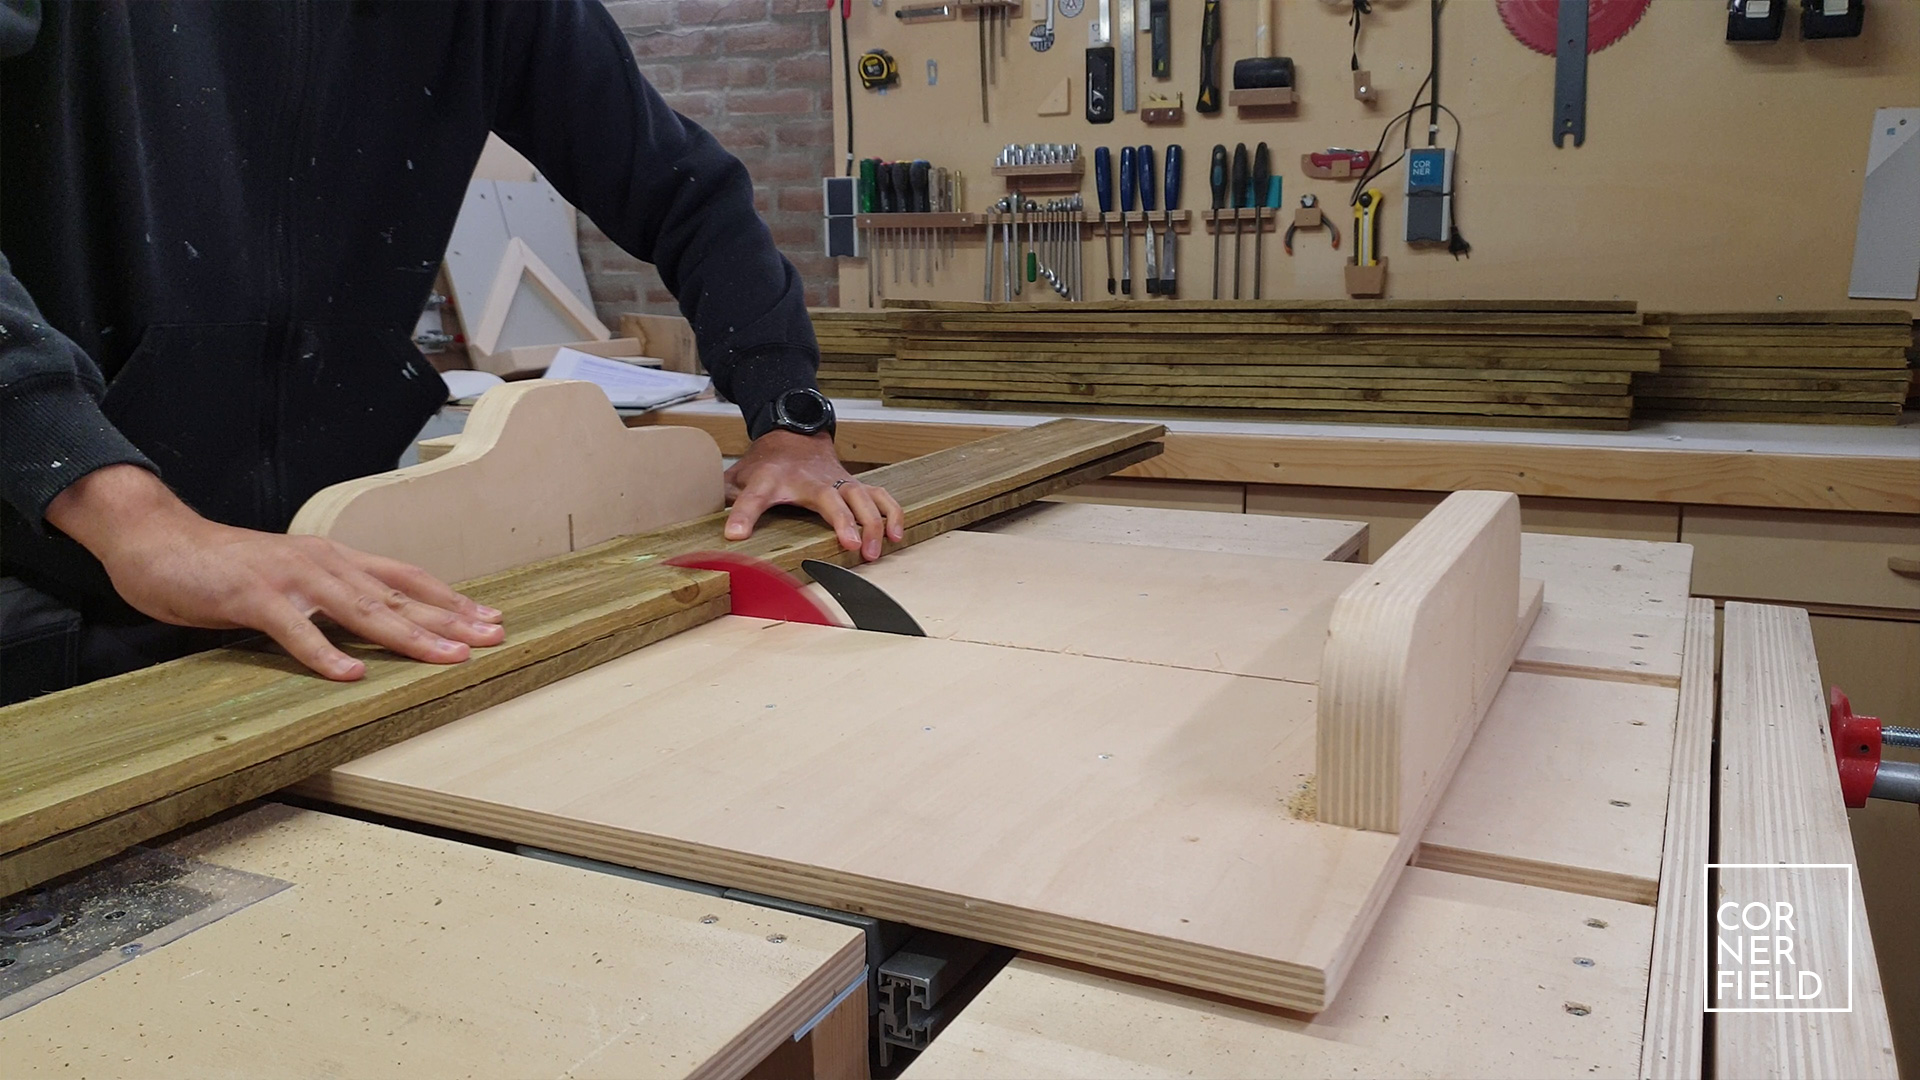
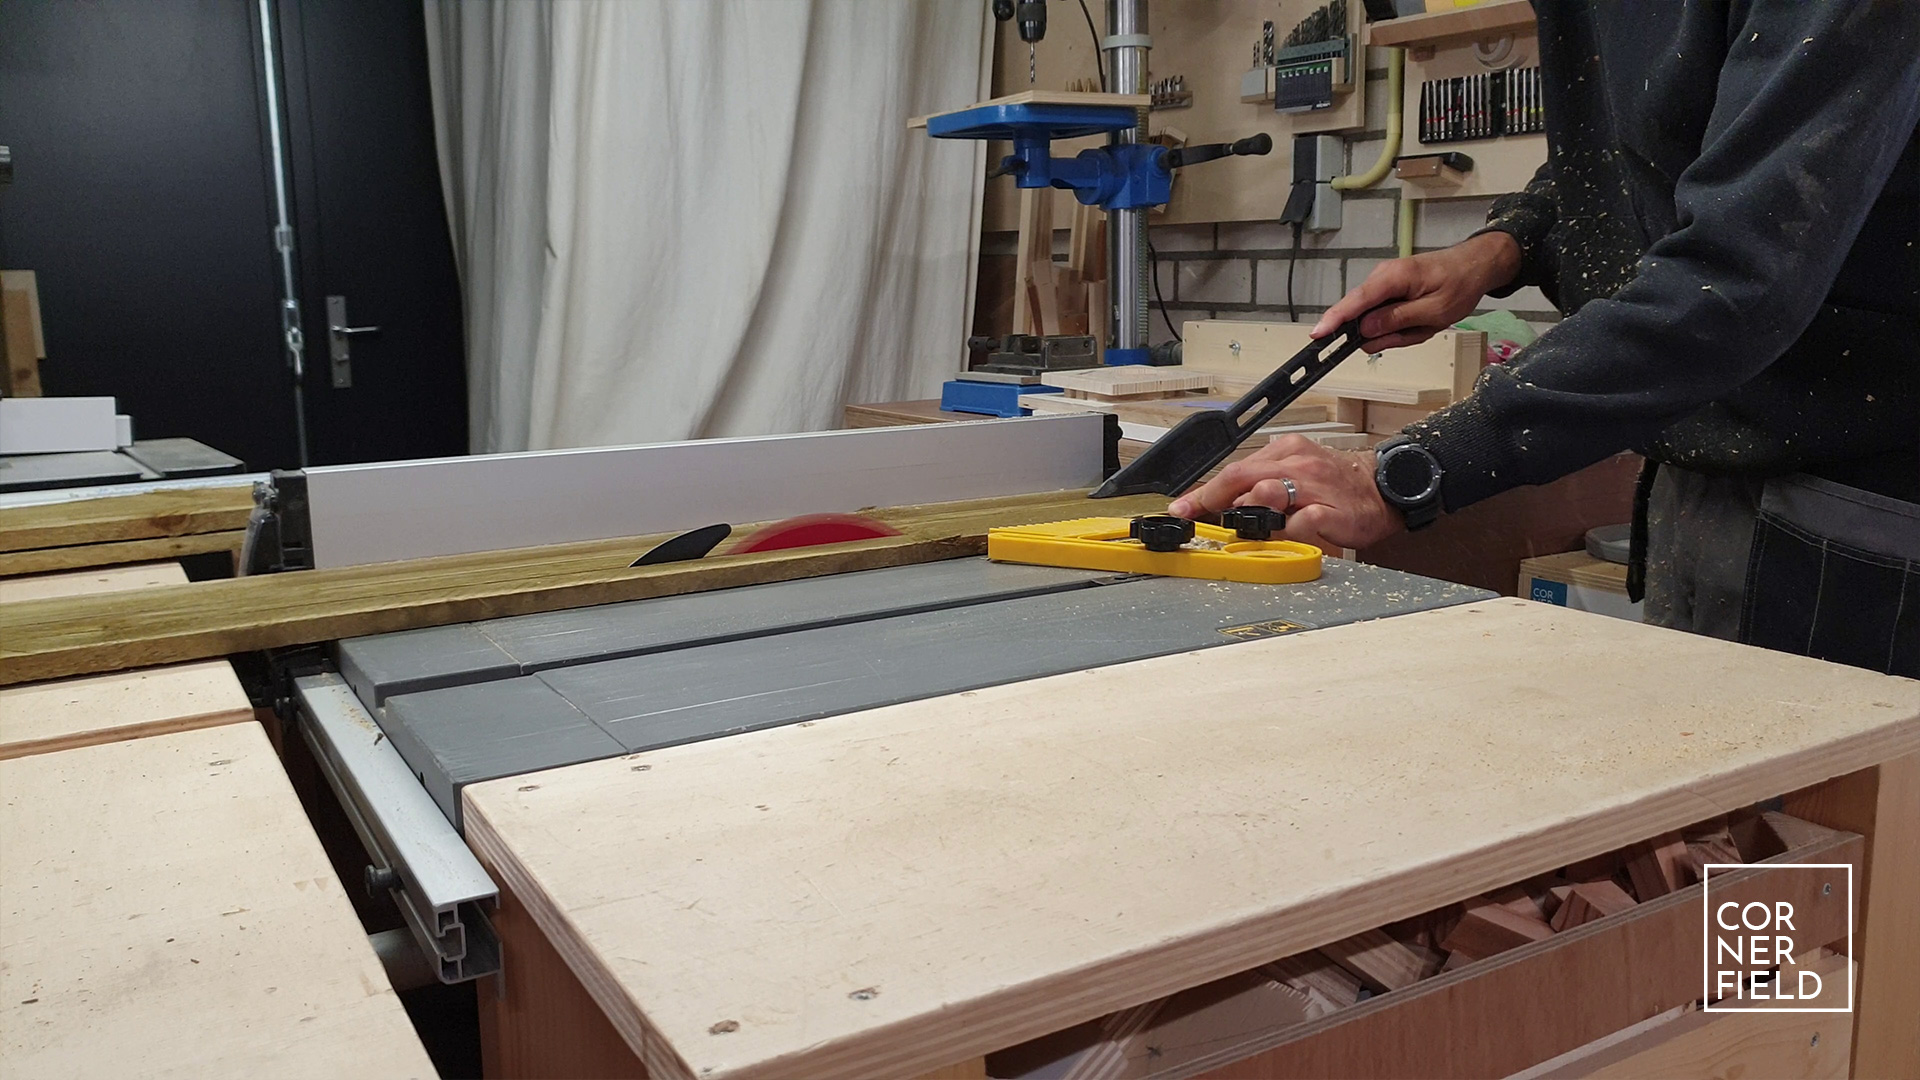
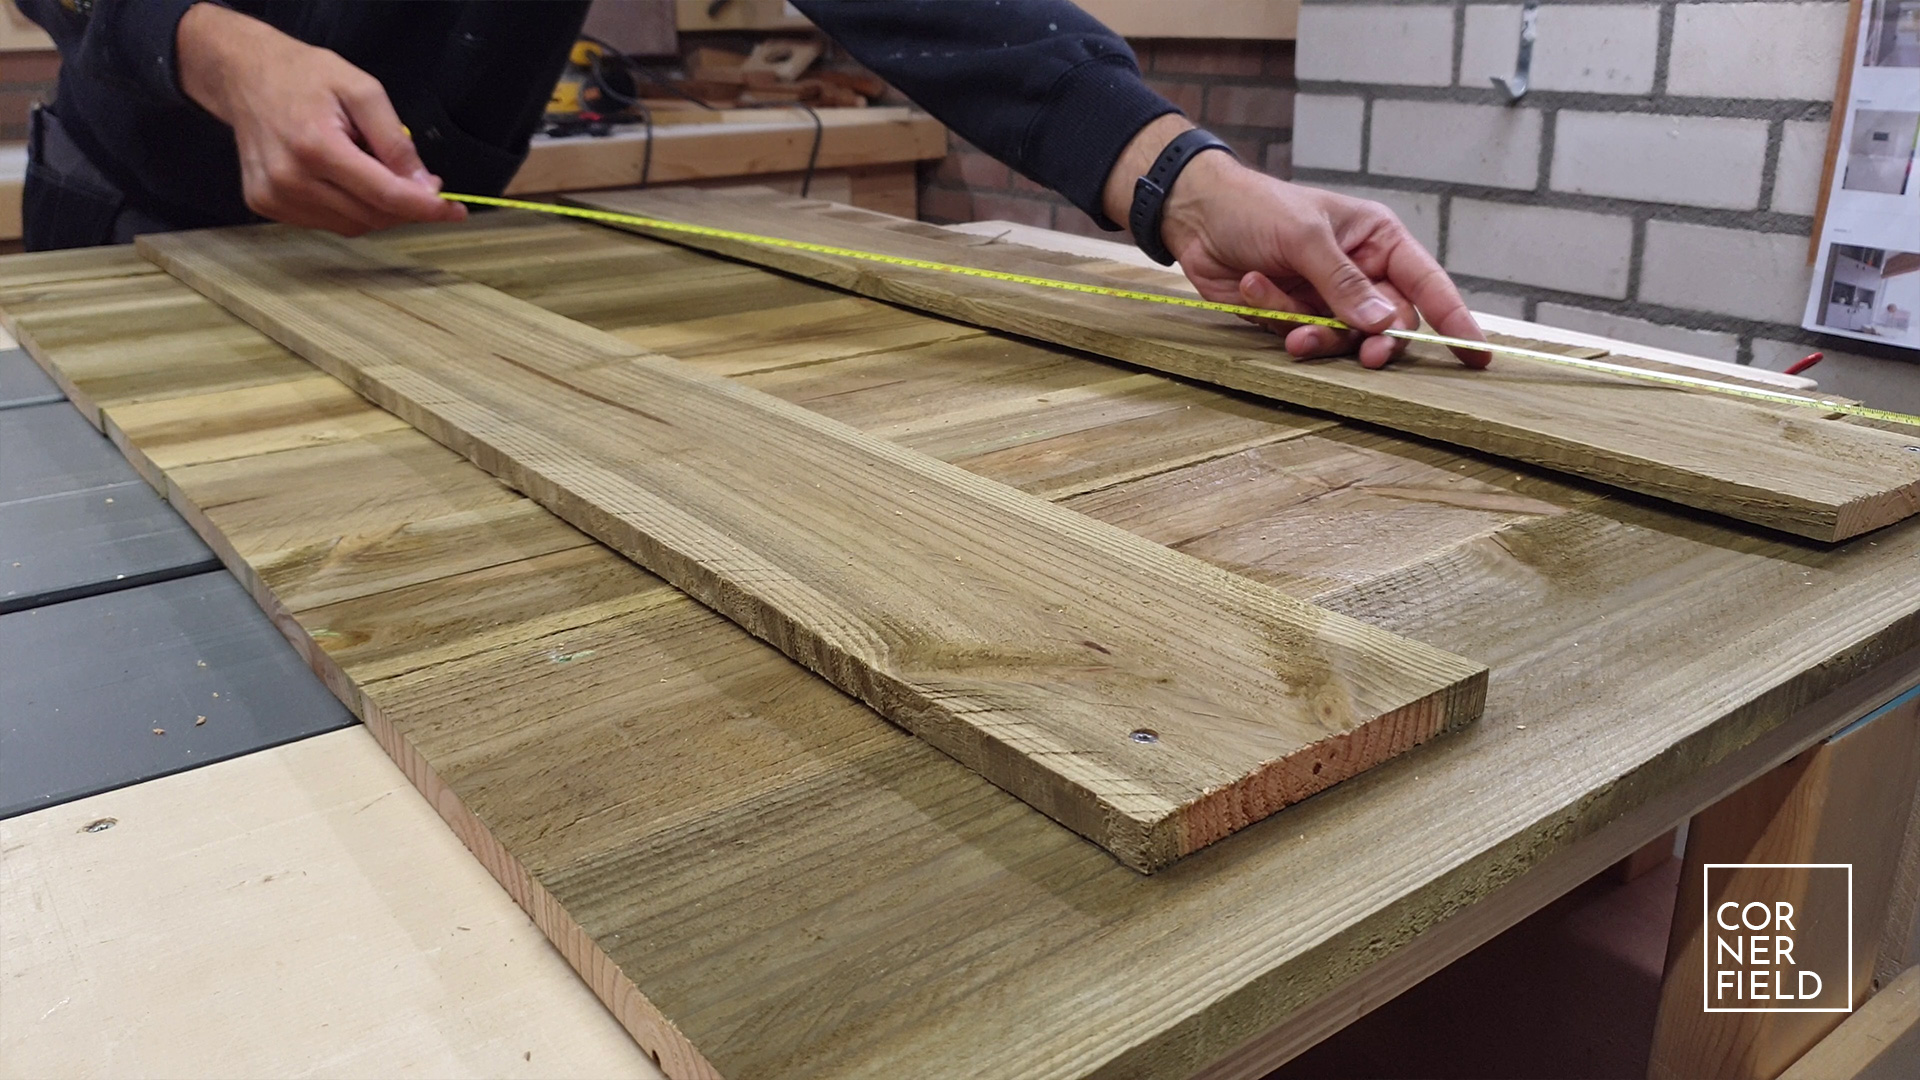
I made all of the cross-cuts using the table saw and cross-cut sled. Then I changed my setup and made all of the rip cuts. The rip cuts were mostly for the slats since the boards measured 140 and I wanted the slats to be about 80mm wide. The width of the slats determines a lot of things in this build (spacing, angle, etc.) so if you are building this and changing this dimension, be sure to check if it will work.
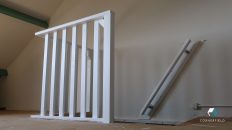
Front & Side
With all the pieces cut it’s time to assemble the front and side. Since this build is going to be placed in a corner, it only has one side. If it could be viewed from both sides, I would have made two. The slats in this assembly will be able to rotate because I’m fastening them with one screw per side. To make the rotation function smoothly, it’s important to align the holes properly. Both on the sides, as well as the holes in the boards. First, let’s make the holes in the sides of the slats. To make these holes accurately and fast, I made a quick jig from some scraps. The jig is simply placed on the side of the slat and guides the drill to the correct spot on all the slats.

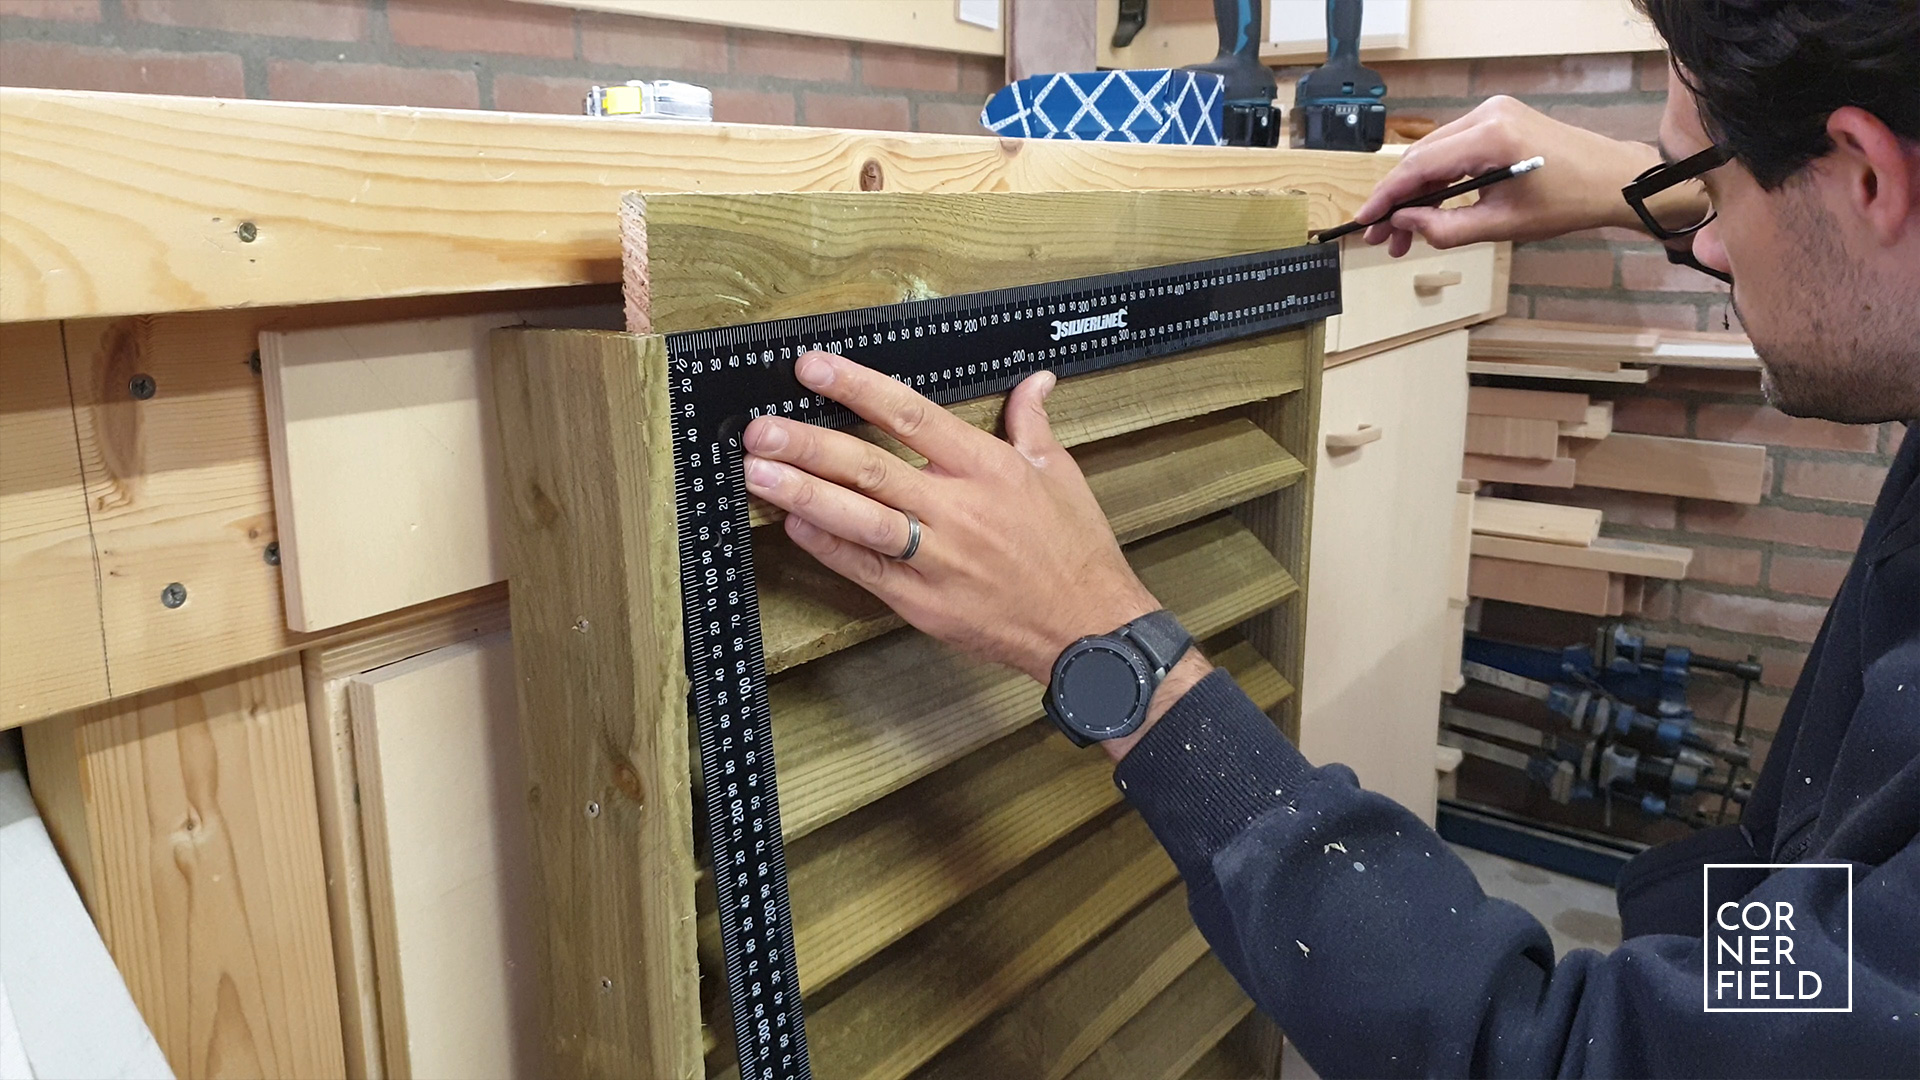
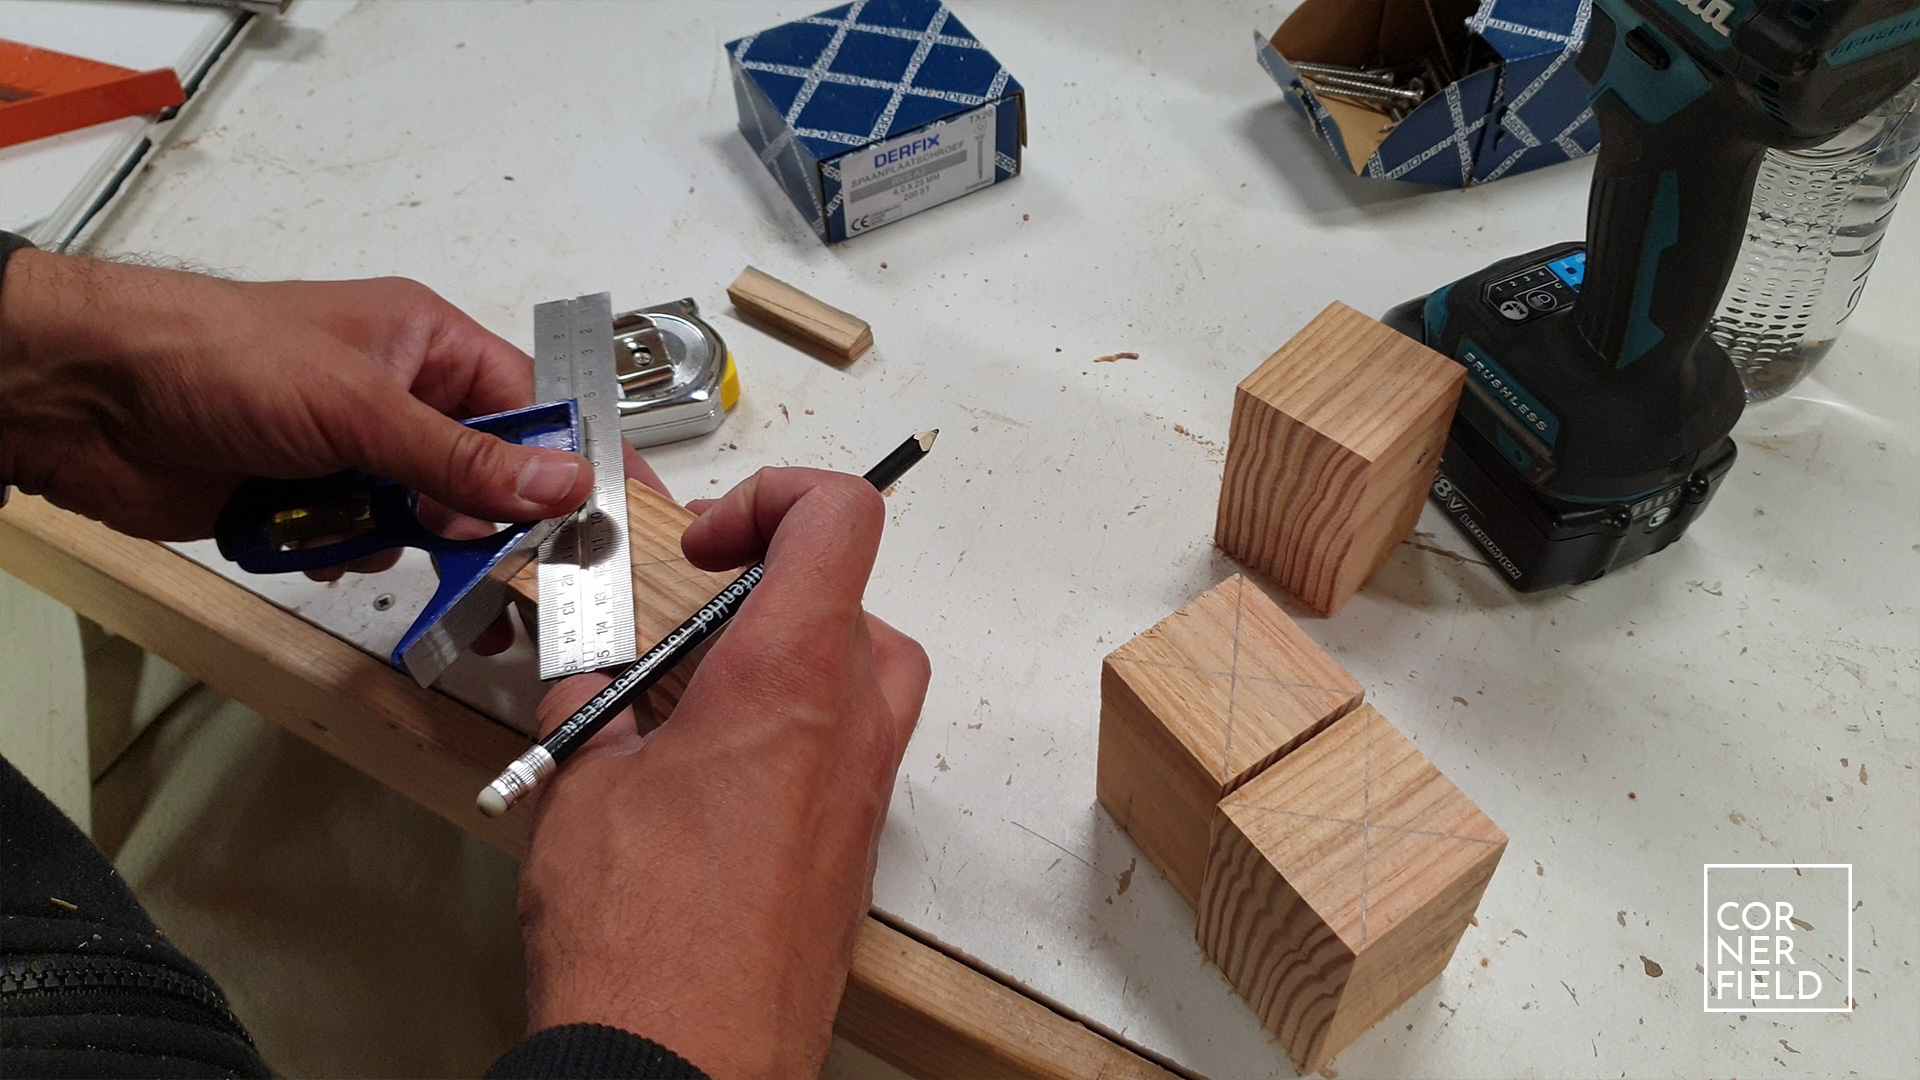
For the holes in the sides, I first marked one board with a centerline. Next, I measured and marked a hole every 8 cm. Then I clamped the other side to it and drilled both holes at the same time on the drill press. With all the crucial holes drilled it’s time to assemble. I laid all the slats and sides out on my workbench and attached them with the screws. Making sure not to overtighten the screws, otherwise, the slats can’t rotate. Below and above the last slats, I attach boards to close off the openings. For the narrow piece, I cut the top piece at an angle to allow for the water to run off the roof.

Roof
The piece that goes on top of the sides and acts as a roof is next. It’s made from narrow pieces on top, and two long pieces on the bottom. These get fastened using screws. Before I screwed everything down, I made sure everything was square and the boards are tightly squeezed together. This has two functions. One is optimizing the airflow, the other is preventing water from dripping onto the top of the unit.
Feet
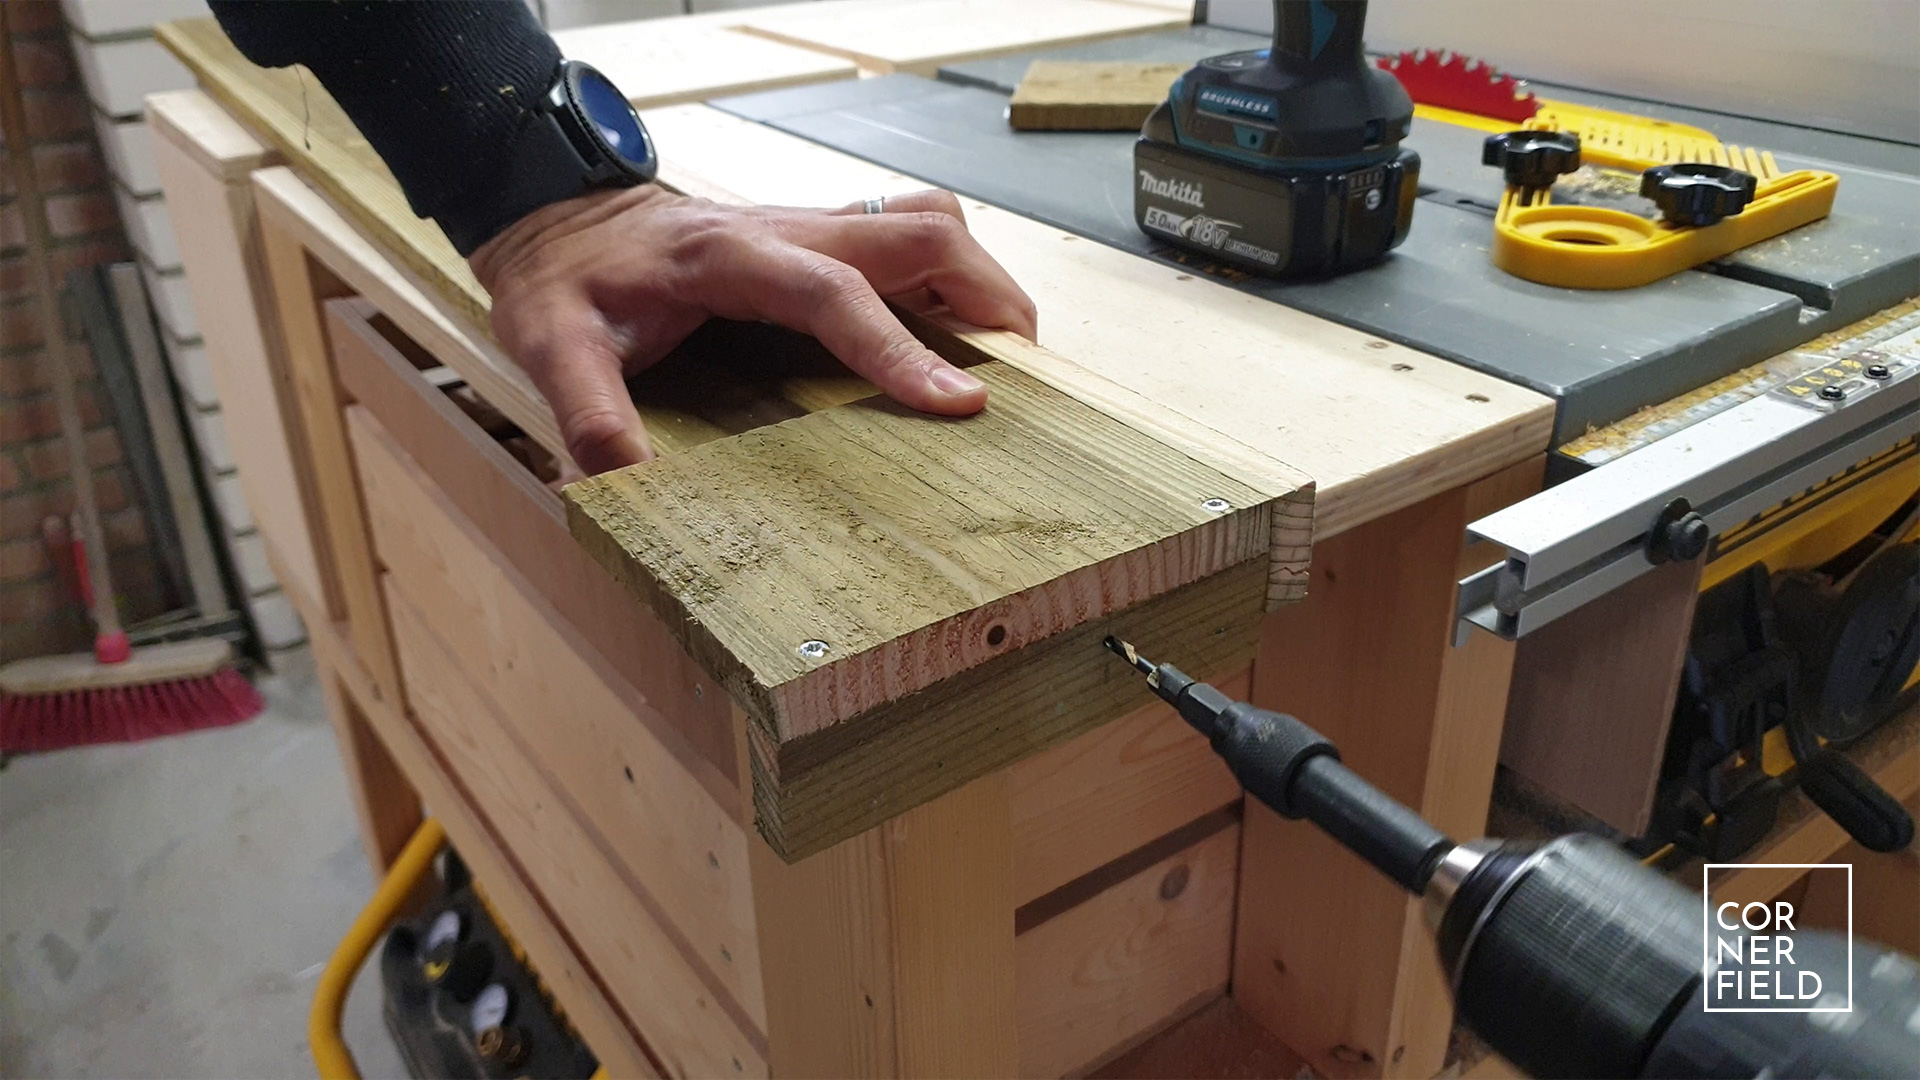
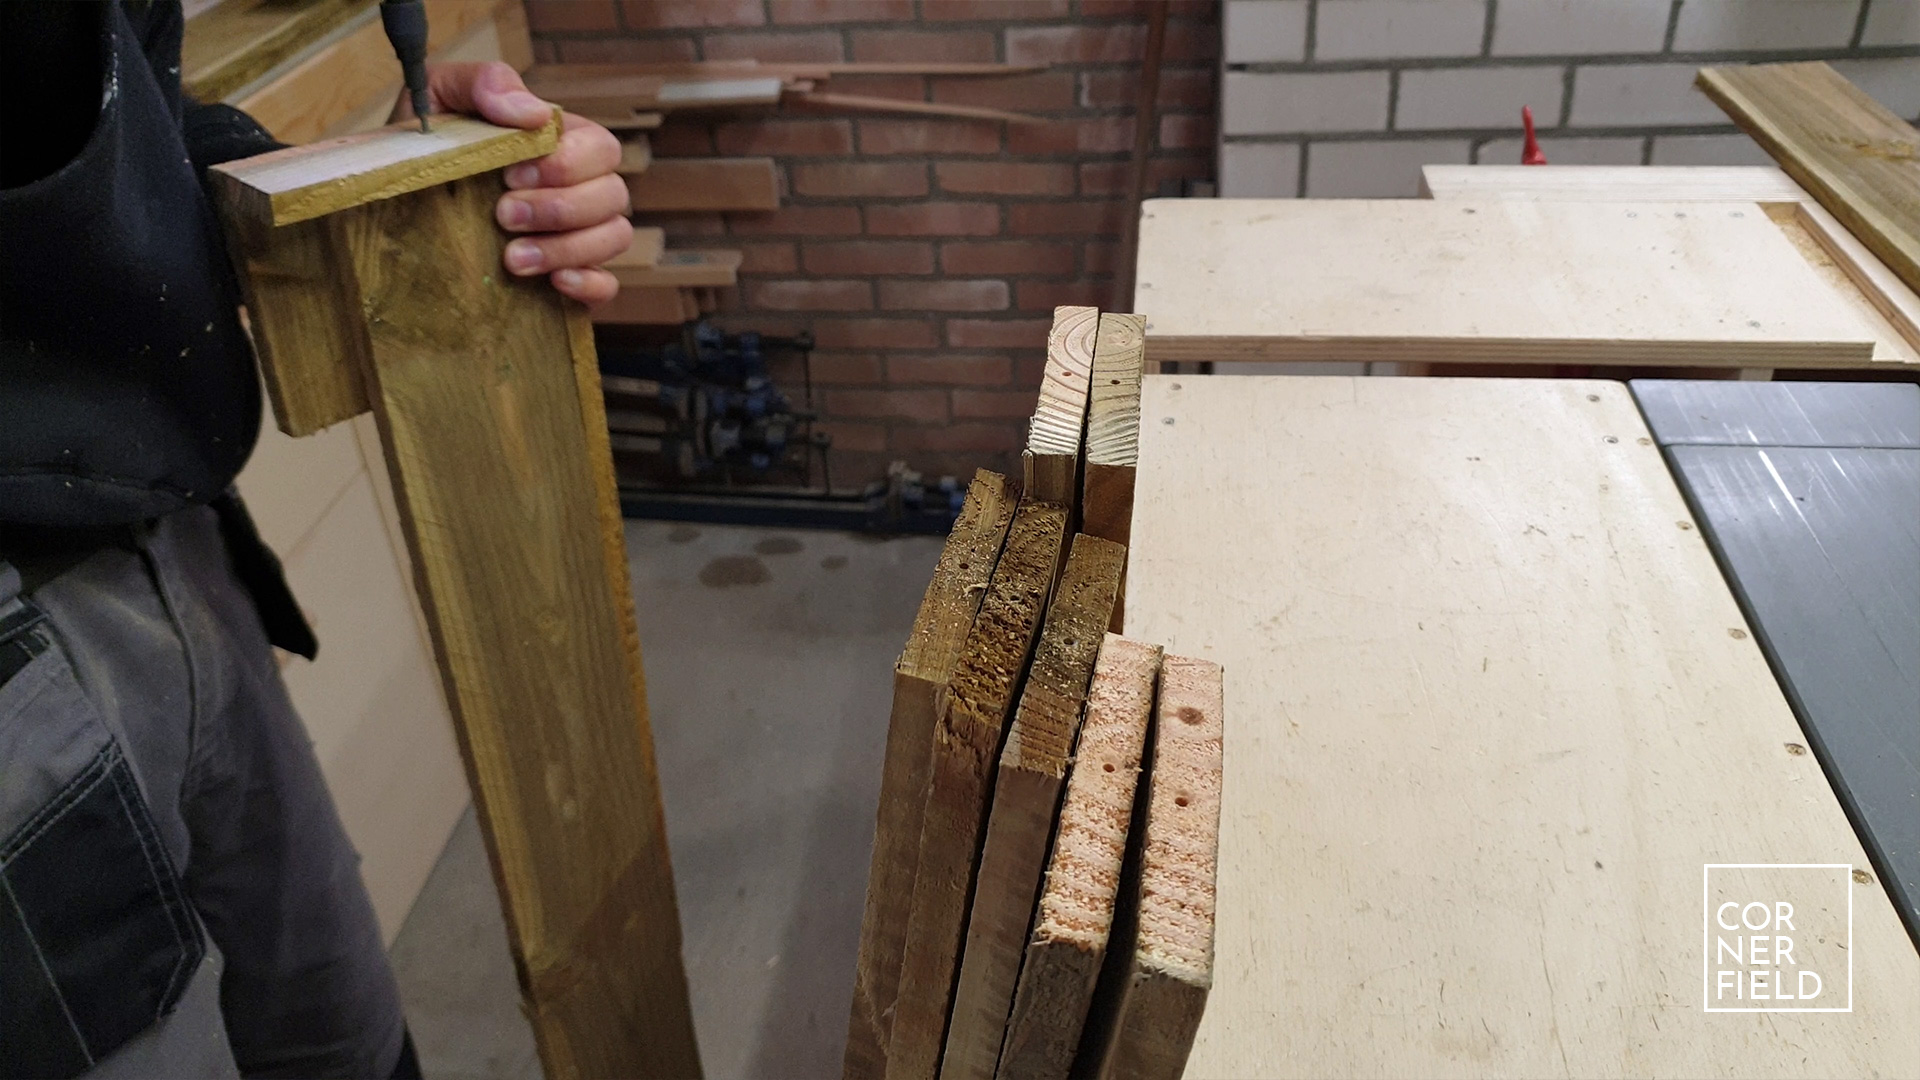
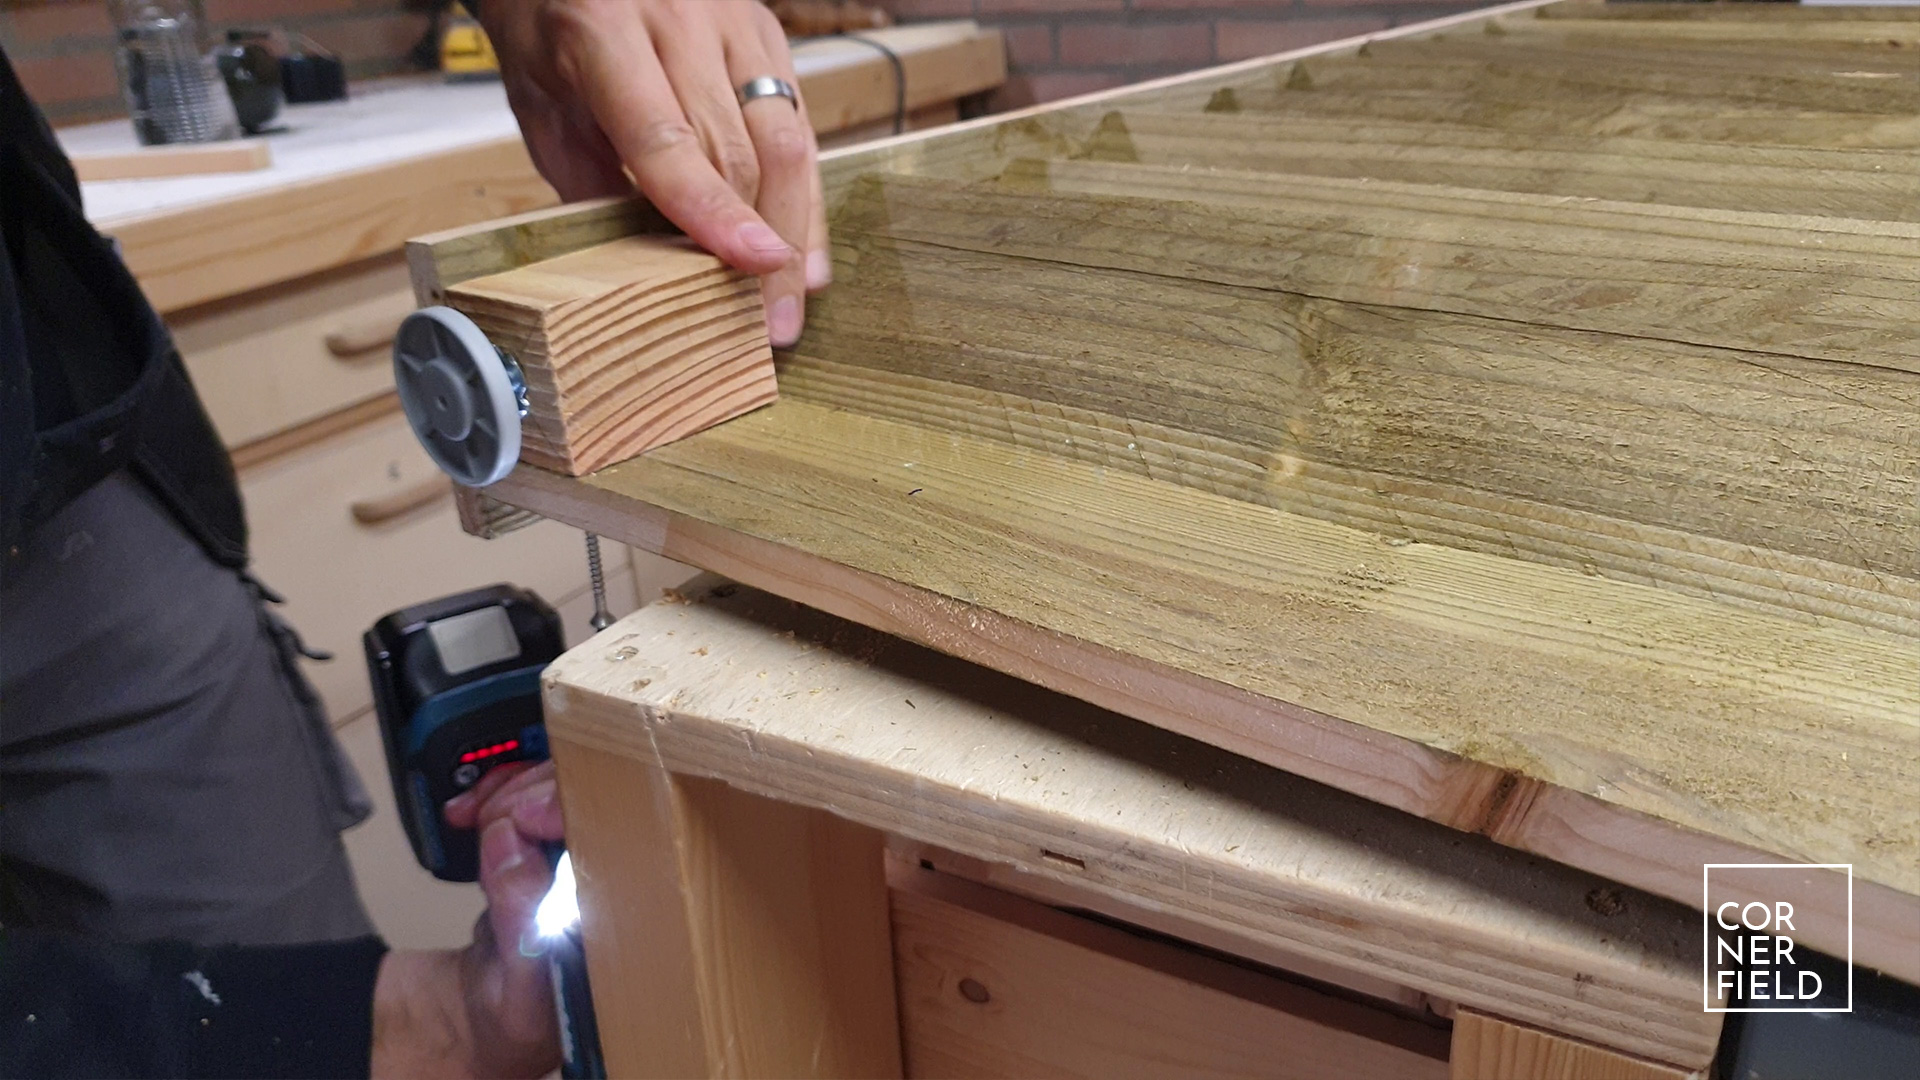
The last part of this airconditioning cover are the leveling feet. To attach these I first cut some Douglas blocks of about 40 x 40 mm and attached those the bottom corners of the upright parts. Before attaching them, I drilled a 6mm hole that would hold a T-nut. To make it easier to put the nut in its place I also drilled small holes for the prongs before hammering it in. With the nuts in place, I could fasten the blocks and screw in the leveling feet. This completes the assembly that can now be assembled in place.

I assembled all the parts together simply by putting screws in the least visible locations for both the sides and the top.
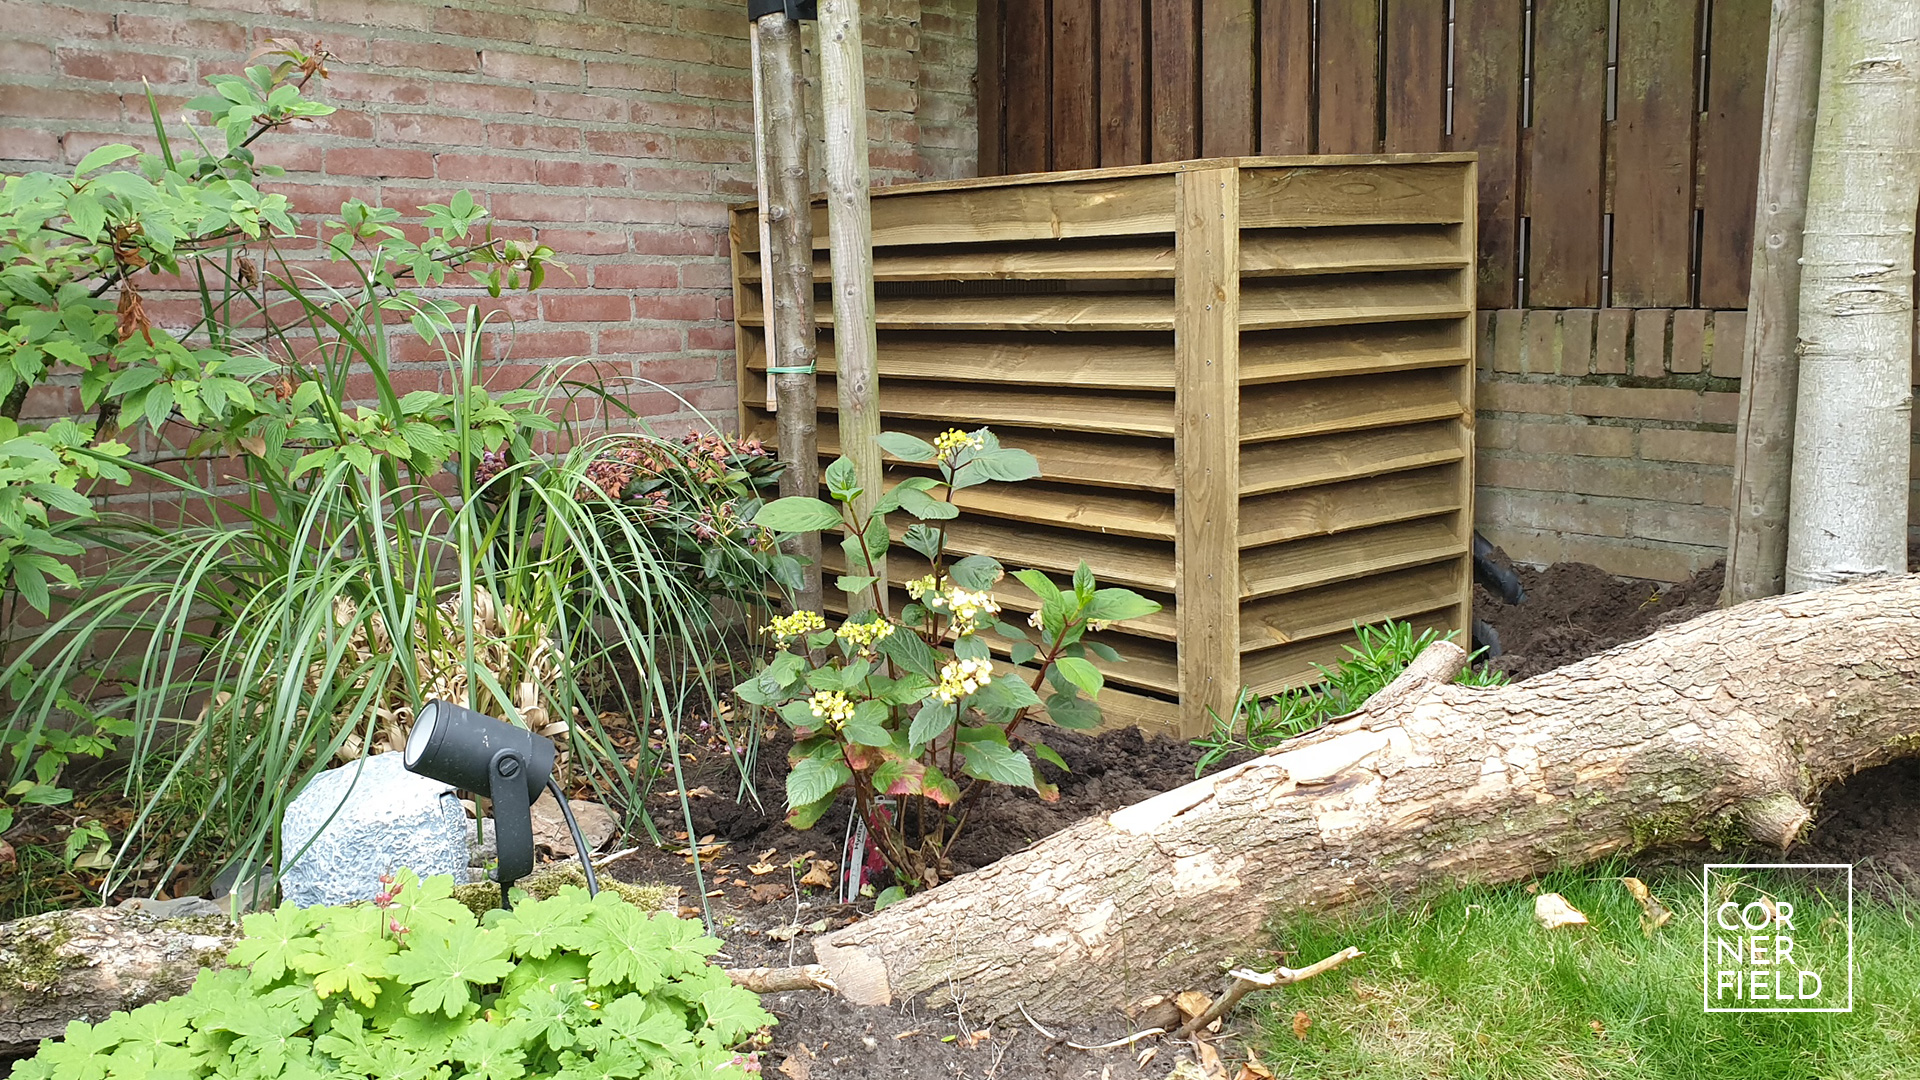
Result
For this build, I’m mostly curious about how it will hold up over time. The temperature and humidity levels will be all over the place but I’m hoping it will stay intact. I will keep you posted on that if it doesn’t. Besides that, the client is happy and so am I.
Download & Links
If you want to make one for yourself I have my SketchUp model available as a download in the link below.
SketchUp 3D-model
Instagram 1 | 2 | 3 | 4 | 5 | 6
I hope this post has inspired you to make something!
Don’t forget to follow your excitement  .
.
– Rico
Add comment