


It has been a while since I build my mobile workbench and it’s time for some improvements.
Design
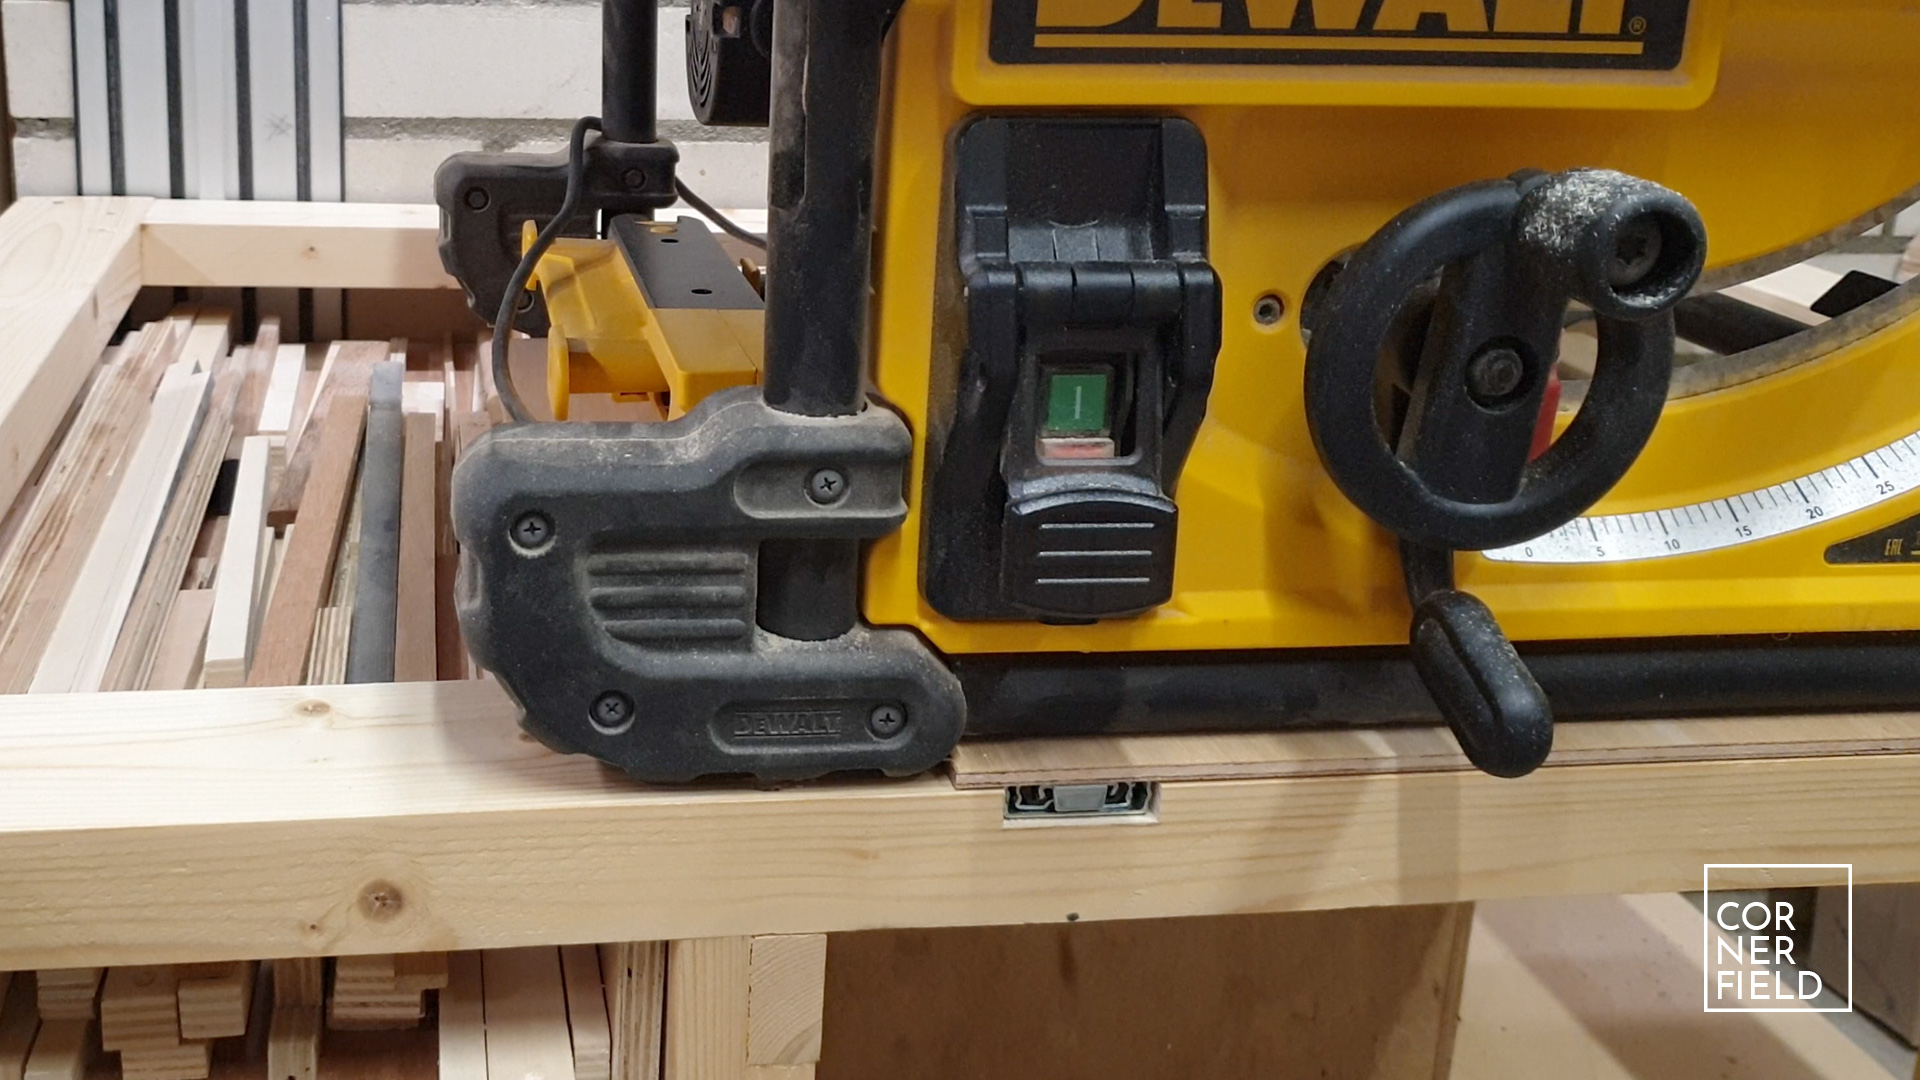
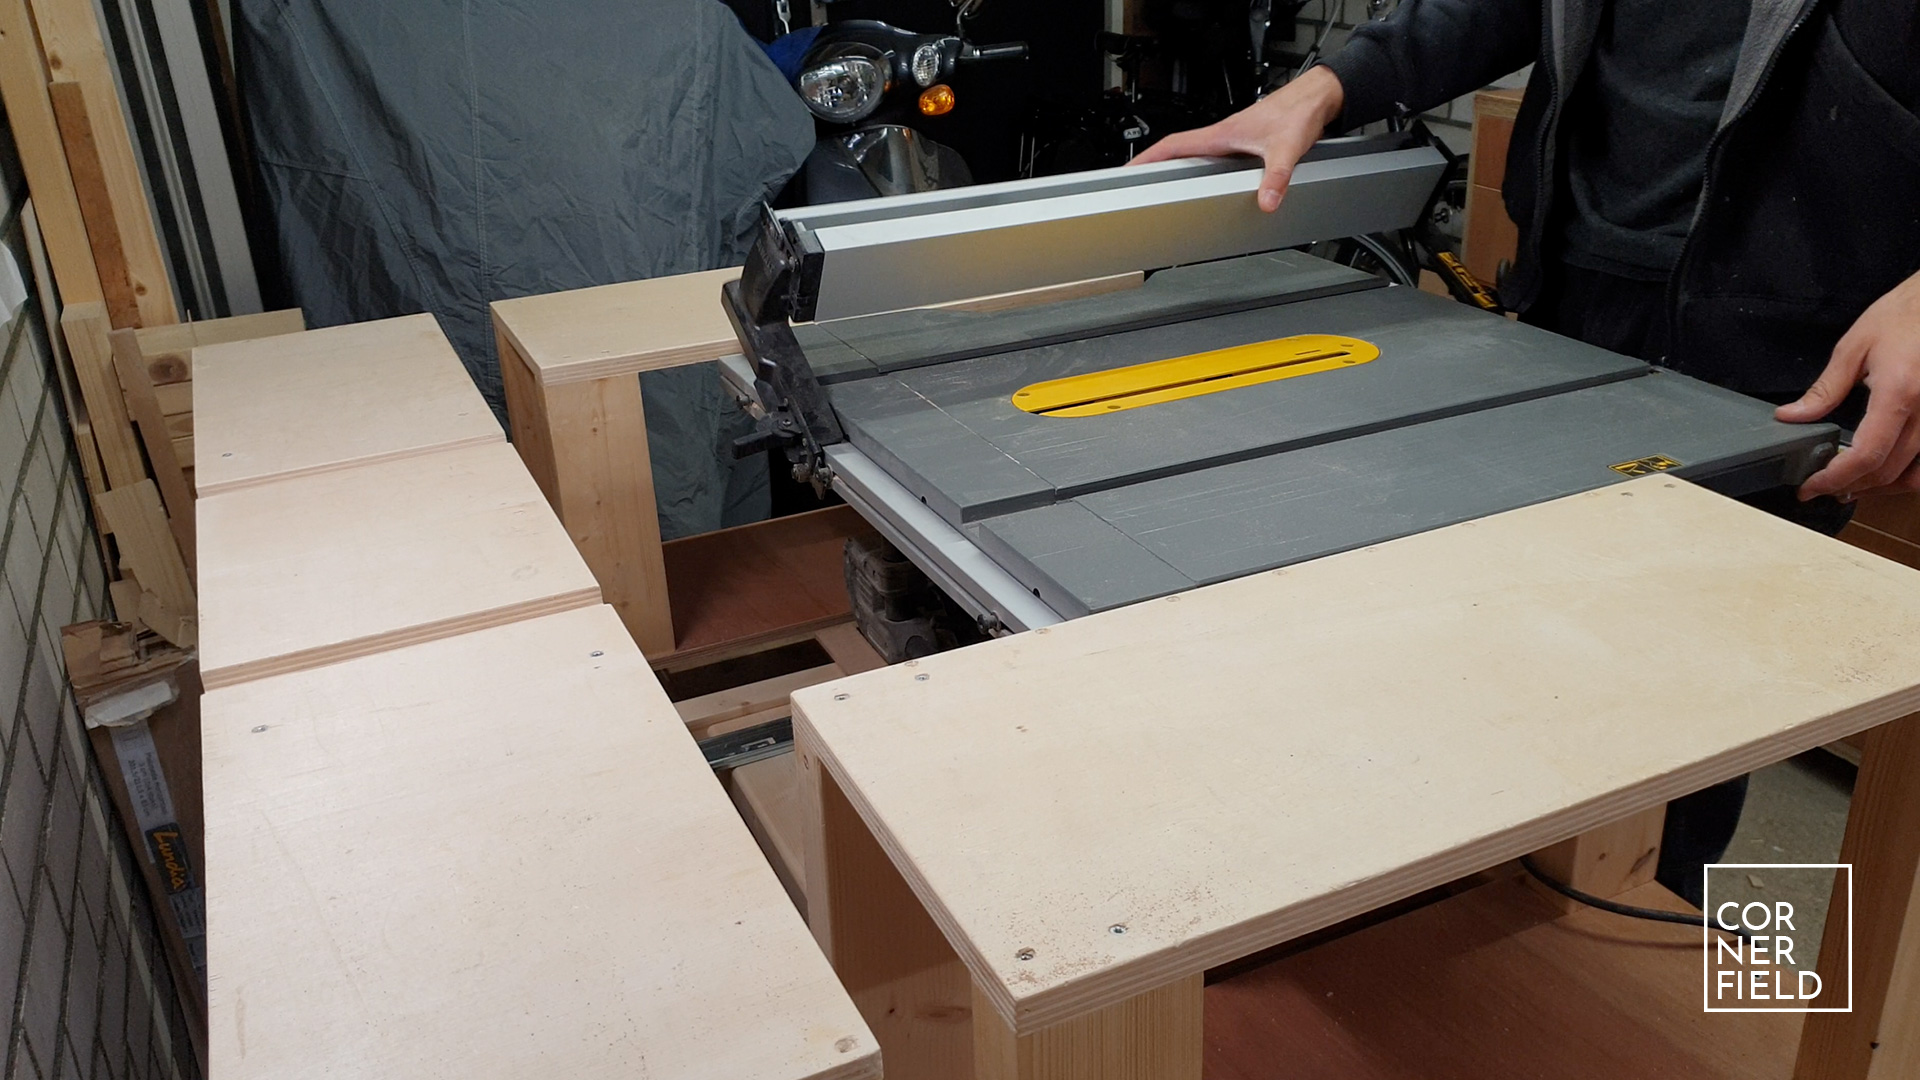
For the design, there is no change to the initial build. I like the look and feel of it and don’t want to change it. There are however some things that I need to improve. Most notably, the limited access to both the fence and the riving knife lever. To solve these issues I’m adding a sliding platform underneath the saw. This way I can pull it from the workbench to gain access. Once I’m done I can slide it back into place.
Besides this major change, I added some minor things. Scrap pieces surrounding the saw to box in the dust, a drawer for long and thin cut-offs and lastly a larger hole so my vacuum hose can swivel when I tilt the saw. I didn’t waste any time making a 3D model for this since the changes are so simple. If you are interested in the main build check-out my other article here.
Build
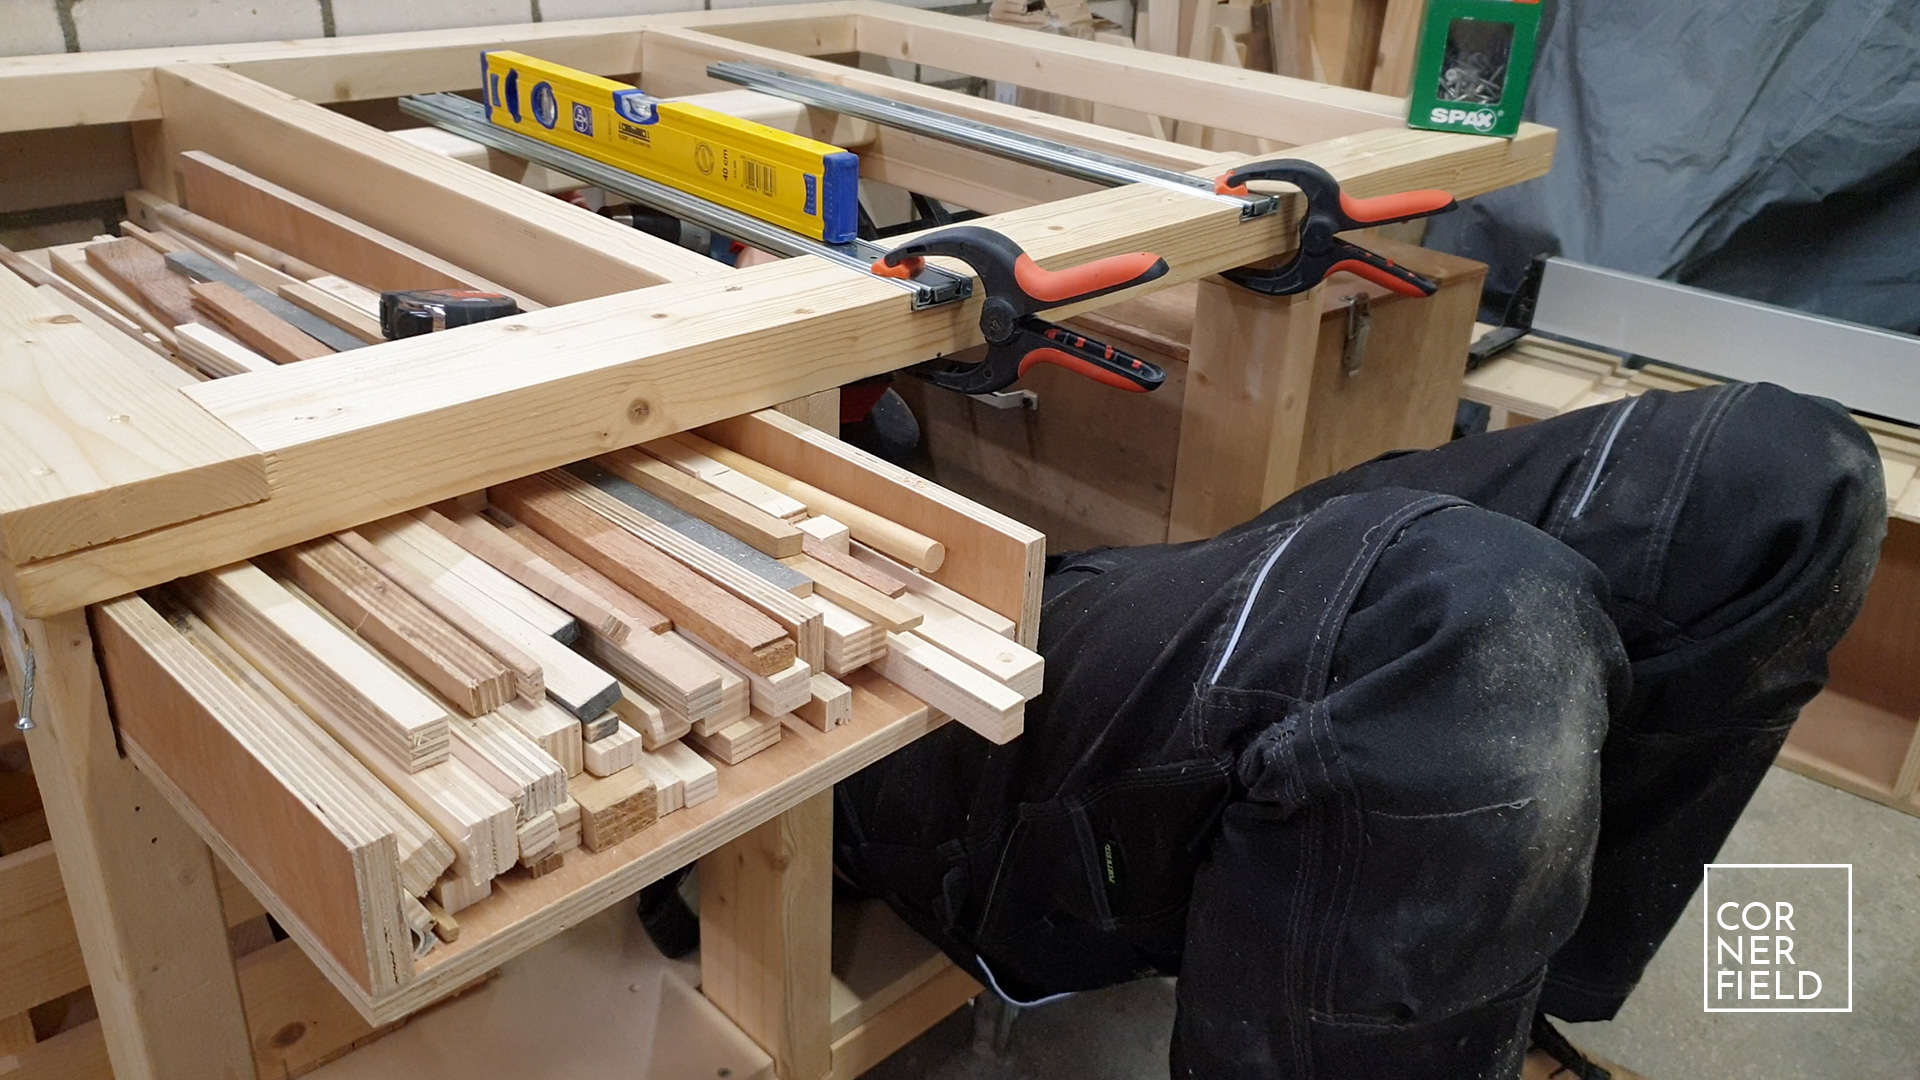
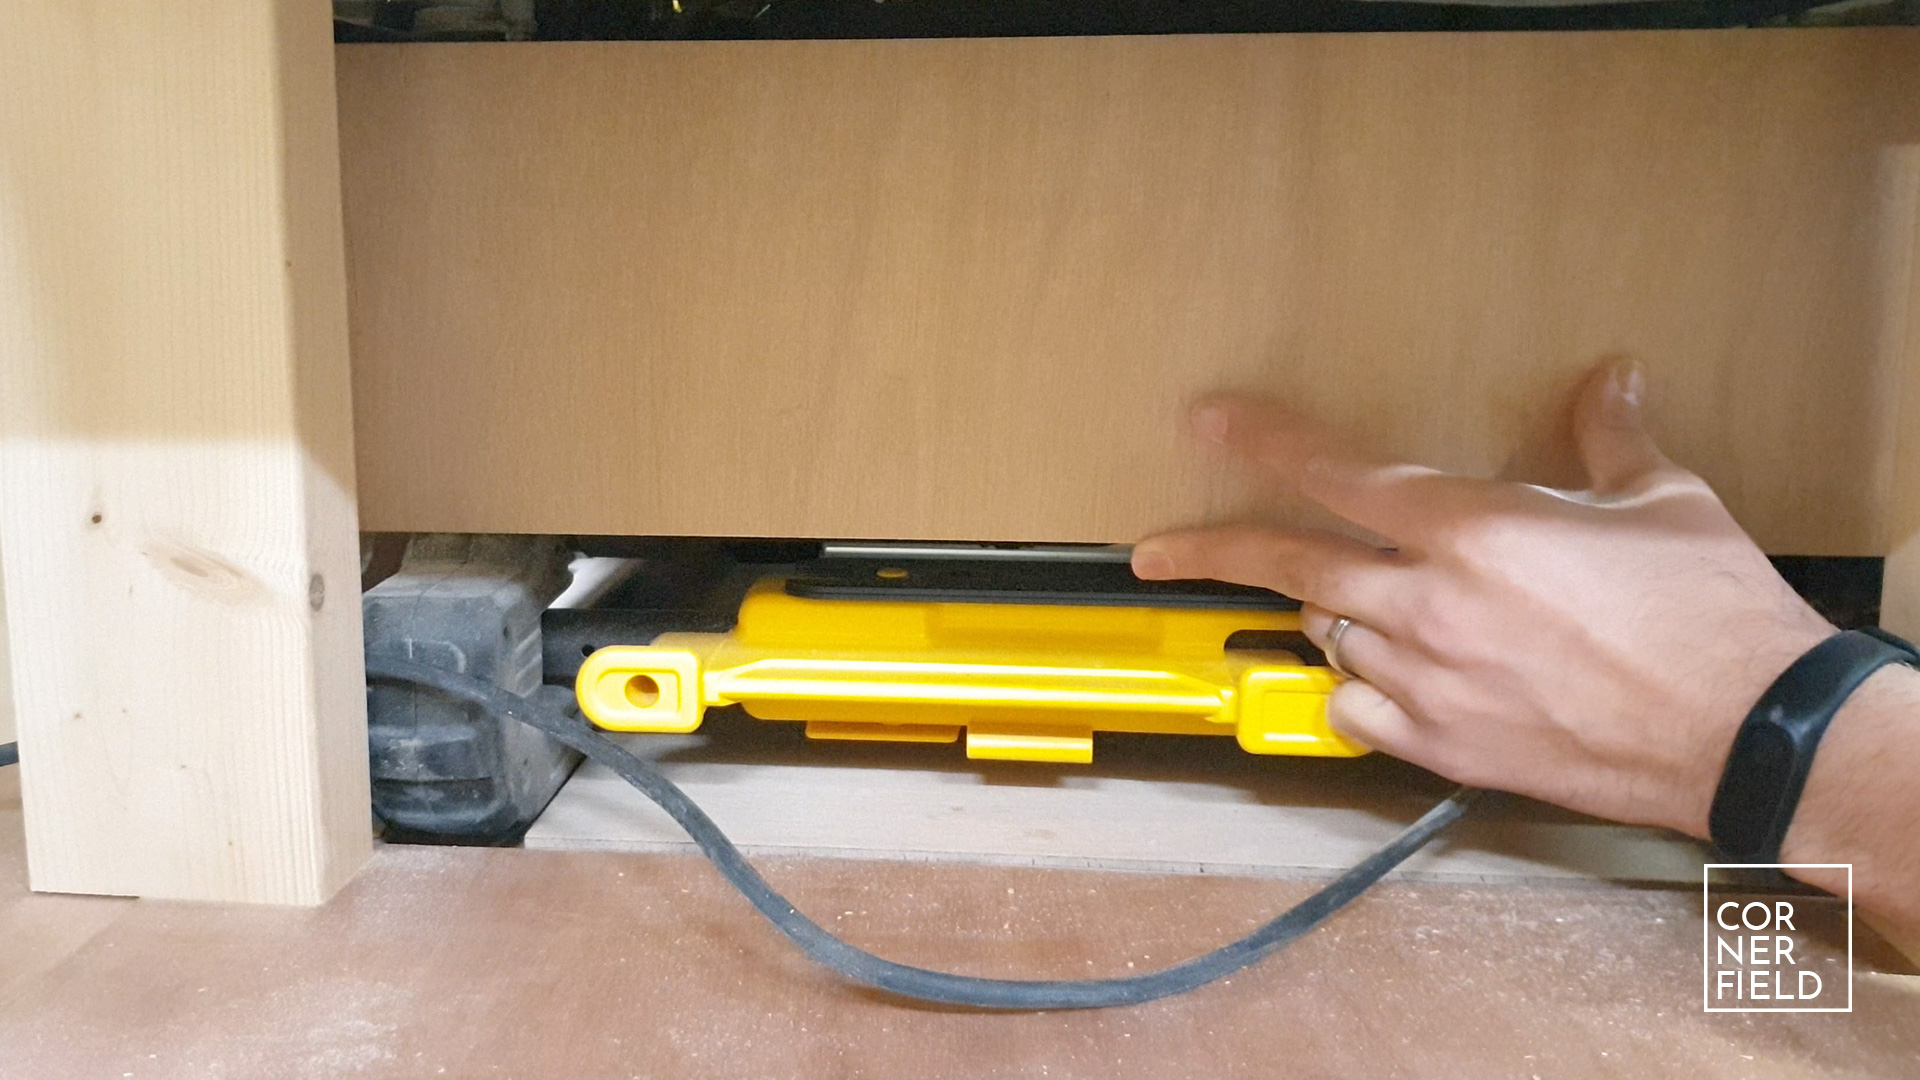
I’m jumping right into the construction by removing the entire top section of the workbench, including the front stretcher. The stretcher receives cut-outs to fit some runners. The goal is to support the frame of the saw on the slide when it’s pulled out but when it’s in place the feet should rest on the frame. This way there is no pressure on the runners when I’m using the saw. To make this happen I needed to make some careful measurements, making sure my slots aren’t too shallow or too deep.

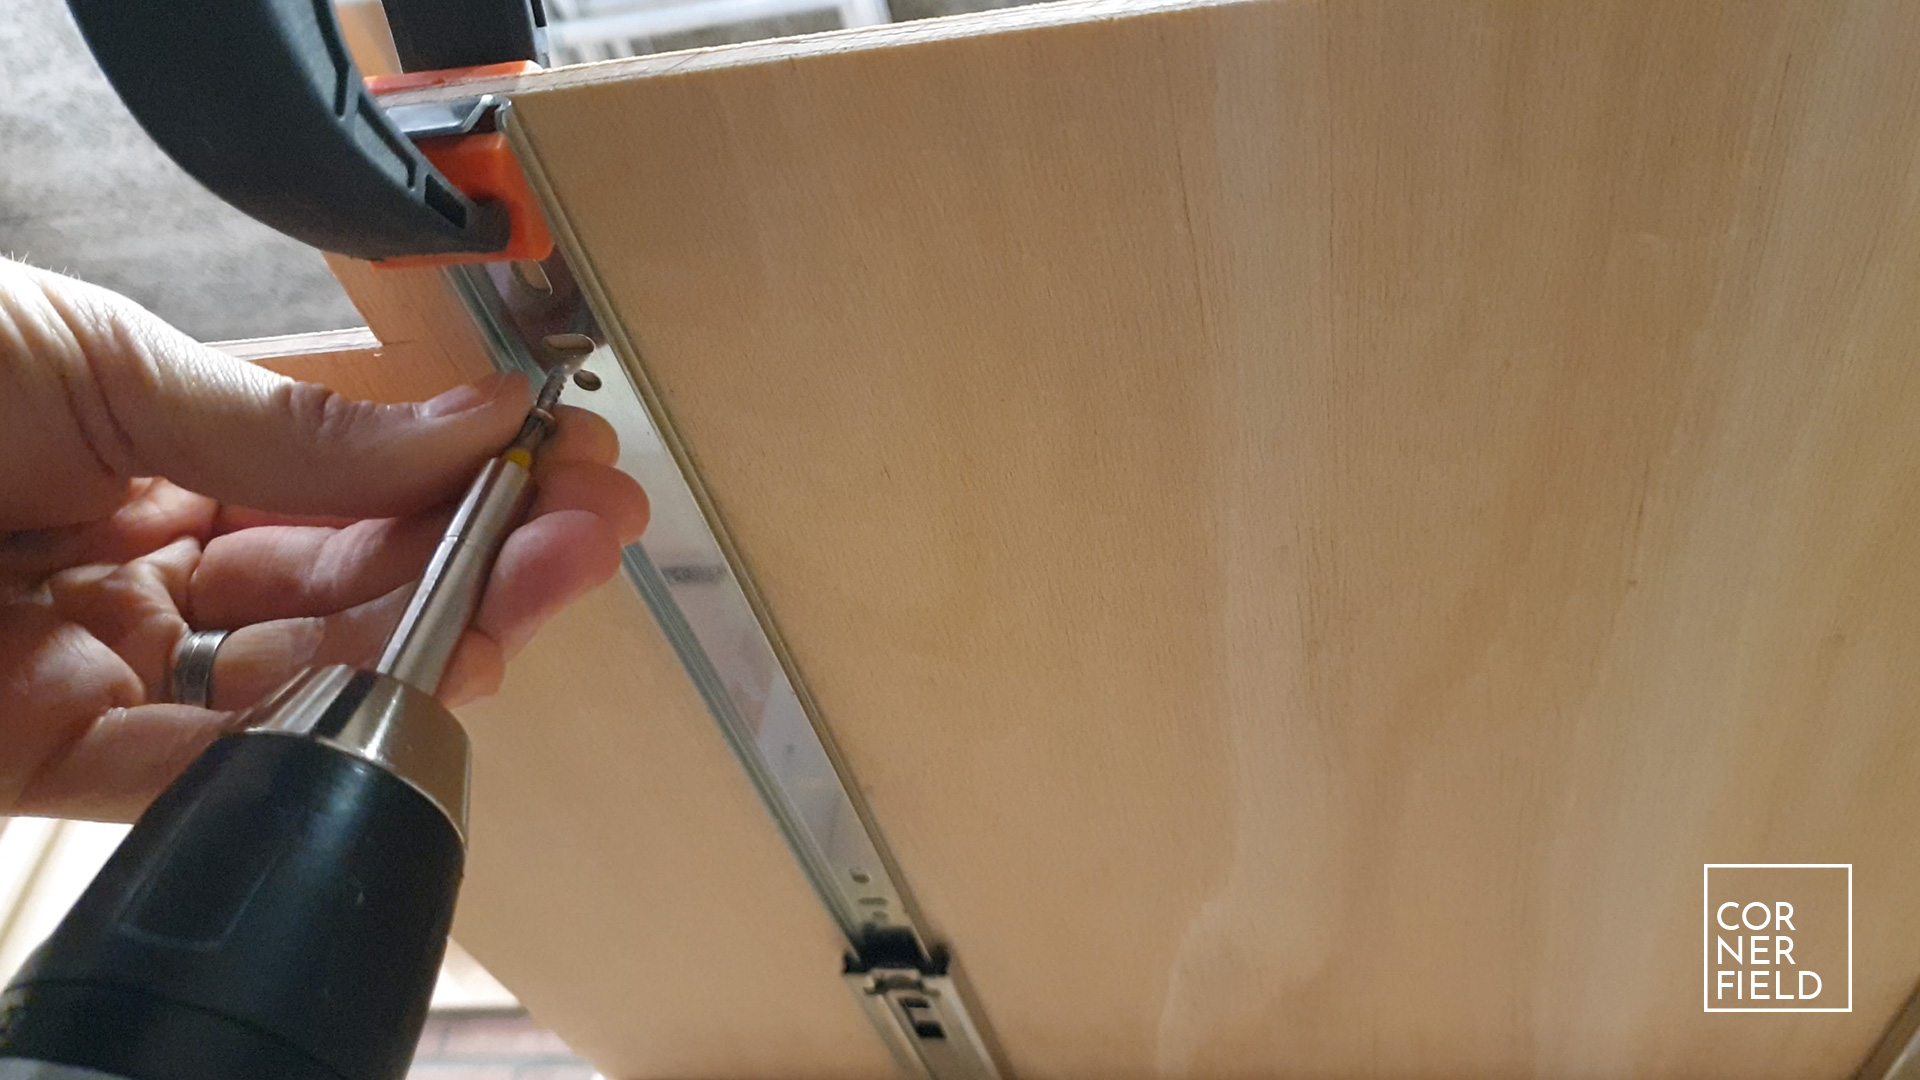
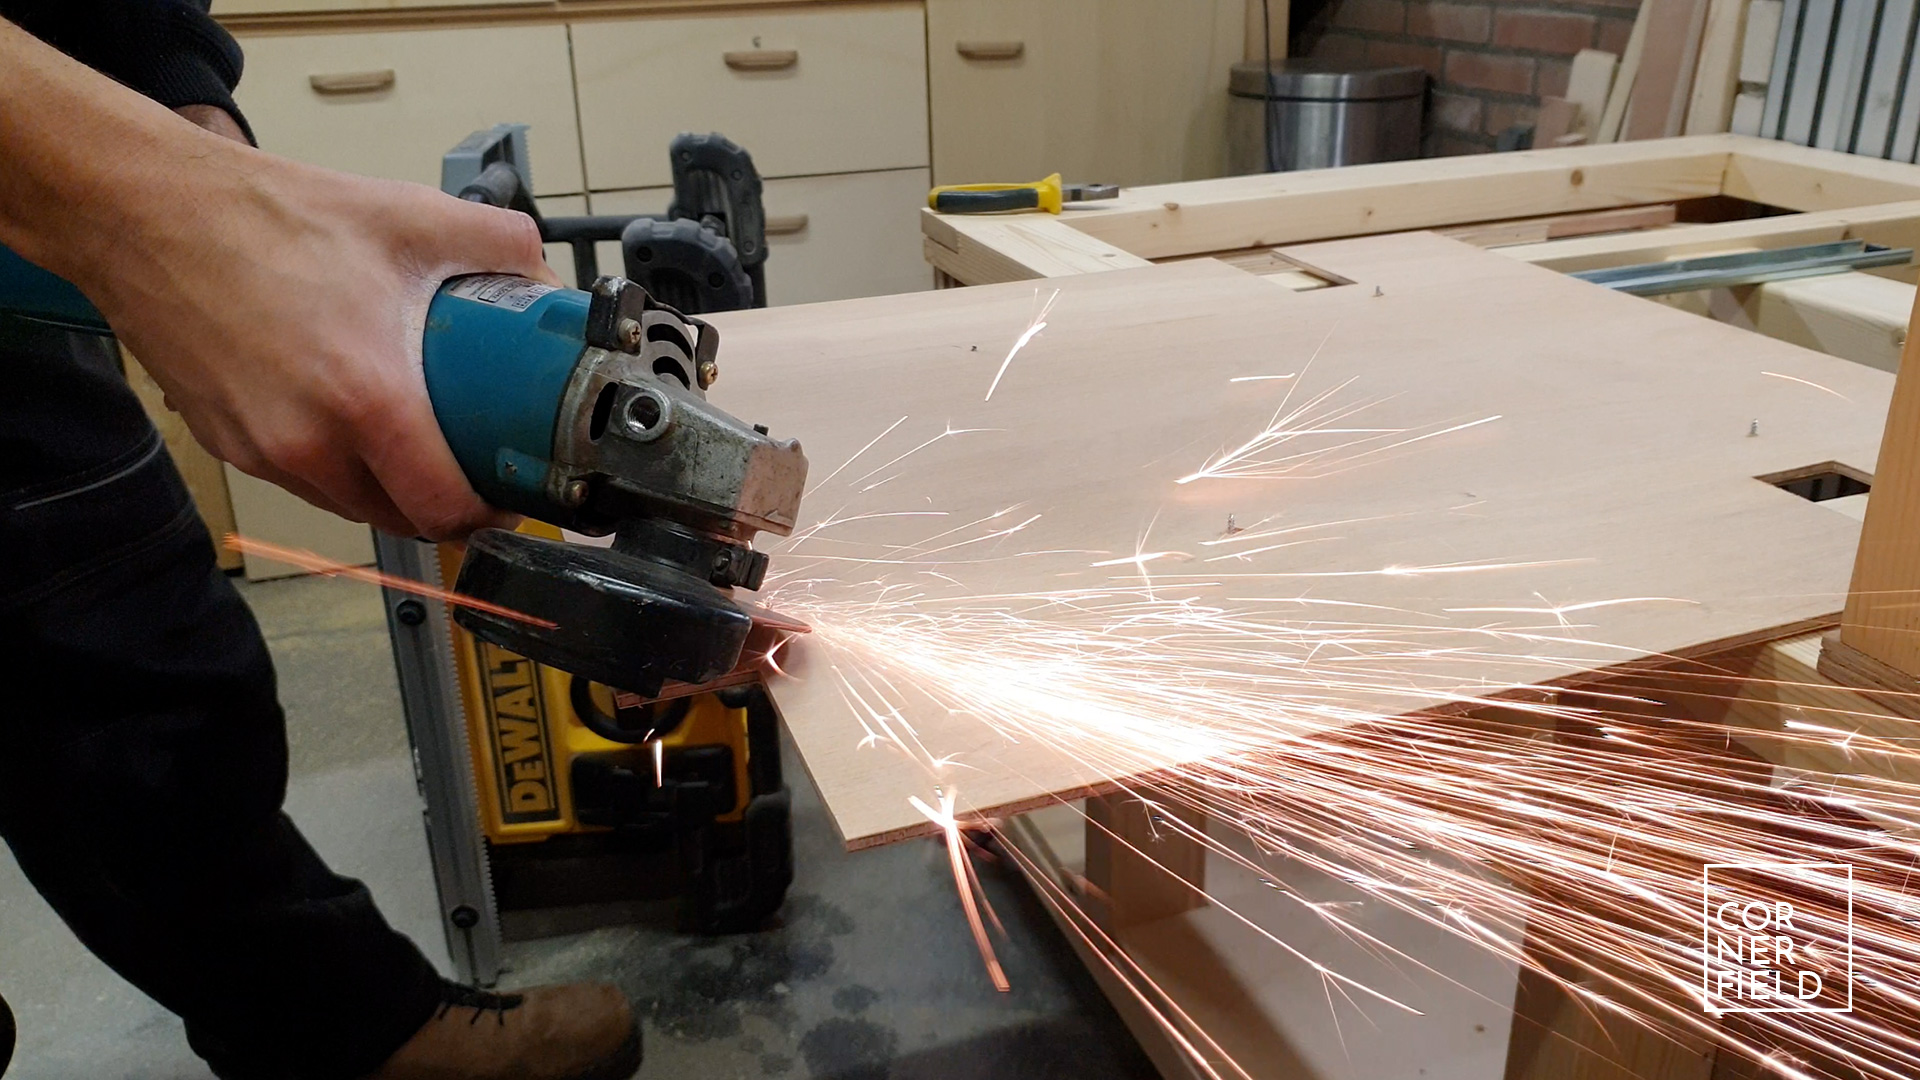
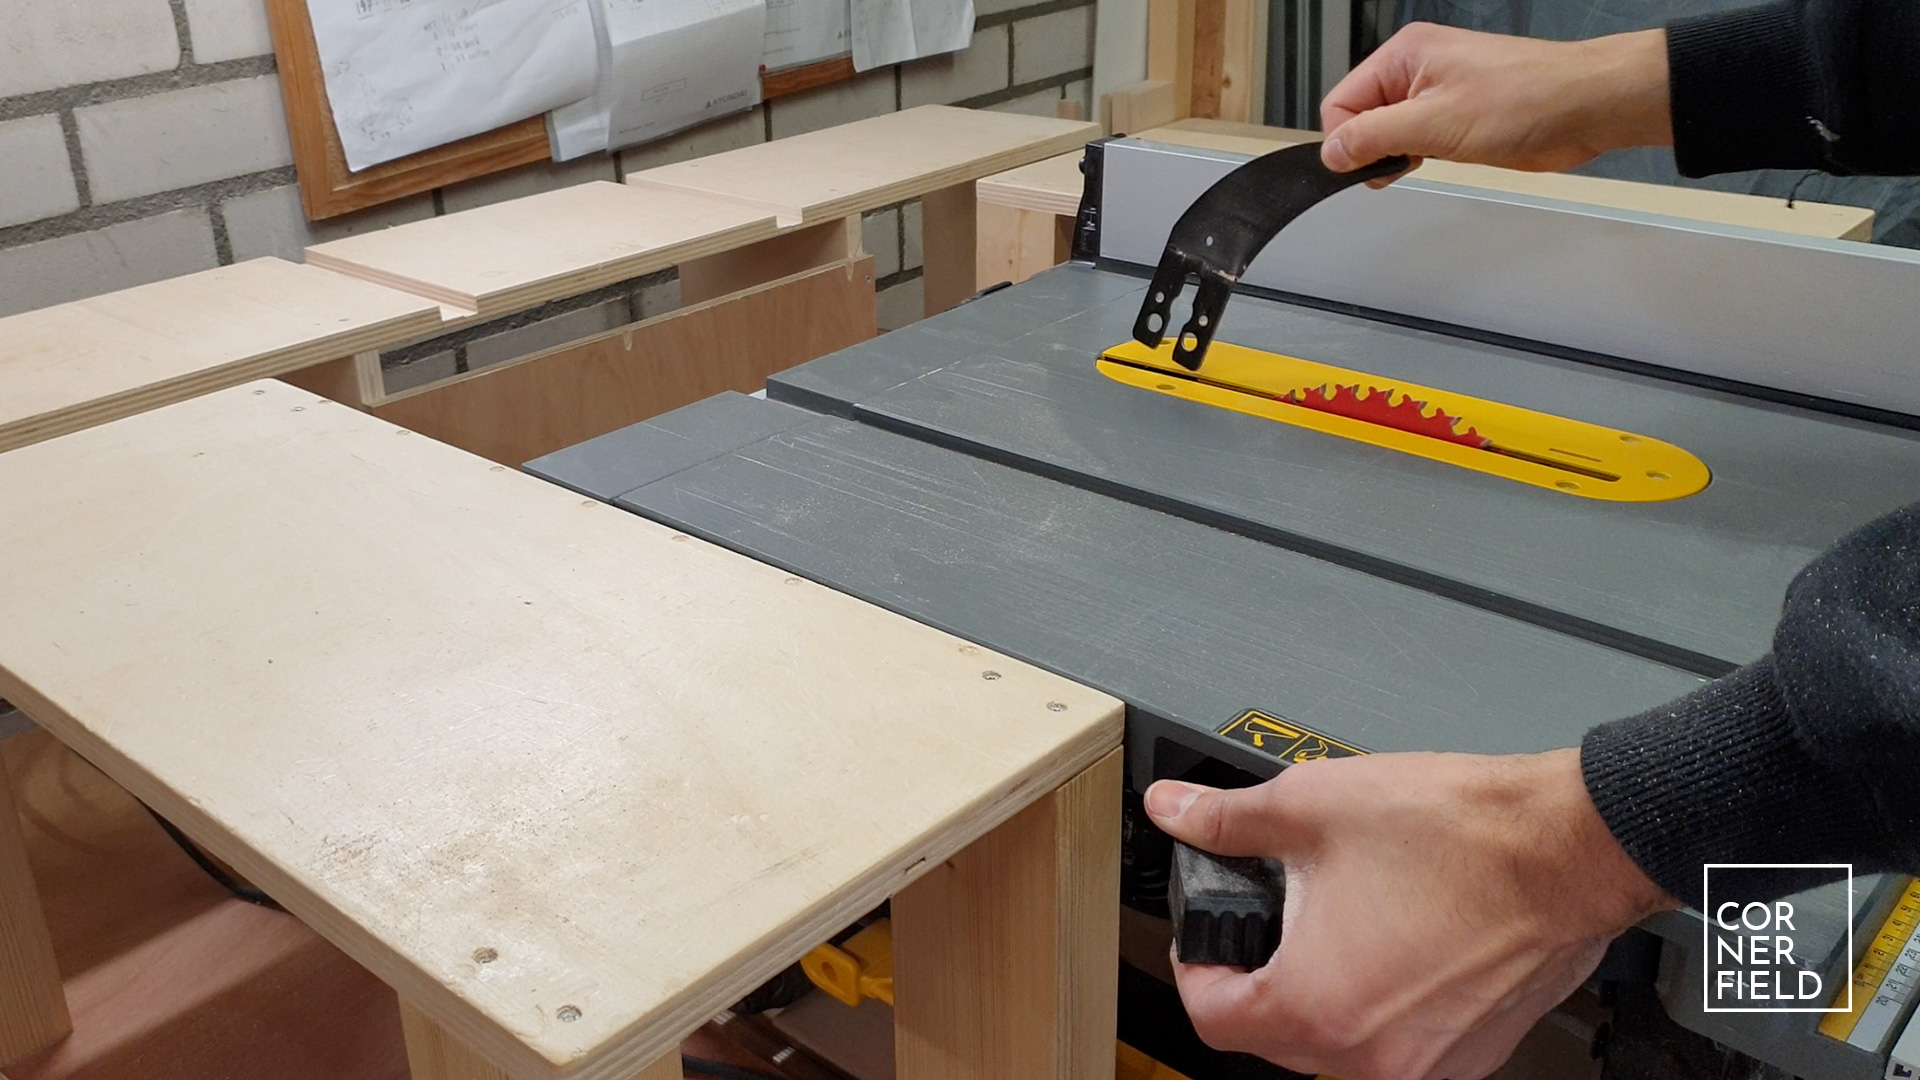
To support the back of the runners I’m adding a supporting piece in between two stretchers. If you are building this from scratch I would recommend using half-lap joints. Since I had to work with an existing structure I went with pocket holes. I made sure here that the runners are level and parallel with the workbench. After that, it was a matter of attaching the top to the slides. Unfortunately, the top was so thin that my screws were protruding so I had to use an angle grinder to fix that issue.
With the top attached to the slides, the sliding saw part of the update is complete. I can now easily remove my fence and change position, plus switch my riving knife when I need to. Perfect!
Scraps
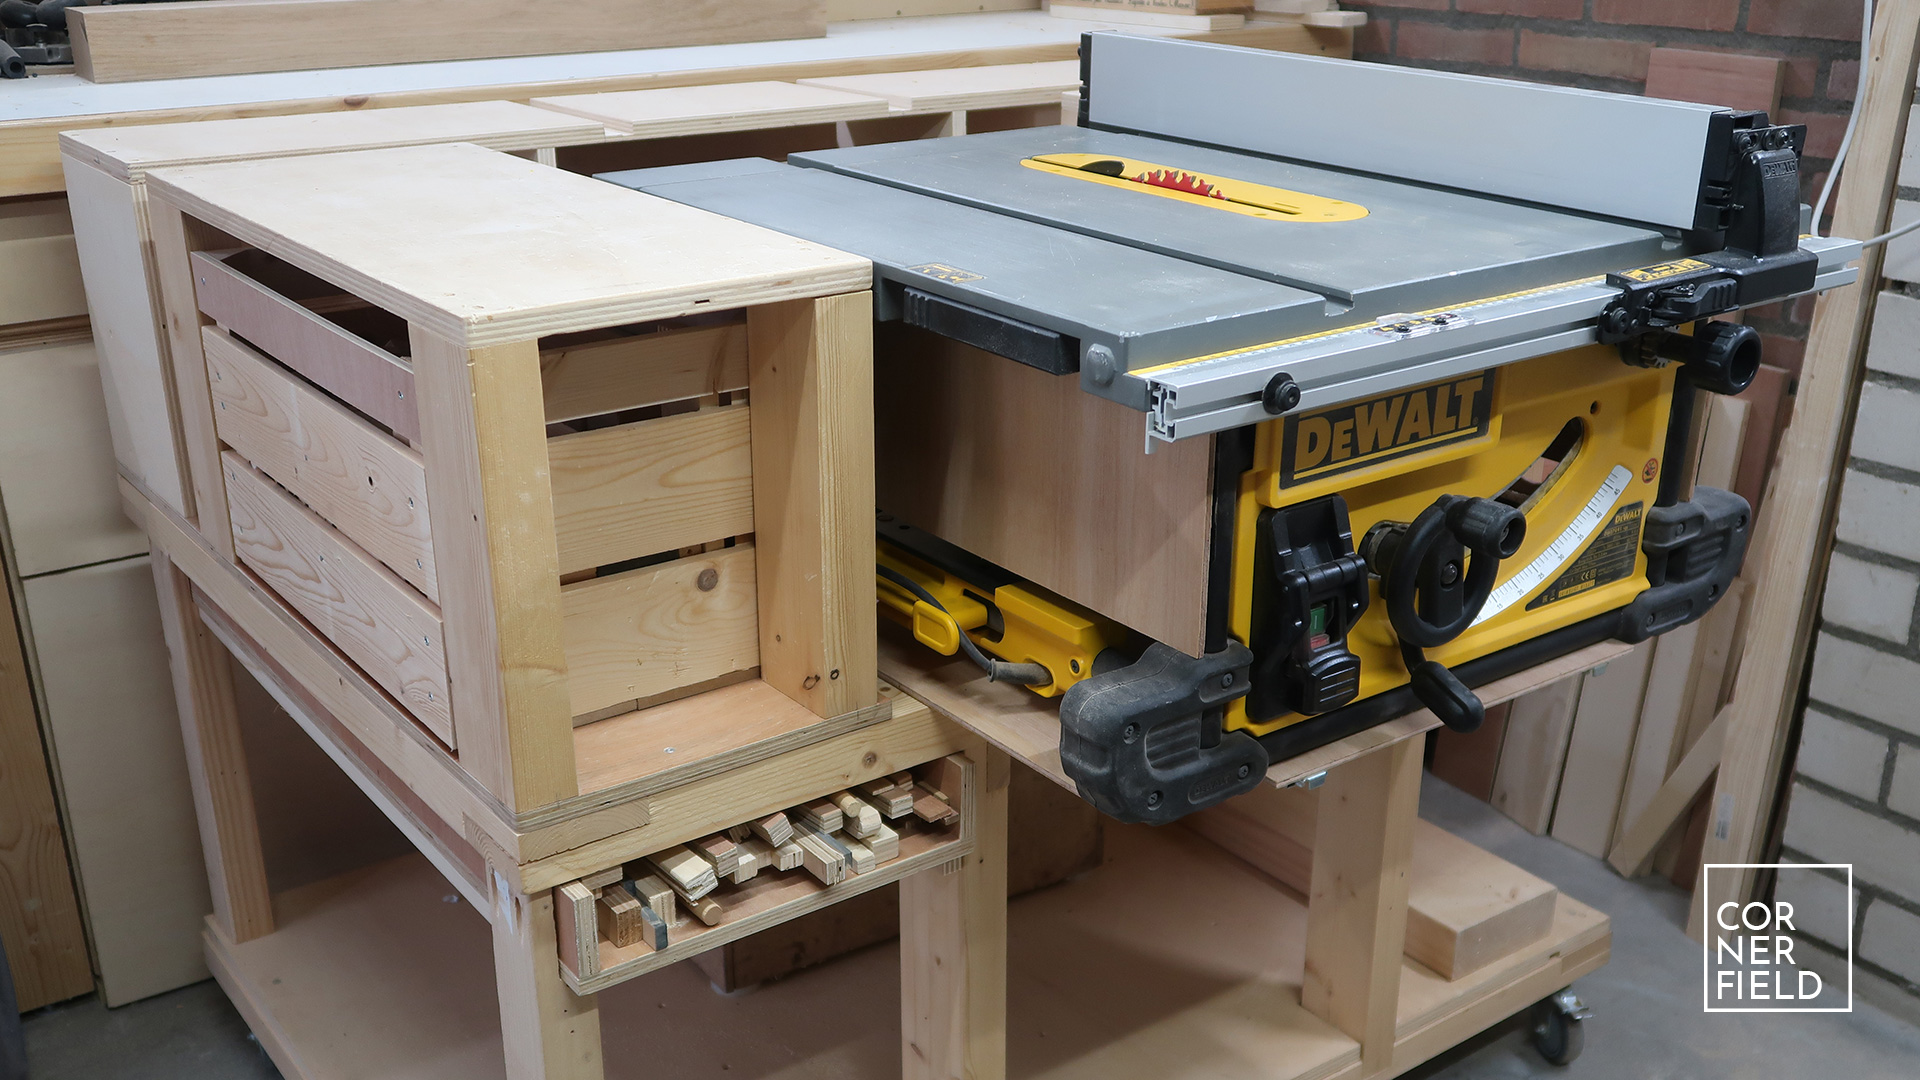
To hold the scraps I cut when working I used to have a box on the bottom of the workbench. This got full of dust and was difficult to reach. To improve this as well I decided to resize to the box so it could fit in the left cabinet of the workbench. This meant disassembling it, cutting some pieces down and reassembling it.


Dust guard
To reduce the amount of dust in the shop I’m adding scraps under the saw. They are left over from the bottom of the sliding saw. To work around the frame and other stuff I’m using my jigsaw to cut some specific curves.

Result
I’m very pleased with the improvements. They fix the things I was unhappy with and make the workbench that much better. If you have any thoughts leave them in the comments below :-).
Links & Download
If you want to build something similar I’ve linked my original 3D model below as a download. It doesn’t have the improvements I made in this update but it is the basis for this build.
SketchUp 3D-model
Instagram 1 | 2
Hope this post has inspired you to make something!
And don’t forget to follow your excitement ?

If you will give me an email address I be happy to send you some pictures of how I used your design with some modifications to build my portable DWE 9471 table.